I’ll never forget the night I stood in my garage, staring at my expensive new EV charger while a faint smell of hot electronics filled the air. My heart sank. I knew I needed to kill the power instantly, but the breaker panel was buried in the basement behind a wall of storage bins and a defunct lawnmower. By the time I fumbled through the dark and tripped the switch, I’d aged five years and lost a fair bit of sleep. That moment of panic taught me a hard lesson: a dedicated disconnect switch isn’t just a ‘nice to have’—it’s your first line of defense. Today, I’m going to show you why adding this simple component will save your equipment, your sanity, and potentially your home from some of the 3 small mistakes that turn your garage panel into a fire hazard. We will look at the safety benefits, the legal requirements that catch people off guard, and how to choose a setup that doesn’t look like an industrial eyesore.
Cut the Power Without the Panic
Most homeowners assume that the circuit breaker in their main service panel is all the protection they need. I was exactly the same way when I first started tinkering with my garage setup. I figured if there was a short, the breaker would do its job. But here is the thing: breakers are meant to protect the wires in your walls, not necessarily to provide a convenient emergency shut-off for a high-voltage appliance humming three feet away from your car. Having a dedicated switch right next to your Wall Connector gives you immediate control. It’s about more than just emergencies, too. When it comes time to clean the contacts or check for corrosion inside your outdoor charging pedestal, you shouldn’t have to run back and forth to the basement. I once failed a local inspection because my charger was around a corner from the main panel, and I didn’t have a visible ‘means of disconnect.’ That one mistake taught me more about code compliance essentials for EV charger installations in 2025 than any manual ever could.
Is another switch actually worth the extra cost?
You might be looking at your installation quote and wondering if this is just an electrician trying to pad the bill. It’s a fair question. However, the National Electrical Code (NEC) 625.43 specifically mandates a disconnecting means for EV equipment rated more than 60 amps or 150 volts to ground if the breaker isn’t within sight of the charger. According to the National Fire Protection Association, these rules are in place to ensure that anyone—including a firefighter or a frantic neighbor—can safely isolate the power without searching for a hidden panel. If you’re dealing with a high-power hardwired unit, you don’t have the luxury of just ‘unplugging’ the car. This makes understanding the critical difference between hardwired and plug-in chargers essential for your safety planning. Have you ever felt a bit uneasy about how far away your breaker panel is from your garage? I’d love to hear if you’ve run into any ‘close calls’ that made you rethink your home’s wiring. Let’s make sure you don’t fall into the permit error that stops 40% of residential charging installs by looking at the right way to wire this in.
Place Your Disconnect Where You Can Actually See It
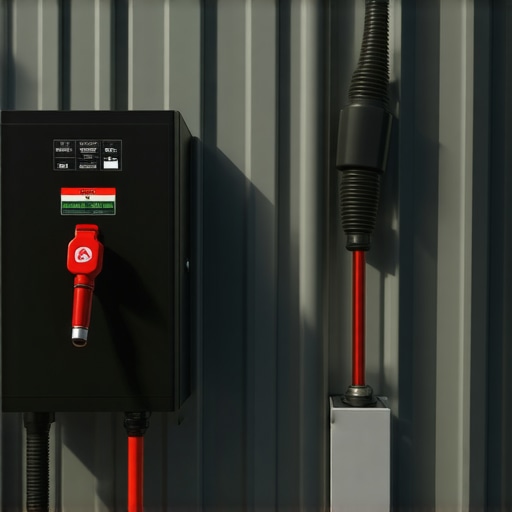
The first rule of thumb is proximity. Code requirements usually dictate that the disconnect must be ‘within sight’ of the vehicle connector. Think of it like a light switch for a room; you wouldn’t want the switch for your kitchen lights to be located in the attic. When I was helping a neighbor with his install, we realized his charger was mounted on a pillar, but the breaker was behind a stack of winter tires. If his car started smoking, he’d be digging through rubber for two minutes. Instead, we mounted a sleek, heavy-duty disconnect box exactly four feet from the charger. This ensures you’re never more than a step away from killing the power. This level of planning is part of the ensuring code compliance when installing EV chargers process that most people overlook until the inspector shows up.
Tighten Every Connection to Perfection
Wiring a disconnect isn’t just about matching colors; it’s about physical pressure. Imagine a loose garden hose connection—it sprays water everywhere. In electricity, a loose connection ‘sprays’ heat. I’ve seen chargers fail because the installer didn’t use a calibrated tool, leading to the forgotten torque test that prevents panel fires. When you are terminating those thick 6-gauge wires, use a torque wrench. Most disconnects and chargers have specific inch-pound requirements printed right on the label. Following why your charger needs a specific torque setting to pass inspection isn’t just for the paperwork; it’s the only way to prevent the wire from expanding and contracting until it wiggles loose. I once found a lug that was so loose it was glowing cherry red during a session—a literal ticking time bomb.
Pick a Switch That Handles the Heat
Not all switches are created equal. You need a ‘heavy-duty’ or ‘general duty’ safety switch rated for the continuous load of an EV. Your car draws power for hours at a time, unlike a toaster or a vacuum. This is where you see the difference between residential and industrial grade wire for EVs and components. I once tried to save $40 by using a light-duty toggle, and within a week, it was making a buzzing sound that drove me crazy. That noise is the sound of arcing. Now, I always recommend a fused or non-fused disconnect in a metal enclosure. It provides a heat sink and a physical barrier. If you’re struggling with a setup that keeps shutting down, you might need to look into upgrading your panel for better EV charging performance to ensure the whole system can handle the sustained amperage without a hiccup. It also helps to know the specific conduit size needed for a 50-amp circuit to make sure the wires have room to breathe. Using a high-quality disconnect is a small price to pay to avoid EV charger troubleshooting expert tips for common issues later down the road.
One of the most common myths I see in the DIY community is the ‘fits-it-sits’ rule for electrical panels. People assume that if a circuit breaker physically snaps into the rail, it’s perfectly safe to use. But here is the advanced truth: mixing breaker brands is a major safety violation that most beginners overlook. Even if a competitor’s breaker fits, the mounting tension on the busbar is often slightly different. This creates high-resistance contact points that lead to micro-arcing. Over time, the constant vibration of 60Hz current combined with the massive thermal stress of an EV charge will degrade that connection, leading to the specific breaker brands that hate constant ev loads and eventually causing a total failure.
Can Your Current Panel Truly Handle an Eight-Hour Full Load?
It’s not just about having an empty slot; it’s about the ‘continuous load’ calculation. Per the National Electrical Code, an EV charger is considered a continuous load, meaning it must be fused at 125% of its output. A 40-amp charger needs a 50-amp circuit. But many older homes have panels that, while rated for 200 amps, weren’t designed for the sustained heat generated by these cycles. The Electrical Safety Foundation International (ESFI) reports that home electrical systems are responsible for roughly 51,000 fires each year, many of which stem from sustained thermal stress on aging components. This is why I always tell people to check for 3 signs your main lug is loose and causing power flickers before they even buy their charger. 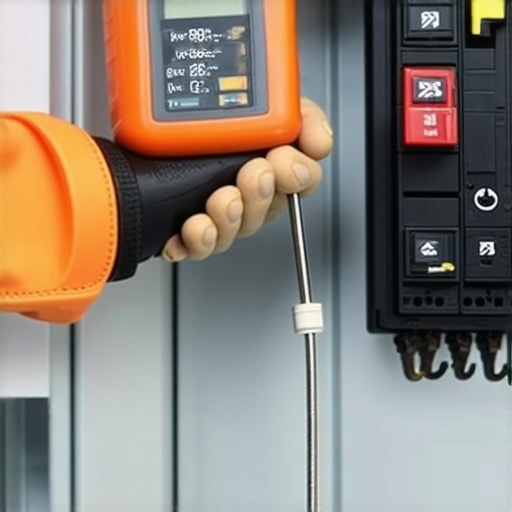 Another ‘Oops’ factor that catches even seasoned pros is the ‘grounding ghost.’ If you are installing a subpanel in a detached garage, you cannot simply rely on the neutral wire to provide a safety path. Failing to understand how to fix the grounding fail that ruins ev permits is the number one reason inspections are delayed. Without a proper ground rod or bonded connection, your charger’s sensitive electronics might detect a ground fault and refuse to start, or worse, you might experience the voltage drop secret thats ruining your morning charge. This nuance is critical for code compliance essentials for ev charger installations in 2025. When you run 100 feet of wire to a backyard shed, you aren’t just losing money on copper; you are losing voltage. If your car expects 240V but only gets 232V because of resistance, the internal charger has to work harder, generating more heat inside the vehicle. Understanding panel upgrades for ev chargers involves more than just swapping the main box; it’s about ensuring the entire delivery path is robust. If you ignore this, you’ll likely run into ev charger troubleshooting expert tips for common issues sooner rather than later. Have you ever fallen into this trap of assuming your panel was ready just because it looked empty? Let me know in the comments.I’ve learned the hard way that the ‘set it and forget it’ mentality is a dangerous trap when you’re dealing with high-voltage equipment. Every six months, I make it a habit to pull the cover off my disconnect—after killing the main breaker, of course—to perform a visual inspection. I’m looking for discolored plastic, brittle insulation, or that faint, unmistakable smell of ‘cooked’ electronics. I personally swear by using a FLIR thermal camera attachment for my smartphone. It’s not just a gadget; it allows me to see if a specific terminal is running significantly hotter than the others while the car is pulling a full 48 amps. If you see a bright purple or white glow on the screen where a wire meets a lug, you’ve caught a disaster before it started. This proactive approach is how you avoid needing ev charger troubleshooting expert tips for common issues when your car refuses to charge on a Monday morning. Beyond the physical copper, you have to stay on top of the digital side. Many homeowners get frustrated by why your ev charging app requires a cloud subscription, but those updates often include critical thermal management patches that protect your hardware. If your garage Wi-Fi is spotty, you will likely run into troubleshooting ev charger connectivity problems that prevent your car from pre-conditioning or charging during the cheapest utility windows.
How do I maintain my charging setup over time?
Maintaining a home charger is primarily about cleanliness and mechanical integrity. Once a year, I use a dedicated electrical contact cleaner on the handle pins, which is a life-saver if you’ve noticed why your charger handle feels sticky after a rainstorm. For those living near the ocean, checking for how to spot corrosion inside your outdoor charging pedestal is a non-negotiable task to prevent resistance build-up. According to the Electrical Safety Foundation International (ESFI), residential electrical fires are frequently driven by loose connections under sustained loads. This is why I recommend a quick ‘torque check’ every two years. Grab your torque wrench and ensure everything still matches the the specific torque wrench settings for a wall connector. 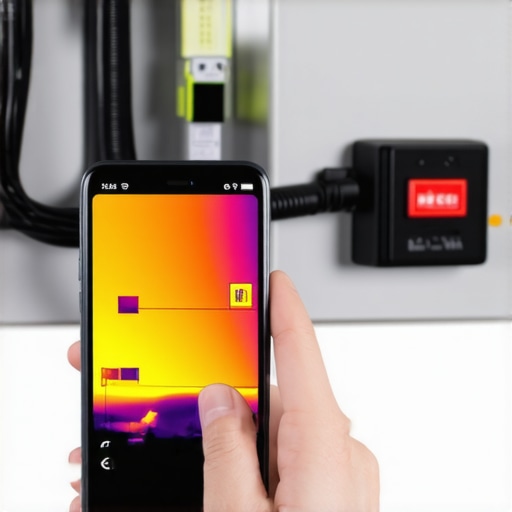 Looking toward the horizon, the trend is shifting toward bidirectional charging (V2H). Your electrical panel won’t just be feeding your car; your car will eventually act as a giant battery for your whole house. This makes current panel upgrade strategies to meet ev charging code requirements in 2025 even more critical. If you are planning to add a second electric vehicle, you should explore how to load balance your fleet without tripping the main feed to avoid the massive expense of a full utility service upgrade. I predict that smart load management will be the mandatory standard within five years, and you might even find why your electric utility might give you a free smart charger as they seek to balance the grid. My advice for this weekend? Invest in a quality torque wrench and do a five-minute check on your lugs. It is the single best way to ensure the real lifespan of a level 2 charger in coastal salt air or any harsh environment reaches its full potential.
Hard-Won Truths from My Garage to Yours
After years of messing with high-voltage circuits, I’ve realized that the ‘it’s probably fine’ mindset is the enemy of a safe home. First, never underestimate the power of a clear label; it seems trivial until you’re in a dark garage, which is why the right way to label your electrical panel for ev circuits is a task you should do today. Second, the disconnect switch isn’t just for emergencies—it’s for peace of mind during every storm and every maintenance check. Finally, always look ahead. Today’s single charger setup might be tomorrow’s dual-vehicle fleet, so studying panel upgrade strategies to meet ev charging code requirements in 2025 now will save you a fortune in labor later.
#IMAGE_PLACEHOLDER_E#
The Gear That Keeps My House from Melting
If you want to move beyond guessing and start knowing, I highly recommend investing in a few key tools. A compact thermal camera for your smartphone is a game-changer for spotting hot lugs before they fail. I also never touch a terminal without a calibrated torque wrench, as failing the forgotten torque test that prevents panel fires is the leading cause of garage electrical issues. I also keep a physical copy of the NEC handbook near my workbench; digital is great, but flipping through the actual pages helps the code stick in your brain.
Taking Charge of Your Home’s Energy Future
Building a safe, code-compliant charging station is one of the best investments you can make for your property. Not only does it streamline your daily routine, but the real reason your home value increases with a pro-ev setup is that future buyers will see a professional, robust system they can trust. Don’t let the technical details intimidate you. With the right disconnect and a bit of patience, you’re well on your way to mastering ev charger troubleshooting expert tips for common issues and maintaining a rock-solid home grid. Have you ever opened your electrical panel and found a surprise that made you double-check your work? Let me know in the comments below!