I remember standing in my driveway at 2:00 AM, the cold air biting at my neck, staring at a charger that was barely trickling power into my car. I had spent the entire previous weekend sweating, digging, and pulling what I thought was perfectly good wire 120 feet out to my new detached garage. I felt like a pro until the moment I realized my ‘fast’ Level 2 station was performing like a glorified wall outlet. The culprit wasn’t the charger, and it wasn’t the car. It was the invisible thief called voltage drop, and it was stealing the very electricity I was paying for before it even reached my bumper. If you are planning a long-distance run for your EV, you are at a crossroads where a single sizing mistake can cost you hundreds in wasted energy and hardware strain.
Stop Losing Power Before It Reaches Your Car
When electricity travels through a wire, it faces resistance. The longer that wire is, the more resistance it encounters, which naturally causes the voltage to dip. On a short ten-foot run next to your main panel, this is negligible. But once you start pushing past 100 feet to reach a shed or a distant parking spot, that resistance turns into heat. I learned the hard way that while the exact wire gauge you need for a 50-amp EV circuit is typically #6 AWG copper for short distances, that rule goes right out the window on a long haul. I once stubbornly stuck with #6 for a 150-foot run, and the heat at the terminals was enough to make me nervous. According to the National Fire Protection Association (NFPA), informational notes in the NEC suggest that a voltage drop of more than 3% on a branch circuit can lead to inefficient operation. To keep that drop under control over distance, you almost always have to ‘upsize’ your wire to #4 or even #3 AWG. This isn’t just about speed; it is about preventing your equipment from working overtime. Have you ever noticed your charging handle getting unusually warm, or is your car taking significantly longer to charge than the manufacturer promised? If so, you might be fighting a losing battle against your own wiring. This issue is often compounded by other household loads, which is the reason your charging speed drops when your AC kicks on—the system simply cannot maintain the necessary pressure to push those electrons through a narrow, long pipe.
Does Thicker Copper Really Justify the Higher Price Tag?
I get the skepticism. When you see the price of a 100-foot spool of #4 copper versus #6, your wallet starts to ache. You might even be tempted to look at aluminum to save a buck, but you have to understand the difference between copper and aluminum for EV wiring before making that leap. Aluminum requires even larger diameters to carry the same current, which means bigger conduit and more physical labor. My advice? Don’t skimp. If you are hiring someone, you must know how to verify your electrician actually used copper wire for the install and that they accounted for the distance. If you are tackling a project like how to install a Level 2 charger in a detached garage without digging, the wire choice becomes the most critical decision in the entire blueprint. Upsizing your wire now is an investment in efficiency that pays for itself in reduced heat and faster charging sessions over the next decade.
Run the Numbers Before You Buy the Wire
Think of your home’s electrical panel as a water tower and your EV charger as a high-pressure hose. If that hose is too long and too thin, the water barely reaches the nozzle with any force. To fix this, you must start with a load calculation. In my early days, I assumed a 200-amp panel could handle anything. I was wrong. I once saw a client’s lights dim every time their Tesla started charging because they skipped the math. You need to account for every major appliance in your home before adding a 50-amp continuous load. This is why your EV permit application requires a load calculation worksheet. If you skip this, you risk overdrawing your main breaker, leading to a total blackout at the worst possible time.
Protect Your Investment with a Panel Strategy
If your current setup is already crowded, don’t panic. You don’t always need a $4,000 service upgrade. You can often use load shedding devices to avoid a full service upgrade. These smart controllers act like a traffic cop, pausing your car’s charging session if your electric oven and dryer are running simultaneously. However, if you are looking toward a multi-car future, you should study panel upgrade strategies to meet EV charging code requirements in 2025. I remember one project where we squeezed a second charger onto a 100-amp service, and while it worked on paper, the heat at the main lugs was alarming. I quickly learned that a 100-amp service isn’t always enough for two EVs without active power management. 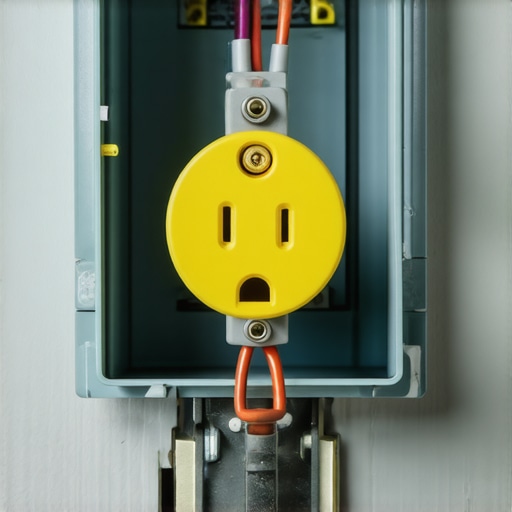
Set Up Your Subpanel for Long-Term Success
When the run to your garage exceeds 50 feet, installing a subpanel is almost always the smarter move than running a single branch circuit. This allows you to run much thicker ‘feeder’ wires once, rather than multiple smaller wires later. But here is the catch that trips up most DIYers and even some ‘general’ electricians: grounding. You cannot simply bond the ground and neutral in a subpanel like you do in your main service. This creates a parallel path for current that can lead to a ‘hot’ garage door track or electrified metal siding. You must ensure your subpanel needs a separate ground bar for EV circuits to keep the system safe and compliant.
Choose Components That Wont Melt Under Pressure
The most common point of failure isn’t the wire in the wall; it is the connection at the outlet. During one inspection, I pulled a NEMA 14-50 outlet out of a box only to find the plastic back had turned into a gooey, charred mess. The homeowner had used a cheap $10 ‘range’ outlet from a big-box store. These are designed for ovens that cycle on and off, not for an EV that pulls max current for eight hours straight. You must learn how to pick a NEMA 14-50 outlet that won’t melt under pressure—look for industrial-grade labels like Bryant or Hubbell. Additionally, pay attention to the physical placement. If your charger is too low, you’ll be fighting the cord daily; the exact distance your charger must be from the garage floor is actually specified in the code to prevent mechanical damage and ensure accessibility. Finally, always verify your torque settings. If those lugs aren’t tightened to the exact inch-pounds specified by the manufacturer, resistance will build up, and you’ll find out why your breaker gets hot to the touch during charging.
Why Code Compliance is Actually Your Performance Insurance
Most homeowners I talk to view electrical codes as a series of expensive hurdles designed to slow down their project. Let’s dig deeper: code isn’t a ‘gold standard’ for high-end work; it is the absolute bare minimum required to prevent your house from burning down. In my years in the field, I’ve seen people assume that just because a charger ‘works’ and the car is taking a charge, the job was done right. This is a dangerous myth. You can have a charger running for months while slowly cooking the insulation on your wires because of a loose terminal or an undersized conduit. Real expertise is knowing how to verify code compliance for your ev charger installation beyond just looking for a green sticker from the city. According to data from the Electrical Safety Foundation (ESFI), thousands of home fires are caused annually by faulty wiring and overloaded circuits, many of which were the result of unpermitted or poorly executed ‘pro’ installs. If you aren’t ensuring code compliance when installing ev chargers, you are essentially gambling with your home’s insurance policy.
Is Your New GFCI Breaker Doing More Harm Than Good?
Here is a nuance that trips up even seasoned DIYers: the ‘Double GFCI’ trap. Many modern EV chargers, especially smart units, have built-in Ground Fault Circuit Interrupter (GFCI) protection. However, the 2020 and 2023 NEC codes often require a GFCI breaker at the panel for any outlet in a garage. When you put a GFCI-protected charger on a GFCI-protected breaker, they can ‘fight’ each other. This leads to ‘nuisance tripping,’ where your car stops charging at 3:00 AM for no apparent reason. You might think your charger is broken, but why the gfci in your panel keeps nuisance tripping your charger is often just a conflict of electronics. This is exactly why troubleshooting ev chargers common compliance pitfalls and fixes requires a more surgical approach than just swapping out parts. 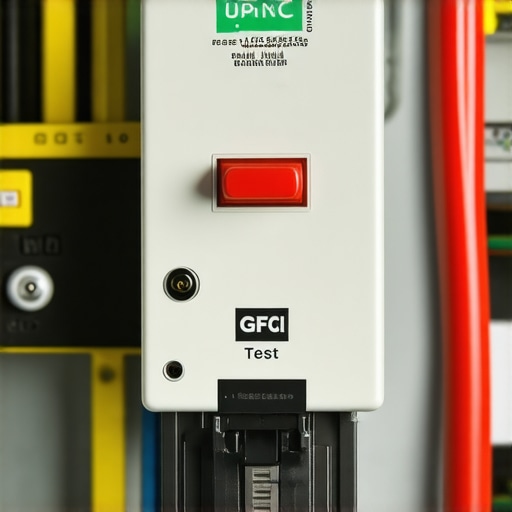
Avoid the Trap of the 80 Percent Rule
I often see people confused about why their 50-amp circuit won’t let them charge at 50 amps. They feel cheated by the hardware. The ‘Oops’ factor here is ignoring the continuous load rule. An EV charger is a continuous load, meaning it runs at full power for hours. Code requires you to size your circuit at 125% of that load. If you try to pull 50 amps through a 50-amp breaker, it will eventually overheat and trip, which is the real reason your circuit breaker trips at 90 percent charge or even lower as the ambient temperature in your garage rises. When you are upgrading your panel for better ev charging performance, you have to account for this headroom. If you don’t, you’ll find yourself dealing with ev charger troubleshooting expert tips for common issues far more often than you’d like. Have you ever fallen into this trap where your breaker trips even though you thought you did the math correctly? Let me know in the comments. Investing in the right panel upgrades for ev chargers today means you won’t be back in the panel box five years from now when you add a second vehicle.I’ve learned the hard way that an EV charger isn’t a ‘set it and forget it’ appliance like a toaster. If you want your setup to last ten years instead of two, you need to think like a maintenance tech. I never walk into a garage without my FLIR thermal camera. It might seem like overkill, but seeing a literal heat map of your connections can reveal a loose lug before it turns into a fire hazard. Often, the reason your ev charger smells like burnt plastic is a high-resistance connection that would have been visible on a thermal scan months earlier. I also swear by a high-quality torque screwdriver. Most people ‘hand-tighten’ and call it a day, but the NFPA 70B (Recommended Practice for Electrical Equipment Maintenance) emphasizes that improper torque is a leading cause of electrical failure. If you didn’t check the manufacturer’s specs, you’re just guessing.
How do I maintain my home charging station over time?
Maintenance is simpler than you think but vital for outdoor units. Every six months, I do a physical ‘tug test’ on the cables and check the port for any debris or oxidation. If you are dealing with snow and ice, you should prioritize 3 maintenance tasks that keep your outdoor charger running through winter, specifically checking the gasket seals and the handle holster. Beyond the physical, keep an eye on the digital. I’ve seen chargers ‘brick’ because of a failed automatic update. Learning how to update the firmware on your smart charging station manually can save you a $150 service call when the Wi-Fi gets wonky. It’s also wise to stock up on the essential spare parts to keep for your home charging unit, like a replacement holster or a spare J1772 cap, so a small break doesn’t leave you stranded with a dead battery. 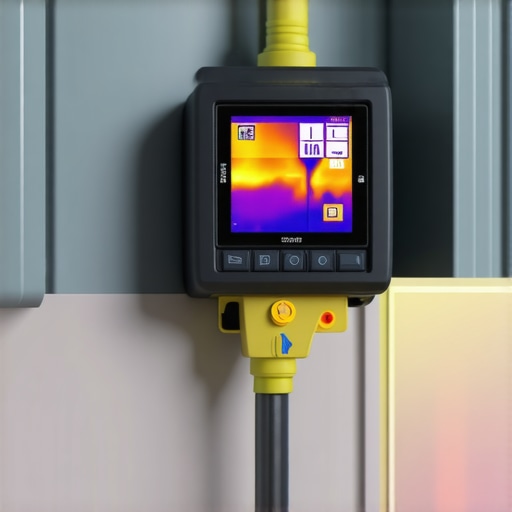
Smart Tech is Making Static Loads Obsolete
Looking ahead, the days of just ‘plugging in’ are numbered. We are moving toward a world where your car and your house talk to each other to balance the load in real-time. I’m already seeing more clients ask how smart chargers use dynamic balancing to prevent blown fuses. This is the future: instead of a massive, expensive service upgrade, your charger will simply throttle back for twenty minutes while your water heater runs. This technology is becoming a standard part of panel upgrade strategies to meet EV charging code requirements in 2025. In the next five years, expect your EV to act as a backup battery for your home during outages, which makes ensuring code compliance when installing ev chargers even more critical today. You don’t want a back-feeding car battery connected to an unpermitted subpanel. If you want to stay ahead of the curve, I highly recommend checking your breaker brand; some are notorious for failing under these new high-demand cycles. Grab a screwdriver, check your torque settings this weekend, and make sure your connections are as tight as the day they were installed.
Lessons Bought with Sweat and Scorched Lugs
Over the years, I’ve realized that the most expensive mistakes aren’t usually the big ones—they are the tiny, overlooked details that accumulate. First, I learned that torque is not a feeling. If you aren’t using a calibrated tool, you’re essentially guessing how much heat your house can handle. Second, the ‘it worked yesterday’ mentality is the enemy of safety. Electrical degradation happens slowly, often invisibly, until it doesn’t. Finally, I’ve come to see that how to verify code compliance for your ev charger installation is your most powerful tool for peace of mind. It’s not about satisfying an inspector; it’s about knowing your family sleeps safely while the car drinks its fill in the garage.
#IMAGE_PLACEHOLDER_E#
The Gear I Never Charge Without
If you want to move beyond the ‘handyman’ level and ensure professional results, there are three resources I swear by. First is the NFPA 70 Handbook. It’s dense, but it explains the ‘why’ behind every rule, which is essential for ensuring code compliance when installing ev chargers. Second, I never start a job without a calibrated torque screwdriver. It ensures every terminal is tightened to manufacturer specs, preventing the arcing that leads to melted plastic. Third, a thermal imaging camera like the FLIR One is a game changer for troubleshooting ev chargers common compliance pitfalls and fixes. It lets you see heat before it becomes a hazard.
Build a Foundation for Your Next Hundred Thousand Miles
Transitioning to an electric vehicle is more than just a change in fuel; it is a change in how you interact with your home’s energy. By focusing on quality components and proper panel upgrades for ev chargers, you aren’t just installing a plug—you are building a high-tech fueling station that will serve you for years to come. Don’t let the technical hurdles discourage you. Once you have the right wire, the right torque, and the right plan, the convenience of waking up to a ‘full tank’ every morning is well worth the effort. If you find yourself stuck, remember that ev charger troubleshooting expert tips for common issues are always available to get you back on track.
Have you checked your terminal torque settings since your charger was installed? Let me know in the comments below!