I’ll never forget the faint, sickly sweet smell of melting plastic wafting through my garage just three weeks after I finally had my Level 2 charger installed. I had spent months obsessing over the car itself, but I spent about five minutes checking the actual wire my electrician pulled. I trusted the guy; he had that ‘local pro’ vibe and a clean truck. But when I eventually popped that panel cover to investigate the smell, I saw the telltale silver sheen of aluminum where the rich, orange glow of copper should have been. It was a gut-punch. You feel cheated, and worse, you feel unsafe in your own home. High-load circuits, like the ones feeding your EV, are absolutely relentless, and they do not forgive material shortcuts.
Why copper is the only real choice for your charger
We need to talk about why that ‘silver’ wire is such a headache for homeowners in the EV space. Aluminum isn’t inherently evil, but the difference between copper and aluminum wiring for high-load circuits is massive when it comes to thermal expansion and long-term safety. Copper is the gold standard because it handles the constant, high-amperage draw of an electric vehicle without the extreme expansion and contraction cycles that plague aluminum connections. According to the Copper Development Association, copper has superior thermal conductivity, which means it stays cooler under the heavy stress of a 40 or 50-amp load. If you don’t verify what’s behind your drywall, you’re essentially trusting your home’s safety to a material that requires much more meticulous installation and maintenance.
Is the price jump for copper actually worth it?
Many people ask me if the extra cost for copper is just an upsell. It isn’t. When you consider that your charger might run for eight hours straight every single night, the reliability of your conductor is everything. Using aluminum often leads to the specific torque settings that prevent panel fires being missed, as aluminum is much softer and more prone to ‘cold flow.’ I made the mistake of not double-checking the materials on my first sub-panel project, and it cost me a melted breaker and a very expensive emergency service call.
Don’t let a contractor talk you into ‘cheap’ alternatives
It’s tempting to save a few hundred dollars, especially after you’ve already dropped thousands on the car and the charging unit. But a ‘budget’ wire choice is one of the most common DIY mistakes in home charger installations and even some ‘pro’ installs. If your electrician is pushing aluminum for a residential EV circuit, they are likely trying to pad their margins at the expense of your peace of mind. You want a system that lets you sleep soundly while your car fills up. Have you ever taken a close look at the wiring inside your panel after a big electrical job, or do you tend to just take the contractor’s word for it? To make sure you’re truly protected, you need to know exactly how to pass your electrical inspection on the first visit by ensuring all materials meet the highest standards before the inspector even arrives.
Stop guessing your panel limits before you start
Before you pull a single inch of wire, you have to know if your house can actually take the hit. Think of your electrical panel like a highway. If every lane is already full of traffic—your AC, the dryer, the oven—adding an EV is like trying to force a semi-truck into the fast lane during rush hour. You need to learn how to calculate if your 100-amp service can handle a daily commute before you buy any hardware. I’ve seen people fry their main service entrance because they assumed that because there was a spare physical slot in the panel, it was safe to add a massive load. Space in the panel does not equate to capacity in the service wires. If your math comes up short, you are looking at panel upgrades for EV chargers to ensure you aren’t constantly tripping the main breaker and wearing down your electrical infrastructure.
Pick the right wire size before you buy a single foot
Once you know the panel is ready, you have to size the conductor correctly. For a standard 48-amp charger, which requires a 60-amp breaker, you shouldn’t even look at 8-gauge wire. You need to know the exact gauge of wire you need for a 60-amp circuit to avoid massive voltage drops and excessive heat buildup. Using a wire that is too thin is like trying to put out a house fire with a drinking straw; the conductor will get dangerously hot and eventually fail at the weakest point. I always prefer using 6 AWG THHN copper wire in conduit because it is easier to pull through bends and dissipates heat significantly better than Romex bundled inside a wall. 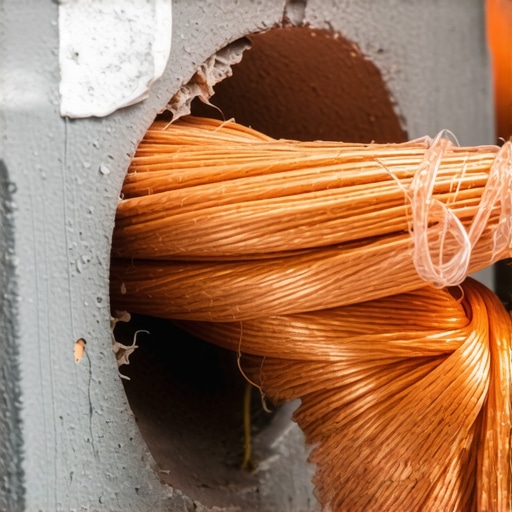
Balance the load so your lights stop flickering
Even with the right wire, you might find your garage lights dimming or flickering the second the car starts its charging session. This usually means your phases are unbalanced. You need to understand how to balance your household loads to avoid tripping the main breaker by shifting other high-draw appliances to different legs of the panel. I once spent three hours troubleshooting a ‘ghost’ trip in my own setup only to find the EV charger and the electric dryer were both pulling from the same side of the bus bar, creating an uneven strain that the main breaker didn’t like one bit.
Tighten every terminal like your life depends on it
This is where most pros and DIYers alike fail. You cannot simply ‘hand-tighten’ an EV circuit and hope for the best. You must use a calibrated torque screwdriver. If the connection is even slightly loose, it creates resistance. Resistance creates heat. Heat creates fire. Following the specific torque settings that prevent panel fires during high-load charging is the difference between a safe garage and a call to the fire department.
Label it right or the inspector will fail you
My first big install was technically perfect, but the inspector failed me in two minutes because I didn’t have the right stickers. He was right to do so. You need the specific circuit labels required by the electrical inspector so anyone opening that panel in ten years knows exactly what that 60-amp beast is doing. Also, if you are running conduit outside or through a slab, do not ignore the conduit depth rule that fails more garage inspections than anything else. Digging is a massive pain, but digging twice because you were four inches shallow is a nightmare.Most homeowners believe that a full electrical panel is a dead end that requires a $4,000 service upgrade. I’m here to tell you that’s often a myth. While many contractors will push for a massive overhaul, you should first look into how to load balance your home electrical system without a full panel swap. By using an Energy Management System (EMS) or a smart current-sensing relay, you can safely charge your car by automatically shedding the EV load when your dryer or AC kicks on. This approach aligns with modern panel upgrade strategies to meet ev charging code requirements in 2025, focusing on efficiency over raw, expensive capacity. 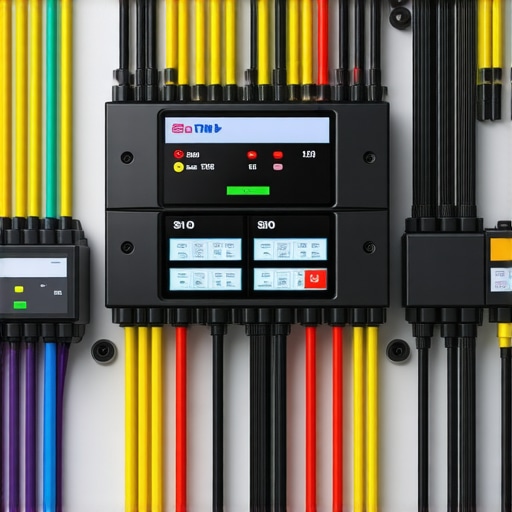
Stop the ‘GFCI Stacking’ that kills your charging sessions
One of the most frustrating ‘traps’ for new EV owners is the nuisance trip. If your Level 2 charger has built-in Ground Fault Circuit Interrupter (GFCI) protection—which almost all modern units like the Wallbox or ChargePoint do—and your electrician installs a GFCI breaker in the panel, they will likely conflict. This ‘double protection’ leads to why your ev charger trips the gfci even when not in use. According to the National Electrical Code (NEC) Article 625, the charger itself often provides the necessary protection, and adding a second layer at the breaker can create a sensitive loop that shuts down your power for no reason. I’ve seen homeowners swap out three different chargers before realizing the problem was actually the specific breaker brand that keeps tripping on level 2 chargers.
Can you really run two chargers on a single 60-amp circuit?
Many advanced users with two-car households ask if they need two separate lines. The answer is ‘no,’ provided you use power-sharing hardware. This allows two units to communicate and split the available 48 amps of delivery. However, this setup requires you to know how to update your charger software without calling a technician, as the load-balancing logic is often handled via firmware. If the software isn’t synced, one car might hog all the power while the other stays empty. Beyond the software, you must ensure you are ensuring code compliance when installing ev chargers by verifying the total continuous load doesn’t exceed 80% of your breaker’s rating.
The mystery of the evening slowdown
Have you ever noticed your car takes longer to charge on a hot Tuesday night than a cool Sunday morning? It’s not your car; it’s grid-level voltage drop. In high-demand periods, the utility voltage can sag. This is why your charging speed drops by half when the sun goes down in some older neighborhoods. A study by the Idaho National Laboratory found that residential charging performance is heavily dictated by local transformer health. If you see this happening, you should start by how to verify code compliance for your ev charger installation to rule out internal wiring issues first. Have you ever fallen into this trap of over-spending on an upgrade you didn’t need? Let me know in the comments.Once you’ve sidestepped those expensive pitfalls, the real work shifts from installation to long-term reliability. I’ve learned the hard way that a ‘set it and forget it’ attitude is the fastest road to a melted port.
Grab a Thermal Camera and Save Your Garage
You don’t need to be a certified electrician to spot a disaster in the making; you just need the right eyes. I personally swear by a compact thermal imaging attachment for my smartphone like the FLIR One. Why? Because electrical resistance generates heat long before it generates smoke. By scanning my panel while the car is pulling its full 48 amps, I can see if a breaker connection is starting to glow white-hot. This is one of the most effective ev charger troubleshooting expert tips for common issues because it reveals loose lugs or failing bus bars that a visual inspection would miss entirely. If you see a bright white spot on your screen where a wire enters a breaker, it is time to check for 3 signs your main breaker is running dangerously hot during overnight charging before the plastic casing starts to deform.
How can I maintain my charging setup over the long haul?
Keeping things running smoothly isn’t a massive weekend project; it’s about small, intentional habits. Every six months, I make it a point to inspect the handle pins. Dirt, dust, and oxidation are the silent killers of charging efficiency. You need to know how to clean the pins on your charging handle safely using specialized quick-dry contact cleaners—never stick a metal screwdriver or a damp cloth in there. If your unit is outside, you also have to stay on top of 3 maintenance tasks that keep your outdoor charger running through winter, like checking the gasket seals and ensuring the holster isn’t collecting ice. According to the NFPA 70B ‘Standard for Electrical Equipment Maintenance,’ regular thermal scanning and terminal tightening are the only ways to prevent failure in high-duty cycle equipment. 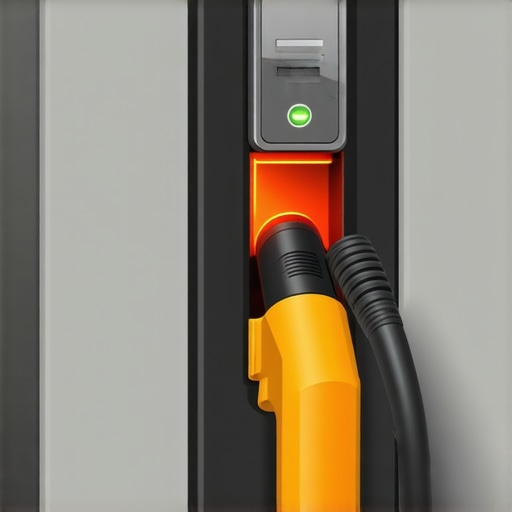
The Grid is Changing and Your Panel Needs to Keep Up
Looking ahead, the way we interact with our electrical panels is going to transform completely. We are moving toward a ‘Vehicle-to-Home’ (V2H) reality where your car acts as a giant backup battery for your house during a blackout or peak pricing. This shift means your current setup is just the foundation for a much more complex system. You should be upgrading your panel for better ev charging performance now with an eye toward bi-directional flow and solar integration. The ‘dumb’ panels of the 1990s are being replaced by smart energy hubs that prioritize loads in real-time. If you stay ahead of the curve by ensuring code compliance when installing ev chargers today, you won’t be scrambling when V2H becomes the standard in the next few years. Don’t wait for a total hardware failure to take action. Try this: tonight, while your car is charging, walk out to your garage and just listen. A silent panel is a happy panel. If you hear a faint buzzing or ‘sizzling’ sound, it is time to dig into troubleshooting ev chargers common compliance pitfalls and fixes or give a pro a call. Your home is too important to leave to chance.
What Three Years of High-Load Charging Taught My Wallet
After years of tinkering with these systems, I’ve realized that the most expensive part of an EV isn’t the car—it’s the peace of mind you lose if the installation is sloppy. One lightbulb moment for me was realizing that your electrical system is dynamic. Don’t assume today’s settings work for next year’s needs. I once thought a standard install was enough, but I quickly learned that ensuring code compliance when installing ev chargers is a continuous process of checking for wear and tear. One loose terminal today is a melted breaker tomorrow.
Another lesson: always over-engineer. If the code says 6 AWG is the minimum, don’t try to find a thinner loophole just to save fifty bucks. I’ve also learned that the visual “everything looks fine” check is rarely enough. You need to verify that your system is running cool under actual load. If you are ever unsure about the work a previous owner or contractor did, you can learn how to verify code compliance for your ev charger installation to make sure no corners were cut during the initial rush to get the car on the road.
My Personal Stash of Tools for a Worry-Free Garage
I don’t go near a high-voltage panel without my “safety trio.” First, a thermal imager is non-negotiable for spotting 3 signs your main breaker is running dangerously hot during overnight charging before a fire starts. Second, I recommend a calibrated torque screwdriver; because in the world of 60-amp circuits, “snug” is not a measurement. Finally, keep a digital bookmark of the latest NEC updates. These code compliance essentials for ev charger installations in 2025 are my roadmap to making sure my home stays safe while the grid evolves. I also swear by the Electrical Safety Foundation (ESFI) website for the latest residential safety bulletins. #IMAGE_PLACEHOLDER_E#
Your Journey to a Safer Smart Home Starts Now
Setting up your home for an electric vehicle is more than just adding a plug; it is an investment in the future of your property. By staying proactive and using ev charger troubleshooting expert tips for common issues, you take the power back from contractors who might want to rush the job. You are building a system that is efficient, safe, and ready for whatever the next generation of bi-directional charging brings. Have you ever found a surprising wire choice or a loose connection in your own electrical panel? Let me know in the comments below!