I stood there with my morning coffee, staring at the ceiling of my garage. My brand new electric SUV looked fantastic, but the “snake” of 1-inch EMT conduit zigzagging toward my charger made the whole space look like a half-finished factory floor. I’d worked so hard on the flooring and cabinets, only to have the electrical run ruin the vibe. It felt like I’d put a tuxedo on but forgot to hide my neon-orange suspenders. When I first started this journey, I made the classic rookie mistake of thinking I could just slap some crown molding over it and call it a day. Boy, was I wrong. I nearly failed my inspection because I didn’t account for heat dissipation or access points. Today, I am going to walk you through the clever, safe, and attractive ways I found to how to run ev charging conduit through a finished ceiling without making it a weekend-long nightmare. We’re going to turn that industrial eyesore into something you actually won’t notice anymore.
Stop Letting Industrial Pipes Kill Your Garage Vibe
The struggle is real when you realize that code compliance essentials for ev charger installations in 2025 often require exposed conduit if you aren’t willing to tear out all your drywall. I remember when the electrician first mounted the charger; he did a great job, but the silver pipe looked like it belonged in a subway station. My first instinct was to hide it behind a cheap wooden box, but I quickly learned about “conduit fill” and the need for the pipe to breathe. If you’re dealing with a high-amperage setup, you might even find yourself needing a panel upgrade just to handle the load, and adding more bulk to the ceiling only makes the visual clutter worse. According to the NFPA, electrical heat must be able to escape the enclosure to prevent wire degradation over time. That’s why you can’t just bury it in insulation and hope for the best. Have you ever looked at your garage ceiling and wondered why you didn’t just spend the extra money to go behind the wall from the start? You aren’t alone.
Will hiding the wiring make my garage a fire hazard?
This is the big one that stops most people in their tracks. The short answer is: not if you do it right. Many homeowners worry that by using the secret to hiding conduit behind your drywall, they are creating a hidden danger. I’ll admit, I was paranoid too. I spent hours troubleshooting ev charger connectivity problems only to realize my physical installation was also a bit of a mess. The key is using the right materials, like the best conduit materials for high heat garage environments, which are designed to be tucked away without melting your house down. In the next section, we are going to dive into the specific mounting techniques that look professional but keep everything easy to inspect for the next time you have a pro over for a code compliance verification.
Map Out Your Ceiling Path Before You Drill
Running conduit is like planning a road trip; if you don’t check the map first, you’ll end up at a dead end with a hole in your drywall. I learned this the hard way when I tried to take the “shortest path” across my garage ceiling. Halfway through, I hit a massive support beam that forced me to make three awkward 90-degree turns. It looked like a game of Tetris gone wrong. To avoid this, you need to find the safest way to route conduit through a finished ceiling by using a high-quality stud finder and a borescope to see what’s lurking behind the plaster. Before you even touch a screwdriver, you have to ensure your home can handle the juice. You might be wondering how to add an ev charger without a 200 amp panel upgrade if your service is older, but this requires precision and likely some load-management hardware. Your first step is to perform a load calculation to see if your current setup is even allowed to host a 40 or 50-amp circuit. This is why why your ev permit application requires a load calculation worksheet—the city wants to ensure you aren’t setting your insulation on fire because you overloaded the bus bars.
Pick the Right Pipe or Regret it Later
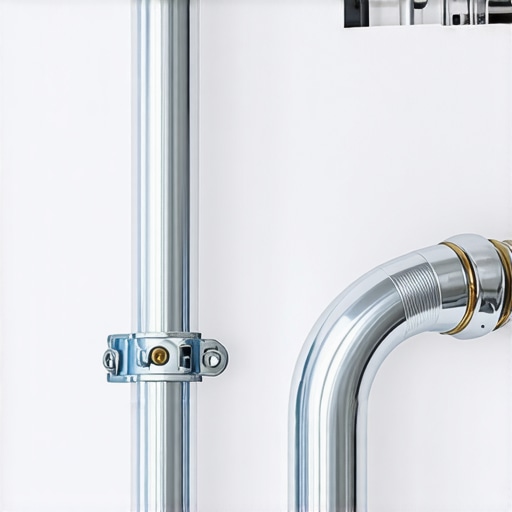
If you decide to keep the conduit exposed for ease of maintenance, you can’t just use whatever is cheapest at the hardware store. For garage environments that get sweltering in the summer, you need the best conduit materials for high heat garage environments. EMT (Electrical Metallic Tubing) is the gold standard for durability, but it requires a bender and some patience. I remember my first attempt at a “saddle bend” to jump over a water pipe; I wasted ten feet of conduit before I realized that a slight offset is much cleaner. If you are going through the ceiling, ensure you are using fire-rated caulk at every penetration point. This isn’t just a suggestion; it’s a vital safety barrier that keeps a garage fire from racing into your attic and claiming the whole house.
Tighten Everything to Spec or Fail Your Inspection
This is where most DIYers (and even some pros) get caught. You might think “hand-tight” is enough for the lugs on your charger, but an inspector will pull out a torque screwdriver every single time. I once watched an inspector fail a neighbor because his connections were just 5 inch-pounds off. There is a specific reason why your charger needs a specific torque setting to pass inspection: heat expansion. Under heavy load, the metal expands and contracts. If it’s too loose, you get arcing; too tight, and you strip the threads or crack the housing. I now keep a dedicated torque wrench in my kit just for this. While you are at it, make sure you know the proper way to seal conduit openings against spiders and dust. Believe it or not, a spider nest inside a junction box can cause enough moisture buildup to trip your GFCI repeatedly, leading to those frustrating connectivity errors on your dash.
I see it in the forums every single week: someone is convinced they need to drop $3,000 on a service upgrade before they can even buy their car. Let me let you in on a little secret that most electricians won’t lead with because they want the big ticket job. You might be able to skip the headache entirely. While everyone says a 200-amp panel is the gold standard, in my experience, smart load management is often the superior, more modern choice. By using how to use load shedding devices to avoid a full service upgrade, you can prioritize your dryer and oven while your car sips power in the background. It’s about working smarter with the juice you already have rather than just throwing copper at the problem. However, skipping the math is where the danger lies. I’ve seen people ignore the hidden cost of skipping a panel load calculation only to have their main breaker trip the first time they try to roast a chicken while charging their Tesla. Have you ever fallen into this trap? Let me know in the comments.
Why does your 40-amp charger trip a matching 40-amp breaker?
This is the most common “advanced” mistake I see. Most people assume that if the box says 40 amps, you buy a 40-amp breaker. This is a recipe for a localized fire. The National Electrical Code (NEC) classifies EV charging as a “continuous load,” meaning it runs at full tilt for more than three hours. Because of this, you must follow the 125% rule. This is exactly why your electrician recommends a 60 amp circuit for a 48-amp charger. If you run a 40-amp load on a 40-amp breaker for six hours, the thermal element in that breaker will eventually overheat and trip, or worse, begin to melt. A study by the Electrical Safety Foundation International (ESFI) highlights that continuous high-draw loads are the leading cause of premature breaker failure in residential settings. If you’re already seeing signs of trouble, you might need to look into troubleshooting ev chargers common compliance pitfalls and fixes before your hardware sustains permanent damage.
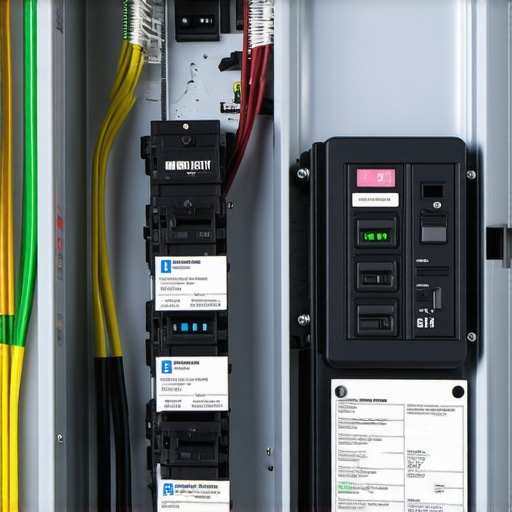
Another nuance that catches even the most meticulous DIYers off guard is brand compatibility. Not all breakers are created equal, even if they physically fit in the slot. There are the specific breaker brands that are known to overheat with evs due to their internal bus bar contact design. I’ve personally pulled out charred “budget” breakers that were technically the right amperage but couldn’t handle the sustained heat. This is why ensuring code compliance when installing ev chargers involves more than just a pass from the city; it’s about choosing components that won’t fail when you’re asleep. I always tell people to check the inspection checklist for a used home ev charging station if they are buying second-hand, because a scorched terminal on a used unit is a clear sign that the previous owner didn’t use the right torque or wire gauge. Don’t be afraid to dig into the panel upgrade strategies to meet ev charging code requirements in 2025 to see if a simple sub-panel might solve your space and heat issues more effectively than a full-service overhaul.
After the dust settles and your permit is signed off, the real work of home ownership begins. I used to think that electrical work was ‘one and done,’ but after seeing a thermal image of a neighbor’s subpanel, I realized that high-amperage continuous loads require a different mindset. I’ve started using a handheld infrared thermometer once every six months to check my breaker temperatures while the car is pulling 48 amps. If I see a jump of more than 20 degrees Celsius over the ambient temperature, I know it’s time to check if why your main lugs might be loose after a year of charging. It sounds overkill until you realize that thermal cycling—the constant heating and cooling of the wires—can slowly back out even the best-torqued screws. This is why I always recommend keeping a specific tool kit nearby; at the very least, you need the essential spare parts to keep for your home charging unit and a high-quality torque screwdriver. According to the NFPA 70 Article 625, the NEC specifically outlines that EV charging equipment must be accessible for maintenance, and for good reason. I’ve seen chargers where the internal relay starts to click or hum, and catching that early with a simple visual check can save you from the mistake that causes ev charger motherboards to fry during storms.
How do I maintain my EV charging station over time?
It’s simpler than you think, but you have to be consistent. Every quarter, I do a physical ‘sniff test’ and a cable inspection. If you ever find that the reason your ev charger smells like burnt plastic is a loose connection inside the handle, you’ll be glad you caught it before it fused to your car’s port. Software is the other half of the battle. You should regularly check for updates; knowing how to update the firmware on your smart charging station can fix intermittent Wi-Fi drops and improve charging efficiency. I also make it a point to clean the plug contacts with a dedicated electronic cleaner to prevent oxidation, which is often why your ev plug contacts look burnt and what to do next. 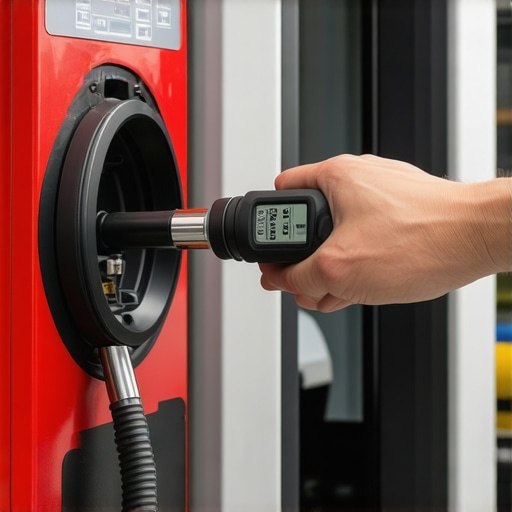 Looking ahead, I predict we are moving toward a world of total ‘Vehicle-to-Home’ (V2H) integration where your charger won’t just be a pipe for power, but a bidirectional gateway. We are already seeing this with how smart chargers use dynamic balancing to prevent blown fuses, allowing you to run your whole house off your car during a blackout. If you’re planning for a second EV, don’t rush into a second service drop. Instead, look into how to share a single circuit between two evs safely using power-sharing chargers. My advanced tip for you this week: Get a cheap thermal camera attachment for your smartphone and scan your panel while your car is charging; it’s the most satisfying and effective way to ensure your DIY work is holding up under pressure.
The Reality of Living With a High-Amperage Circuit
After a year of charging my own vehicle, my biggest lightbulb moment wasn’t about the physical conduit—it was about the invisible wear and tear that high-power loads place on a home. I realized that knowing how to fix the grounding fail that ruins ev permits is just the first step in a long relationship with your garage electrical system. One evening, I noticed my charger handle felt unusually warm, which led me down a rabbit hole of learning about electrical resistance and thermal expansion. I also discovered that panel upgrades for ev chargers what you need to know often involves more than just swapping a breaker; it’s about ensuring your entire home infrastructure can handle a sustained 10-hour pull without breaking a sweat. It is truly a marathon for your copper wires, not a sprint. Always remember that thermal cycling can loosen screws over time, so a quick annual check is the best insurance policy you can have.
- Inspect your connections once a year; heat expansion can slowly back out even the best-torqued lugs.
- Don’t ignore a slight hum or buzzing from your panel—it is usually the first sign of a breaker reaching its thermal limit.
- Always keep your firmware updated via the manufacturer app to avoid those ghost charging errors that happen in the middle of the night.
A Few Tools Every EV Owner Needs in Their Toolbox
You do not need a professional electrician’s van parked in your driveway, but a few targeted items will save you hundreds in service calls and provide massive peace of mind. First, a high-quality torque screwdriver is non-negotiable because I have seen firsthand why your charger needs a specific torque setting to pass inspection and stay safe during rapid charging sessions. Second, a simple infrared thermometer allows you to see heat buildup before it becomes a fire hazard. Lastly, before you buy any third-party accessories, learn how to spot a cheap knockoff charging cable before it melts. Buying quality components from the start is the best way to protect your car’s sensitive charging port.
#IMAGE_PLACEHOLDER_E#
Stop Staring at the Ceiling and Start Your Build
Installing your own setup or overseeing a professional is about more than just convenience; it is about taking control of your home’s energy future. When you finally master how to run ev charging conduit through a finished ceiling safely and stylishly, your garage transforms from a cluttered storage unit into a high-tech fueling station. Do not let the technical jargon or the fear of a city permit stop you from making this upgrade. The peace of mind that comes from a clean, code-compliant installation is worth every hour of planning and every sheet of drywall you had to patch. Have you ever run into a surprise behind your drywall that almost made you quit the project? Let me know in the comments below!