I walked into my garage last Tuesday night and caught that unmistakable, heart-sinking scent of ozone and acrid, melting plastic. It was faint, but for anyone who has spent years tinkering with home wiring, it was a literal siren. I pulled the charging handle from my car, and there it was: a nasty, blackish-brown pit on the metal contact pins. It looked like someone had held a lighter to it. If you have seen those dark spots or pitting on your connector, let me be clear—you aren’t just looking at ‘wear and tear.’ You are looking at a potential fire hazard that I once ignored until it nearly fused my expensive charging cable to the port. Today, I am going to walk you through exactly why this happens and how we can get your setup back to being safe and reliable.
That Charred Plastic Smell is a Warning You Can’t Ignore
The first time I saw a bit of discoloration on my plug, I made the classic rookie mistake: I figured the charger was just pulling high amps and getting a little ‘toasty.’ I was wrong. The reason your EV charger smells like burnt plastic is almost always due to high resistance. In the world of electricity, resistance creates heat. If your plug isn’t making a perfect, tight connection with the outlet or the car’s port, the energy has to fight to jump the gap. That struggle creates heat levels that can exceed 300 degrees Fahrenheit, melting the housing before your breaker even thinks about tripping. Have you ever noticed your handle feeling unusually hot after a session?
Is a little bit of discoloration really that dangerous?
Many people ask if they can just ‘sand off’ the burn marks and keep going. I tried that once with a cheap adapter, and within a week, the pitting was twice as deep. According to the National Fire Protection Association (NFPA), electrical malfunctions are a leading cause of home fires, and EV charging is the most strenuous task your home’s electrical system will ever perform. When those contacts are burnt, they lose their conductivity, which leads to more heat in a vicious cycle. You might also find that your breaker gets hot to the touch during charging, which is another massive red flag. This isn’t just about a slow charge; it’s about preventing a thermal runaway event in your garage.
Why Your Outlet Choice is Usually the Culprit
Most of the time, the damage doesn’t start at the car; it starts at the wall. When I first installed my Level 2 setup, I grabbed a generic $15 outlet from a big-box store. That was a mistake. Those standard outlets are designed for dryers that run for an hour, not an EV that pulls 40 amps for ten hours straight. If you want to avoid a meltdown, you need to learn how to pick a NEMA 14-50 outlet that won’t melt under pressure. Industrial-grade outlets use high-tension internal clamps that grip the plug pins tightly, reducing the resistance that causes those burn marks. If you’re seeing issues, we also need to look at ev charger troubleshooting expert tips for common issues to see if the problem lies in your torque settings or wire gauge. We’re going to fix this the right way, so you can sleep soundly while your car is plugged in.To fix a scorched setup, you have to start with the most basic point of failure: the physical connection. Think of electricity like water rushing through a pipe. If that pipe suddenly narrows due to a loose screw or a cheap, thin metal contact, the water pressure builds up and creates friction. In your garage, that friction is heat. If you have already seen pitting on your plug, the damage is done; that connector needs to be replaced immediately. You can find more granular details in my guide on ev charger troubleshooting expert tips for common issues, but the hardware replacement is non-negotiable.
A Loose Connection is a Slow-Motion Torch
I remember helping a neighbor, Mike, who thought he had saved a few hundred bucks on a DIY install. He called me because his car was intermittently throwing a fault code and he kept hearing a faint clicking noise. When we pulled the cover off his wall unit, we found the ‘hot’ terminal was so loose I could wiggle it with my pinky. The heat had actually melted the wire’s insulation back two inches. He had used a standard screwdriver and ‘hand-tightened’ it until it felt snug. That is a recipe for disaster. This is why your charger needs a specific torque setting to pass inspection and, more importantly, to keep your house from burning down. You need a calibrated torque wrench to hit the exact inch-pounds specified by the manufacturer. Hand-tight is never enough for 40+ amps of continuous draw. 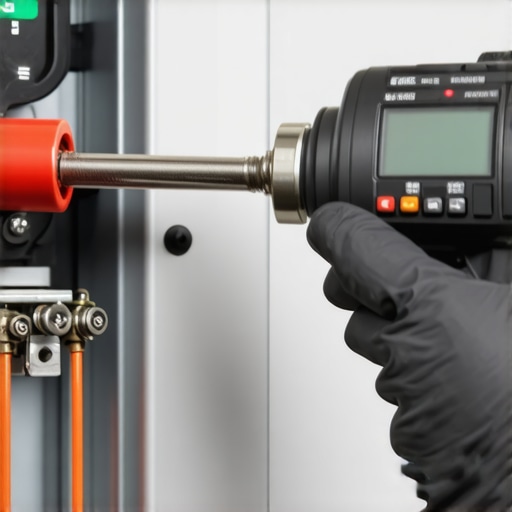
Why Copper Beats Cheap Aluminum
When you are running the lines from your panel to the garage, do not cut corners on the metal. While aluminum is cheaper, it expands and contracts significantly more than copper under heat. For a high-load appliance like an EV, this movement can loosen those terminals we just talked about. You need to know the difference between copper and aluminum for ev wiring before you buy a single foot of Romex or THHN. Additionally, if you are pulling 40 amps, you should not be using the bare minimum wire size. Upsizing to the exact wire gauge you need for a 50-amp ev circuit, typically 6 AWG, provides a safety buffer that keeps the wires themselves from becoming radiators.
Your Main Panel Might Be the Bottleneck
Even if your wiring is perfect, your home’s main service might be screaming for mercy. I have seen many older homes with 100-amp service try to add a Level 2 charger while the AC and electric oven are running. It is like trying to run a marathon while breathing through a straw. You need to look into upgrading your panel for better ev charging performance if you notice your lights flickering or the main breaker feeling warm. In many cases, why a 100-amp service isnt always enough for two evs, or even one heavy-use one, becomes painfully obvious once you do a load calculation. If you are hearing a clicking sound but not charging, it is often the internal safety relays in the charger sensing that the voltage is dropping too low because the house is over-taxed.
The Invisible Strain of Voltage Drop
If your garage is a long run from your main panel, say 50 feet or more, you are dealing with voltage drop. This forces the charger to work harder and can contribute to heat at the terminals. It is the silent killer of motherboard components. I always recommend installers go one size larger on the wire for long runs to keep the flow cool and consistent.Many homeowners think the local electrical inspector is just a bureaucrat looking for a payday. I used to think that too, until I realized ensuring code compliance when installing ev chargers is the only thing standing between a cool-running garage and a midnight call to the fire department. One of the biggest myths I hear is that a Level 2 charger *automatically* requires a 200-amp service upgrade. People will spend thousands on a panel they don’t necessarily need. In my experience, you can often avoid the “big bill” by learning how to add an ev charger without a 200-amp panel upgrade using load-management devices. These units “pause” your car’s charging if the electric dryer and oven kick on at the same time. It is a smarter, cheaper way to stay safe without tearing out your whole wall.
The GFCI conflict that leaves you stranded
Another nuance that gets missed is the “GFCI conflict.” Many newer codes require a GFCI breaker for garage outlets. However, most high-end EVSEs (Electric Vehicle Supply Equipment) have sensitive GFCI protection built right into the handle. When you have two “brains” trying to monitor the same ground fault, they can trip each other for no reason. This is why the gfci in your panel keeps nuisance tripping your charger. The fix is often hardwiring the unit, which bypasses the need for the redundant (and annoying) plug-in breaker requirement in many jurisdictions.
How can a brand-new breaker fail after only a month?
It sounds impossible, right? You bought the best parts, but suddenly you are dealing with ev charger troubleshooting expert tips for common issues because the power keeps cutting out. The “trap” most DIYers and even some general electricians fall into is ignoring the “Continuous Load” rule. Per the National Electrical Code (NEC) Article 625, EV charging is defined as a continuous load. This means if you are pulling 40 amps, your circuit and breaker must be rated for 125% of that load, which is 50 amps. If you run a 40-amp charger on a 40-amp breaker, it won’t trip immediately, but it will slowly bake the internal spring tension until the breaker becomes a “nuisance tripper.” This is why your electrician recommends a 60-amp circuit for a 48-amp charger; it is not a copper upsell, it is pure physics. 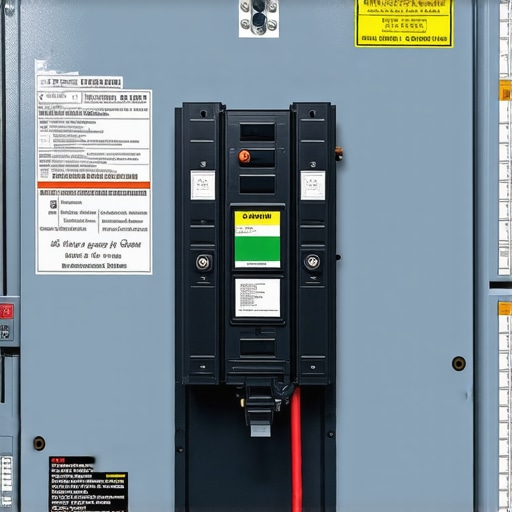
Why you might not need that expensive panel upgrade after all
Beyond the wiring, you have to look at the handshake issues. I have seen so many people get frustrated when their charging station is stuck in waiting mode because they didn’t account for these subtle communication issues between the car and the wall. Have you ever fallen into this trap of over-engineering your panel or battling a ghost trip? Let me know in the comments below; I would love to hear your inspector horror stories. If you are still stuck, check out my breakdown on troubleshooting ev chargers common compliance pitfalls and fixes before you call for a re-inspection. We are going to ensure your setup is both code-compliant and bulletproof.
Maintenance is a marathon not a sprint
Once the inspector signs off, most homeowners never look at their charger again. That is a massive mistake. I personally use a thermal imaging camera—the FLIR ONE is a great entry-level choice—once every six months while the car is charging at full power. If I see a bright white spot at the breaker or the plug, I know I have a high-resistance point before it starts melting. This is how you really dive into ev charger troubleshooting expert tips for common issues before they turn into midnight emergencies. I have caught loose neutral wires this way that would have eventually fried my charger’s motherboard.
The gear that keeps my garage from burning
I cannot stress enough how much a quality torque wrench matters for long-term safety. I use a CDI torque wrench because it is calibrated and clicks precisely at the 20 to 50 inch-pounds required by most EVSE manufacturers. When you are ensuring code compliance when installing ev chargers, you will realize the instruction manual is not kidding about these specs. Even more critical: check your main lugs if you have the experience to do so safely. I discovered firsthand why your main lugs might be loose after a year of charging—the constant thermal expansion and contraction from 40-amp loads can literally back a screw out over time.
How do I keep my home charging unit safe for the next decade?
The key is a routine visual inspection every quarter. Look for any discoloration on the pins of your J1772 or NACS handle and feel the cord for unusual stiff spots. Keep a set of the essential spare parts to keep for your home charging unit, like a spare holster or cable mounting hardware, to avoid unnecessary cord strain. Specificity matters here; for instance, the 2023 National Electrical Code (NEC) Section 110.14(D) explicitly requires that terminal torque be verified with a calibrated tool where a value is provided. If you have an outdoor setup, knowing how to protect your outdoor ev charger from heavy rain and snow is your top priority to prevent micro-corrosion from eating your terminals from the inside out.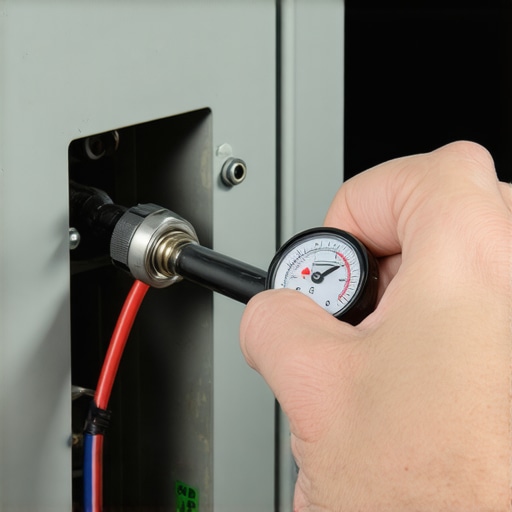
What the future holds for home power
We are moving rapidly toward a world of bi-directional charging, or V2G (Vehicle-to-Grid). Your car won’t just take power; it will feed it back to your house during peak hours. This means your wiring will be working twice as hard, switching directions frequently. If your current system is already getting warm, you definitely need to look at panel upgrades for ev chargers what you need to know now before these new energy-sharing protocols become the standard. Additionally, stay on top of software; knowing how to update the firmware on your smart charging station is becoming as important as tightening the screws, as manufacturers release patches to improve thermal management. I challenge you to go out to your garage right now with a flashlight. Look at the wall plug or the hardwire entry point. If you see even a hint of yellowing, shut off the breaker immediately. Better yet, verify your setup against my checklist on how to verify code compliance for your ev charger installation for total peace of mind.
The Hardest Lessons I Learned After Nearly Firing My House
If there is one thing that years of tinkering have taught me, it is that electricity is incredibly patient; it will wait for the smallest mistake to turn into a major problem. First, never assume a ‘snug’ fit is a safe fit. Metal expands when it gets hot, and a connection that feels tight in the morning can become loose after four hours of heavy draw. Second, those cheap third-party adapters you see online are rarely worth the risk. I highly recommend learning how to spot a counterfeit J1772 adapter before it ruins your port because once those internal pins are damaged, the repair bill for your car will dwarf the twenty bucks you saved. Finally, remember that your home electrical system is a living thing. Just because it passed inspection three years ago doesn’t mean a screw hasn’t vibrated loose or a breaker hasn’t aged out under the stress of 10,000 miles of charging.
Tools I Trust to Keep the Amps Flowing Safely
You don’t need a professional electrician’s van to keep things safe, but you do need a few specific items in your cabinet. I always keep a small kit of the essential spare parts to keep for your home charging unit, including high-quality mounting brackets to prevent cord strain. My go-to tool is a calibrated CDI torque wrench; it is the only way to ensure you are meeting the exact specs required for your terminals. I also suggest bookmarking a reliable guide on troubleshooting ev chargers common compliance pitfalls and fixes so you aren’t guessing when a new fault code appears. Having the right info is just as important as having the right screwdriver.
Take Control of Your Garage Before the Next Charge
Transitioning to an electric vehicle is a massive step toward the future, but it requires a shift in how we think about our home’s infrastructure. Whether you are looking into panel upgrades for ev chargers or simply tightening a few lugs, your attention to detail today prevents a disaster tomorrow. Don’t be afraid to take a flashlight out there and really look at your equipment. A safe garage isn’t just about passing a one-time check; it’s about the peace of mind that comes when you plug in and walk away. If you want to be 100% sure, take a moment to how to verify code compliance for your ev charger installation one last time. You’ve got this, and your house will thank you for the extra care. Have you ever noticed your charging handle getting uncomfortably warm or seen a flicker in your lights during a long session? Let me know in the comments below!