I remember standing in my driveway at 11 PM during a Nor’easter, staring at my expensive Level 2 charger as it was slowly being buried under six inches of heavy, wet snow. The status light was pulsing an angry orange I’d never seen before, and I felt that familiar pit of regret in my stomach. I’d spent thousands on the car and the installation, yet there I was, terrified that a simple rainstorm was about to turn my sleek tech into a very expensive paperweight. It’s a gut-wrenching feeling. You want the convenience of home charging, but you can’t help but wonder if Mother Nature is eventually going to win this fight. Today, I’m going to share exactly how I stopped worrying about the forecast and finally secured my setup against the elements.
Why You Can’t Just Trust the Weatherproof Label
Most chargers come with a NEMA 3R or 4 rating, which sounds impressive on a spec sheet. But there is a massive difference between “lab-tested rain” and a week of freezing sleet followed by a flash thaw. Early on, I made the mistake of thinking my outdoor-rated unit was invincible. I didn’t think about ice buildup in the holster, which eventually led to a panicked morning where I was wondering why my ev charger is making a clicking sound but not charging. It turns out, moisture and electronics are still frenemies at best. According to the National Fire Protection Association (NFPA), water ingress remains a primary cause of electrical equipment degradation in residential settings, even when equipment is rated for the outdoors. You need more than just a sticker from the manufacturer; you need a proactive defense. If you’re starting from scratch, make sure you know the rules for mounting an ev charger on a wooden post to ensure your foundation is as solid as your weatherproofing.
Will an Outdoor Cover Actually Overheat My Charger?
This is the big one I hear from my neighbors all the time. They worry that by shielding the unit from the cold, they’ll trap heat and fry the internal boards during a humid summer downpour. It’s a valid concern! However, modern units are designed to throttle if they get too warm, and the best protection strategies focus on shielding the sensitive port and cables rather than suffocating the main box. Have you ever walked out to your car only to find the charging handle frozen solid into its dock? It’s a frustrating, cold start to the day that nobody needs. Beyond just physical covers, there are 3 maintenance tasks that keep your outdoor charger running through winter that most people completely ignore until it’s too late. Let’s get into the nitty-gritty of how to build a setup that laughs at a blizzard.
Pick a Spot That Won’t Turn Into a Waterfall
The first rule of outdoor installation is that your charger shouldn’t be the primary target for your house’s runoff. I’ve seen beautiful Level 2 units mounted directly under a leaky gutter or a valley in the roof. Every time it rains, it’s like the charger is taking a high-pressure shower. Even if it’s rated for it, you’re asking for trouble. Try to find a north-facing wall to avoid direct sun-beating, which can cause the unit to throttle your speed to protect internal components. If you are struggling with power delivery, you might need to investigate why your charging station isn’t reaching its full 48-amp potential before you even worry about the rain.
Use a Drip Loop to Keep Moisture Out
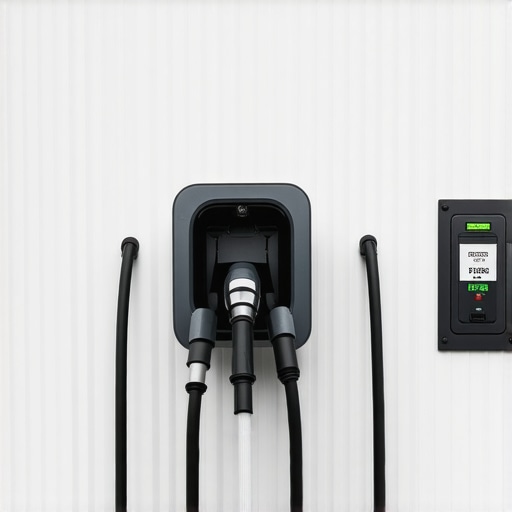
Think of a drip loop like a P-trap in your plumbing, but for electricity. You want your conduit or cable to dip down below the entry point of the charger before coming back up into the housing. Gravity is a relentless force; water will follow the wire right into the guts of your machine if you give it a straight path. When I first installed a unit for my brother-in-law, we didn’t do this, and three months later, the internal port was corroded. It was an expensive lesson in basic physics. You also need to ensure you have the specific depth requirements for underground ev wiring sorted if you’re running lines through the yard to a pedestal mount.
Tighten Every Terminal to Prevent a Meltdown
Heat is the silent killer of outdoor chargers. Because these units cycle through temperature extremes—from freezing nights to baking summer days—metal components expand and contract. This can loosen your terminal screws over time. I’ll never forget the smell of ozone that wafted through my garage last July; I’d skipped using a torque wrench on the breaker lugs during a quick swap. The heat from the constant 40-amp draw turned my breaker into a lump of charred plastic, making me realize the reason your ev charger smells like burnt plastic is usually a loose connection rather than a faulty unit. I learned the hard way that saving a few bucks on aluminum wire wasn’t worth the anxiety of a high-load circuit in an outdoor environment. I always recommend checking the difference between copper and aluminum for ev wiring before you pull any cable through your conduit. Always use the specific torque settings that prevent panel fires during high load charging to stay safe. If your current panel can’t handle the heat, it might be time for panel upgrades for ev chargers.
Keep Your WiFi Signal Strong Through the Snow
Smart chargers are great until they lose their connection. I’ve found that a thick layer of wet snow on the exterior of a charger can act like a Faraday cage, blocking your home’s WiFi signal. This usually results in missed charging schedules and higher utility bills because the charger reverts to default, high-rate times. If your app is acting up, you’re likely troubleshooting ev charger connectivity problems rather than a hardware failure. If you can, mount a WiFi extender inside the garage wall closest to the outdoor unit. This ensures you can still use an app to schedule charging and save on your bill without standing in a blizzard trying to reset the router. Also, double-check your installation against ensuring code compliance when installing ev chargers to make sure your local inspector won’t have any issues with your setup’s placement or connectivity equipment.
Stop Your Charging Handle From Sticking
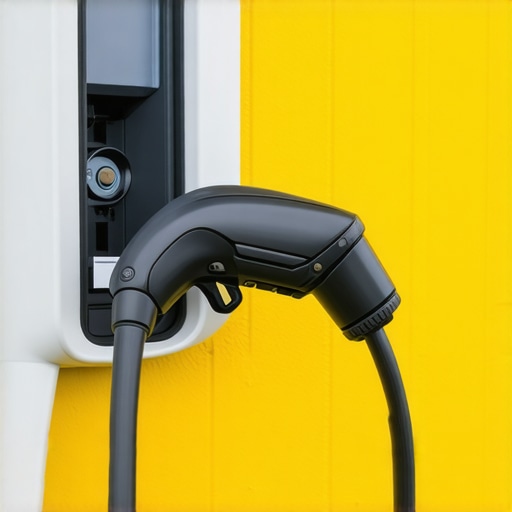
Ice is the primary enemy of the J1772 or NACS connector. If you leave your handle exposed to the elements, moisture gets into the release button and freezes it solid. I used to keep a hairdryer in my mudroom just to thaw my car out in the morning—not exactly the futuristic lifestyle I was promised. A simple holster that points the connector downward is your best friend here; it prevents water from pooling inside the plug. If the handle does get stuck, learn how to stop your charger handle from sticking in the port properly so you don’t snap the plastic locking mechanism in a moment of morning rage. Regular maintenance is key, and following 3 maintenance tasks that keep your outdoor charger running through winter will save you from those freezing-fingers moments when you’re just trying to get to work.
Hardwiring Saves You From the Melting Plug Syndrome
A common misconception I see among many EV owners is the belief that a NEMA 14-50 outlet with a weather-rated ‘bubble cover’ is the gold standard for outdoor setups. While it offers flexibility, it is actually a significant point of failure in high-humidity or extreme-temperature zones. In my experience, hardwiring is almost always the superior choice for outdoor reliability. When you use a plug, you’re introducing physical gaps where moisture can eventually find a way in, regardless of the cover. If you absolutely must use an outlet, you need to learn how to pick a NEMA 14-50 outlet that wont melt under pressure, as many residential-grade outlets aren’t designed for the sustained 32-40 amp draw of an EV over several hours. Hardwiring eliminates the plug entirely, creating a sealed, airtight connection that doesn’t suffer from the expansion and contraction cycles that loosen receptacle blades. Have you ever fallen into this trap of prioritizing convenience over a hardwired connection? Let me know in the comments.
The GFCI Ghost That Trips Your Breaker for No Reason
One of the most frustrating ‘hidden nuances’ of outdoor charging involves the National Electrical Code (NEC). Specifically, NEC Article 625.54 now requires GFCI protection for all outdoor EV charging receptacles. However, almost every Level 2 charger already has built-in GFCI protection. This creates a ‘double GFCI’ scenario where the two systems ‘talk’ to each other incorrectly, leading to nuisance trips that leave you with an empty battery in the morning. This is often why your ev charger trips the GFCI even when not in use. Professional ev charger troubleshooting expert tips for common issues often suggest hardwiring specifically to bypass this code-mandated headache, as hardwired units typically don’t require an additional GFCI breaker in the panel. Before you start your project, make sure you know how to verify code compliance for your ev charger installation to avoid a failed inspection.
Does My Outdoor Subpanel Need a Separate Ground Bar?
If you are installing a pedestal mount or a remote charging station away from your main house, you might be tempted to just bridge the neutral and ground in a subpanel. This is a critical mistake that can lead to ‘stray voltage’ on the exterior casing of your charger—a massive safety risk in wet conditions. According to the Copper Development Association, improper grounding accounts for a significant portion of power quality issues in high-load circuits. You must understand why your subpanel needs a separate ground bar for ev circuits to ensure the safety of anyone touching the vehicle while it’s plugged in during a storm. If your current home infrastructure is aging, you should also look into panel upgrades for ev chargers to ensure you have the physical space and the electrical capacity to handle these advanced safety requirements safely.
Keep Your Firmware Fresh or Get Left Behind
Most people treat their EV charger like a toaster—plug it in and forget it. But these units are closer to computers than appliances. I’ve personally seen a high-end charger refuse to talk to a brand-new Kia simply because the charger’s software didn’t recognize the car’s updated handshake protocol. I make it a habit to check for updates once a month. Learning how to update the firmware on your smart charging station is the easiest way to prevent those 6 AM ‘not charging’ surprises. If you ignore this, you’ll eventually find yourself troubleshooting ev charger connectivity problems while standing in your pajamas in the rain. Trust me, the app is your friend; use it to monitor the internal temperature of the unit during those heatwaves to ensure your hardware isn’t cooking itself.
How Do I Keep This Setup Running for the Long Haul?
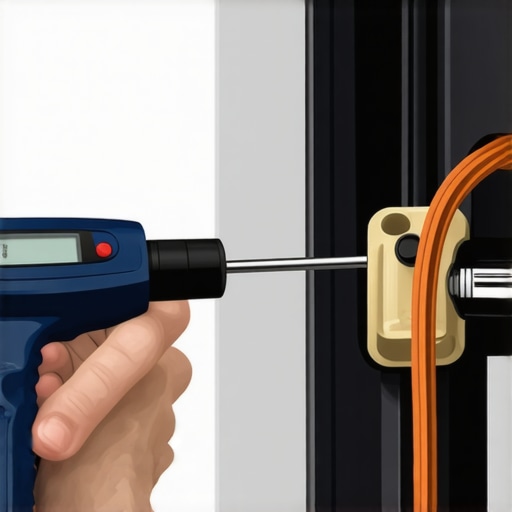
The secret to a 10-year lifespan isn’t luck; it’s a specific set of tools. Every six months, I pull the cover off my unit (after killing the breaker, of course) to check the torque on the main lugs. The Electrical Safety Foundation International (ESFI) notes that thermal cycling—the constant heating and cooling of wires—is a leading cause of arc faults in high-draw residential circuits. I don’t just ‘hand-tighten’ them. I use a calibrated Wera torque screwdriver to hit the specific torque settings that prevent panel fires during high load charging. If you see even a hint of discoloration on the copper, you have a high-resistance connection that needs immediate attention before it turns into a melt-down. Additionally, I highly recommend looking for 3 signs you need a whole house surge protector for your ev, because a single nearby lightning strike can fry the sensitive logic board of your charger in a millisecond.
When One Car Becomes Two
The trend I’m seeing everywhere is the ‘Second EV Shock.’ Families buy one car, love it, and six months later there’s another one in the driveway. This is where your infrastructure really gets tested. You don’t necessarily need a whole new service from the utility company. You can often learn how to load balance your home electrical system without a full panel swap by using chargers that ‘talk’ to each other and share a single circuit. However, if your panel is already a chaotic mess of double-tapped breakers, you’re better off upgrading your panel for better ev charging performance to give both cars the 48-amp juice they deserve. Before you commit to a second unit, always double-check how to verify code compliance for your ev charger installation to ensure you aren’t creating a fire hazard by overloading your main bus bars.
Looking ahead, I expect we’ll see more integrated V2H (Vehicle-to-Home) systems where your charger isn’t just taking power, but giving it back during peak hours. If you want to stay ahead of the curve, ensure your current wiring is oversized; pulling 6 AWG copper now is much cheaper than re-pulling it in three years. If you’re feeling overwhelmed by the technical requirements, don’t hesitate to contact us for a professional consultation. My best advice? Buy a torque wrench today and check those lugs—it’s the single most effective thing you can do to sleep soundly while your car draws 11 kilowatts all night long.
What My Burnt Breaker Taught Me About Outdoor Gear
After years of battling the elements, I’ve realized that even the most expensive equipment fails if the installation is sloppy. The hardest lesson I learned was that regular check-ups aren’t optional; the thermal expansion in outdoor units is relentless. If you aren’t sure where to start, looking at ev charger troubleshooting expert tips for common issues can help you spot small problems before they become expensive disasters. I also learned that copper is king for these high-load scenarios. If you’re curious why, read up on the difference between copper and aluminum wiring for high load circuits to see how heat dissipation affects your long-term safety and efficiency.
The Gear That Actually Survives a New England Winter
I don’t just rely on the factory box anymore. My personal toolkit includes a few essentials that have saved my charger from the scrap heap. First, a high-quality torque screwdriver is non-negotiable for hitting those specific terminal specs every six months. Second, I swear by a dedicated surge protection device—check these 3 signs you need a whole house surge protector for your ev to see if your current setup is vulnerable to lightning or grid spikes. Finally, I always suggest upgrading your panel for better ev charging performance if you notice your lights flickering when the car starts its session. Staying ahead of ensuring code compliance when installing ev chargers is always cheaper than paying for a rework after a failed inspection.
#IMAGE_PLACEHOLDER_E#
Take Charge of Your Electrical Future
Living with an EV should feel like a step into the future, not a chore that keeps you up at night during a rainstorm. By taking these proactive steps—from weatherproofing your connectors to ensuring you have a solid panel upgrade for ev chargers—you’re building a system that is as resilient as the car it powers. Your home infrastructure is the foundation of your electric journey. Don’t be afraid to dive into the technical side; once you understand the logic behind how to verify code compliance for your ev charger installation, you’ll have the confidence to manage your home energy with total peace of mind. If you ever feel like the job is too big, don’t hesitate to contact us for professional guidance. Have you ever walked out to find your charger tripped after a heavy rain or had to thaw a frozen handle? Let me know in the comments below!