I’ll never forget the first time it happened to me. It was a Tuesday morning, right after a punishing midnight downpour. I walked out to my driveway, coffee in hand, ready to unplug and head to work. The moment my hand hit that charger handle, I nearly dropped my mug. It wasn’t just wet—it was tacky. It felt like someone had smeared industrial-grade syrup all over the grip. My first thought? Panic. I immediately worried that the internal components were melting or that I’d soon be facing an expensive [panel upgrade](https://brightsparkzelectric.com/panel-upgrades-for-ev-chargers-what-you-need-to-know) because of some catastrophic short circuit. It was gross, confusing, and honestly, a little bit scary. We’ve all been there, standing in the driveway wondering if our expensive piece of green technology is slowly dissolving in the rain. Today, I’m going to pull back the curtain on this sticky situation so you can stop worrying and start protecting your investment.
That Sticky Residue Isn’t Just Rainwater
I made a huge mistake when I first noticed this. Thinking I was being proactive, I grabbed a bottle of heavy-duty degreaser from the garage and went to town on the handle. I thought I was cleaning it, but I was actually making it worse. I ended up stripping the UV-protective layer right off the rubber, which eventually led to the material breaking down even faster. This is a classic example of why [ev charger troubleshooting expert tips for common issues](https://brightsparkzelectric.com/ev-charger-troubleshooting-expert-tips-for-common-issues) are so vital—sometimes our ‘fixes’ are the real problem. The truth is, that stickiness is often a combination of ‘plasticizer migration’ and atmospheric pollutants. When high-quality elastomers are exposed to constant heat and then a sudden soak, the chemicals that keep the plastic flexible can actually seep to the surface. According to research from the National Renewable Energy Laboratory (NREL), outdoor electrical equipment faces unique stressors from cyclic wetting and drying that can accelerate the degradation of protective coatings. If you don’t address it, you might eventually see your [ev plug contacts look burnt](https://brightsparkzelectric.com/why-your-ev-plug-contacts-look-burnt-and-what-to-do-next) as moisture and grime begin to interfere with the electrical connection.
Will this gunk eventually fry my charging port?
It’s a valid fear. If the handle is sticky, does that mean the electricity is leaking? Not necessarily, but it is a sign that your setup is battling the elements and might be losing. I’ve learned the hard way that [outdoor chargers need a specific kind of weatherproofing](https://brightsparkzelectric.com/why-outdoor-chargers-need-a-specific-kind-of-weatherproofing) to stay functional over the long haul. Have you ever grabbed your charger after a storm and felt like it was covered in glue? It’s a common frustration, but it doesn’t have to be a permanent one. By the time we’re done here, you’ll know exactly how to [protect your outdoor ev charger from heavy rain and snow](https://brightsparkzelectric.com/how-to-protect-your-outdoor-ev-charger-from-heavy-rain-and-snow) without resorting to harsh chemicals that do more harm than good. Let’s look at what’s really happening inside that handle when the clouds open up.
Wash Away the Slime Without Melting the Rubber
The biggest mistake I ever made was treating my charger handle like a greasy engine part. Last spring, after a week of humidity followed by a torrential downpour, the handle of my Level 2 unit felt like it had been dipped in maple syrup. In a moment of sheer frustration, I grabbed a bottle of nail polish remover from the bathroom, thinking the acetone would cut the gunk instantly. Within ten seconds, the black rubber started to ‘bleed’ onto my rag, and the handle turned a ghostly, permanent grey. I had literally dissolved the chemical bond of the handle’s surface. That $500 cable was compromised because I didn’t understand how to protect your outdoor ev charger from heavy rain and snow correctly. The fix is actually much simpler—and cheaper.
Grab the Right Tools for the Job
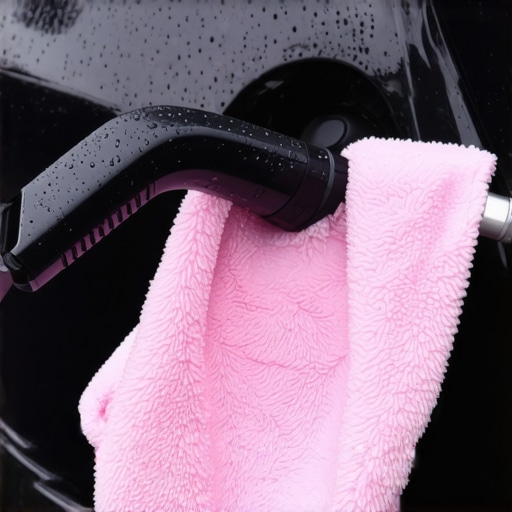
To safely remove that sticky film without causing long-term damage, you only need three things: warm water, a few drops of mild dish soap, and a microfiber cloth. Avoid any cleaning agent that smells like citrus or contains solvents. These chemicals accelerate the ‘plasticizer migration’ we talked about earlier. Wipe down the handle gently and, most importantly, dry it completely before plugging it back in. If you ignore the moisture, you’re inviting trouble. Over time, that dampness can seep into the pins, which is a primary reason why your ev plug contacts look burnt and what to do next becomes a necessary read. Routine cleaning isn’t just about aesthetics; it prevents the grime from becoming an insulator that causes heat buildup during a 48-amp charging session.
Seal the Path Where Moisture Sneaks In
Even if the handle is clean, your system is only as strong as its weakest link—which is usually where the wires enter the unit. Rain doesn’t just fall from the sky; it splashes, mists, and finds its way into every unsealed gap. I once helped a neighbor troubleshoot a charger that kept tripping the breaker every time it drizzled. When we opened the casing, it was like a terrarium inside. Moisture had traveled down the conduit and pooled right on the circuit board.
Stick to Liquid-Tight Conduit for Outdoor Runs
If your charger is exposed to the elements, you must use the right materials. Knowing how to use a liquid-tight conduit for outdoor charger exposed runs is the difference between a system that lasts a decade and one that dies in a year. Standard PVC or metal conduit isn’t always enough if the fittings aren’t properly sealed with electrical-grade silicone. You also need to ensure the proper way to seal conduit openings against spiders and dust is followed. Spiders love the warmth of a charging unit, and their webs can trap moisture against sensitive components, leading to a slow-motion disaster. If you ever notice the reason your ev charger smells like burnt plastic, it’s often because moisture has caused a high-resistance connection at these entry points.
Stop Moisture Before It Hits the Terminal
Finally, you need to look at where the power starts. A sticky handle is often a symptom of poor environmental control, and that environment extends all the way back to your electrical panel. If your outdoor unit is pulling massive amounts of current through a connection that has even a hint of corrosion, you are courting a fire hazard. This is why why outdoor chargers need a specific kind of weatherproofing isn’t just a suggestion—it’s a safety mandate.
Look for Signs of Internal Corrosion
Take five minutes once a month to inspect the charging port on your car and the handle pins. If you see any green or white powdery residue, that’s oxidation. You should also check the main unit. Learning how to spot corrosion inside your outdoor charging pedestal can save you from a complete hardware failure. If you find yourself frequently dealing with tripped breakers or heat issues, it might be time to investigate panel upgrades for ev chargers what you need to know. A modern, properly torqued panel is your best defense. In fact, why your charger needs a specific torque setting to pass inspection is a detail many DIYers miss, leading to loose wires that heat up when they get damp. Staying ahead of these small mechanical issues is the only way to avoid the deep-dive ev charger troubleshooting expert tips for common issues later on.
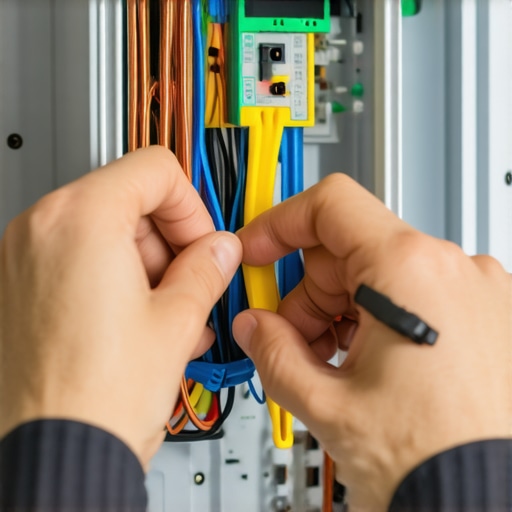
But even if your hardware is pristine, the biggest obstacles usually aren’t physical—they’re bureaucratic and technical. Let’s dig deeper into what happens behind the scenes of a successful install. I see it all the time on local forums: someone buys a Tesla or a Rivian, and the first ‘expert’ they talk to tells them they must spend $4,000 on a full service upgrade before they can even think about a Level 2 unit. Most people believe that if their panel is full, the game is over. In my experience, that’s simply not true. You don’t always need a massive overhaul. Knowing how to add an ev charger without a 200 amp panel upgrade can save you a fortune. We often use smart ‘load management’ to share existing capacity. It’s a nuance that separates a standard installer from an EV specialist.
Can you skip the service upgrade with a load management device?
The short answer is yes, but it requires a deeper understanding of ensuring code compliance when installing ev chargers. Instead of upgrading the entire panel, we can install a device that monitors your home’s total usage in real-time. If you turn on the oven and the dryer simultaneously, the device temporarily throttles the car’s charging speed. According to the National Fire Protection Association (NFPA) 70, Article 625, these ‘energy management systems’ (EMS) are perfectly legal and are actually encouraged to prevent grid strain. This is a far better strategy than the brute-force approach of a total panel upgrade, especially in older homes.
The Hidden Permitting Trap Your Electrician Might Miss
Here is the ‘oops’ factor I promised. Even if you have the physical space for a new breaker, your local inspector might still fail your installation. Why? Because you didn’t include a formal load calculation. It’s the permit error that stops home charger installs in their tracks more than anything else. An inspector doesn’t care if the breaker fits; they care if the transformer on the street can handle your house pulling 48 amps for ten hours straight. This is why your ev permit application requires a load calculation worksheet. If your electrician isn’t doing the math on your ‘peak demand’ versus your main lug capacity, they are setting you up for a red tag and a potentially dangerous situation.
Many DIYers also assume any brand-name breaker will do, but the specific breaker brands that are known to overheat with evs can cause intermittent failures that look like charger software bugs, when they are actually physical heat issues at the busbar. Before you commit to a major project, look into panel upgrade strategies to meet ev charging code requirements in 2025 to ensure you’re using hardware rated for continuous duty. Have you ever fallen into this trap or been told you needed an upgrade you weren’t sure about? Let me know in the comments. If you’re stuck, you can always contact us for a professional review of your electrical setup.
Tighten Every Terminal to Prevent Fire Hazards
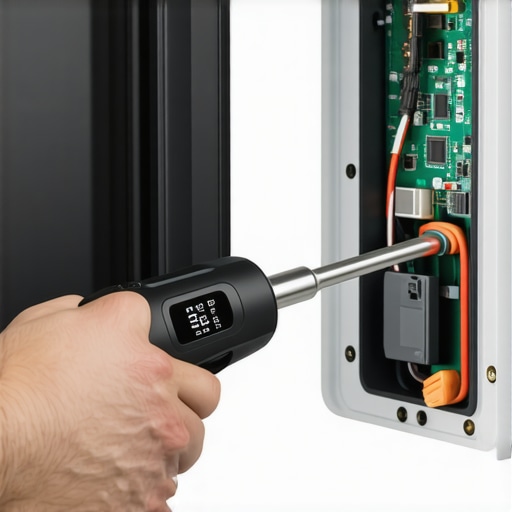
If you want your charging setup to last, you have to realize that high-voltage electricity is physically violent. Over months of 48-amp charging, the thermal expansion and contraction can actually wiggle screws loose. I make it a habit every six months to pop the cover of my station (with the breaker off, obviously) and check the tightness of the lugs. This isn’t just me being paranoid; NEC 110.14(D) specifically mandates the use of a calibrated torque tool for these connections because ‘hand-tight’ just doesn’t cut it for continuous loads. If you skip this, you’ll eventually find out why your main lugs might be loose after a year of charging and potentially see signs of melting. I personally use a Wiha torque screwdriver set—it’s expensive, but it’s cheaper than replacing a $700 wallbox because of a loose wire. This is also a great time to check for any buzzing, which helps you how to diagnose a faulty internal relay in your charging station before it fails completely and leaves you stranded with a dead battery.
How do I maintain my home charging station over years of use?
Maintenance is less about scrubbing and more about monitoring. Beyond the physical checks, you need to stay on top of the digital side. I’ve seen chargers become ‘dumb’ bricks simply because they missed three years of security patches. Make sure you know how to update the firmware on your smart charging station. These updates often improve thermal management and communication protocols with newer car models. Also, keep an eye on the physical cord. If you see nicks or deep scratches in the jacket, don’t wrap it in electrical tape. Learn how to replace a frayed cable without buying a new station to keep the unit safe. According to the Electrical Safety Foundation International (ESFI), thermal imaging is now a standard recommendation for preventative maintenance in high-load residential circuits to catch high-resistance connections before they lead to arcing. I use a small FLIR attachment for my smartphone once a quarter to scan the breaker panel while the car is charging; if one breaker is significantly hotter than the others, I know I have a problem.
Software Tweaks That Save Your Battery and Your Wallet
The future of EV charging isn’t just about faster speeds—it’s about ‘bi-directional’ capability. We are moving toward a world where your car can power your house during a blackout. To prepare for this, you should consider upgrading your panel for better ev charging performance now, specifically ensuring you have a clean path for a transfer switch or a smart gateway. I also highly recommend installing a whole-home surge protector. Think about it: you are plugging a $50,000 computer into your house every night. This is why your main service panel needs a surge protector for your ev. A single lightning strike or a utility surge could fry your car’s onboard charger, a repair that usually starts at $3,000. My final tip? Grab your torque wrench and verify your breaker terminals this weekend. It’s the single most effective way to ensure you never have to deal with ev charger troubleshooting expert tips for common issues caused by heat-damaged hardware.
Why I Stopped Trusting the Weatherproof Label at Face Value
Over the years, I’ve realized that a ‘weatherproof’ rating is only a starting point. The real secret to longevity is regular, proactive observation. One of the most important habits I developed was checking for intermittent handshake errors; if your car stops charging at 2 AM for no apparent reason, it’s rarely a software glitch and often a sign of a degrading physical connection. I also learned that you should never ignore a slight humming sound. Understanding how to stop a charging station from humbling or buzzing early on can prevent a total internal failure. Lastly, always keep a record of your install details. Knowing how to verify code compliance for your ev charger installation isn’t just for the inspector—it’s for your peace of mind and your home’s resale value. Don’t let troubleshooting ev chargers common compliance pitfalls and fixes become a weekend-long headache because you didn’t document the original setup.
The Gear That Actually Saved My Sanity and My Car
You don’t need a warehouse full of tools, but a few specific items are non-negotiable for a professional-grade home setup. I personally rely on a FLIR Thermal Camera attachment for my smartphone; it’s the easiest way to see if a breaker is running too hot before it ever trips. For mechanical reliability, I never touch my terminals without a calibrated torque screwdriver. I’ve seen far too many DIYers guess the tightness, only to face issues later. This is exactly why your charger needs a specific torque setting to pass inspection and maintain a fire-safe connection. I also recommend keeping a small stash of the essential spare parts to keep for your home charging unit, like extra mounting screws or a spare J1772 holster, so you aren’t left hanging if a piece of plastic cracks in the winter. Finally, always have the contact info for a specialist handy—if you’re ever in doubt about a weird smell or a hot cable, you should contact us immediately.
Your Road to a Stress-Free Home Charging Experience
Transitioning to electric driving is supposed to make your life easier, not add a list of chores. By taking these small steps—cleaning that sticky handle safely, sealing your conduits, and verifying your torque settings—you are ensuring your EV charger remains a reliable partner for years to come. Don’t be intimidated by the technical side; most of this is about being observant and respecting the power running through your walls. If you stay ahead of the maintenance, your charger will be the most boring (and reliable) part of your morning routine. Have you ever noticed a strange residue on your handle or a weird hum coming from your wallbox? Let me know your story in the comments below!