I remember standing in my garage, staring at a pristine, painted ceiling with a brand-new Level 2 charger sitting in its box at my feet. It felt like a trap. My car was hungry for 40 amps, but my ceiling was a solid barrier of finished drywall that looked impossible to penetrate without a sledgehammer. My wife had just finished decorating the room directly above, and I knew if I started cutting holes blindly, I’d be sleeping in the car I was trying to charge. Most people think they have to choose between a fast charge and a beautiful home, but I’m here to tell you that you can have both. Today, we are going to dive into the surgical precision required to sneak that power through your home without turning your living space into a construction zone.
Don’t Let Your Drywall Stop Your Fast Charging
I’ve been exactly where you are, and I’ll admit, I learned the hard way. Early on, I made the classic mistake of thinking I could just ‘wing it’ with a long flexible drill bit. I ended up hitting a plumbing vent—thankfully not a water line—and left my ceiling looking like it had been through target practice. It was a mess, and it taught me that how to run ev charging conduit through a finished ceiling is more about strategy than brute force. You need to understand your home’s skeletal structure before you even touch a drill. If you’ve been putting off your panel upgrades for ev chargers because you’re terrified of the repair bill for your ceiling, take a breath. We can get that 50-amp circuit exactly where it needs to go while keeping your house intact. Have you ever looked at a wall and wished you had X-ray vision just to see where the joists actually go?
Will This Actually Look Better Than Surface-Mounted Pipes?
You might be tempted to just run metal piping right across the surface of the ceiling. It’s faster. It’s easier. But let’s be honest: unless you’re going for a ‘1920s factory’ aesthetic, it’s going to bug you every time you pull into the garage. More importantly, you have to worry about how to hide conduit so your HOA doesnt send a fine or a nasty letter. Beyond the looks, safety is the real driver here. According to the Electrical Safety Foundation International (ESFI), residential electrical fires account for hundreds of deaths each year, often due to improper wiring or damaged insulation. Routing conduit internally isn’t just about being pretty; it’s about protecting the wire from physical damage and ensuring you don’t end up wondering why the city inspector failed your garage wiring during a future home sale. We’re going to look at the tools that make this possible, from borescope cameras to specialized fish tapes, so you can move forward with confidence.
Find the Hidden Path Behind Your Drywall
The first rule of running conduit through a finished space is to stop thinking like a carpenter and start thinking like an explorer. You aren’t just cutting a path; you are navigating a labyrinth of HVAC ducts, plumbing, and structural supports. I start by using a high-quality stud finder to map out exactly which way the joists run. If they run parallel to your intended wire path, you’ve hit the jackpot. If they are perpendicular, you’re in for a game of ‘jump the joist.’ I remember a project in a tight two-car garage where I thought I had a clear shot, but three feet in, I hit a massive steel I-beam I hadn’t accounted for. Instead of forcing it, I had to pivot the entire run, which is why ensuring code compliance when installing ev chargers starts with a literal look inside your walls. Use a small, half-inch hole and a cheap borescope camera to verify the path before you commit to a 2-inch hole saw. 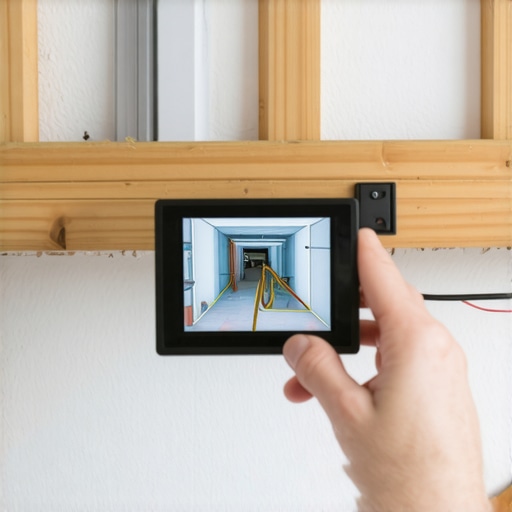
Make Your Drill Act Like a Surgeon’s Scalpel
Once you know the path is clear, it’s time to create access points. Think of these as your ‘surgical ports.’ Rather than ripping out a four-foot section of drywall, I cut small 4×4 inch squares at strategic intervals, usually where the wire needs to pass through a stud or change direction. I save these drywall ‘coupons’ to pop back in later, which saves hours of patching. While you are in there, you must ensure you are using the exact wire gauge you need for a 50-amp ev circuit. Trying to pull 6-gauge THHN through a tight bend is like trying to push a frozen garden hose through a straw. If you’re struggling, it might be a sign that you need to rethink your bends or your conduit size to avoid overheating. This is also the stage where most DIYers realize their existing setup isn’t enough, leading to necessary panel upgrades for ev chargers to handle the massive new continuous load.
How to Pull Heavy Wire Without Losing Your Mind
Fishing the wire is where the frustration usually peaks. I use a stiff fiberglass fish rod for the straightaways and a flexible steel tape for the corners. Use plenty of wire pulling lubricant; it sounds messy, but it’s the difference between a one-man job and a three-man struggle that ends in a snapped tape. During one installation, I ignored the lube and ended up with a wire stuck halfway between the kitchen and the garage. I had to cut an emergency hole in my wife’s pantry to free it—a mistake that cost me a weekend of drywall repair. To avoid this, always pull a ‘messenger string’ along with your first wire so you can easily pull a ground or neutral later if you find out why your new charger requires a neutral wire even for 240v mid-way through the project.
Don’t Skip the Math Before You Power Up
Once the wire is in place, the temptation is to just hook it up and go. But a finished ceiling hides a lot of heat. You need to verify that your circuit won’t cause why the gfci in your panel keeps nuisance tripping your charger due to poor grounding or electromagnetic interference from nearby lines. Check your connections with a torque screwdriver because why your charger needs a specific torque setting to pass inspection isn’t just a rule—it’s what prevents your wires from expanding, contracting, and eventually arcing behind your beautiful ceiling. Finally, if you find your garage lights flickering when the car starts charging, it’s a sign you should have looked into upgrading your panel for better ev charging performance before closing up the drywall.Most people assume that if their home still has a 100-amp or 125-amp service, they are stuck with slow Level 1 charging unless they drop five grand on a full service upgrade. I’m going to challenge that right now. While panel upgrades for ev chargers are often a great long-term investment, they aren’t always a Day 1 requirement. In my experience, homeowners often overlook the power of smart energy management. By using load-shedding devices, you can prioritize your car’s charging while the AC or dryer is off, essentially tricking your panel into handling more than its ‘official’ capacity without ever tripping a main breaker. Learning how to use load shedding devices to avoid a full service upgrade is the single best way to save money on a finished-home install.
The Torque Trap Most DIYers Fall Into
But here is the ‘oops’ factor: people focus so much on the ‘big’ parts of the job that they ignore the tiny details that actually cause fires. I’m talking about torque. Most DIYers—and even some general electricians—tighten terminal screws ‘until they feel snug.’ That is a recipe for disaster. Because an EV pulls a massive, continuous load for hours, the wires heat up and expand. If those connections aren’t tightened to the exact inch-pound specification, they will wiggle loose over time. This is exactly why your charger needs a specific torque setting to pass inspection. According to the National Fire Protection Association (NFPA 70), improper termination remains a leading cause of electrical failure in high-draw circuits. Have you ever checked your breaker with a thermal camera? It’s eye-opening. 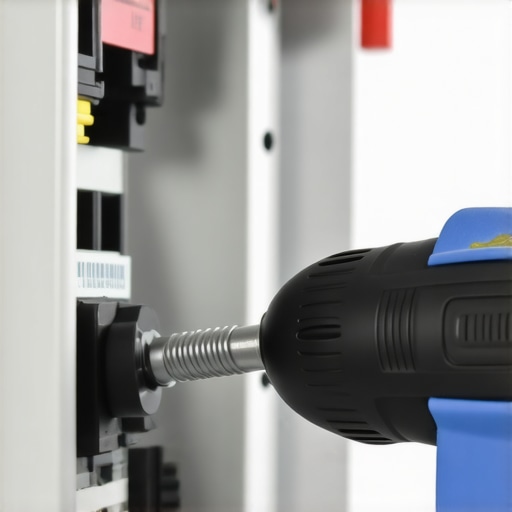
Why Your Permit Might Get Rejected Before You Even Start
Even if you do the physical work perfectly, the paperwork is where the experts get separated from the amateurs. The city doesn’t just want to know that you used the right wire; they want to see the math. I’ve seen dozens of projects stall because the homeowner skipped the hidden cost of skipping a panel load calculation. You need to prove that your home can handle the 80% continuous load rule required by the NEC. This involves a load calculation worksheet that accounts for every appliance in your house. If you can’t show that your 50-amp circuit won’t overload the main lugs during a Thanksgiving dinner, the inspector will fail you on the spot. Before you close up that beautiful ceiling, verify code compliance for your ev charger installation one last time. It’s much cheaper to fix a calculation error on paper than to rip out finished drywall because you’re over-capacity. Have you ever fallen into this trap or had an inspector catch something you missed? Let me know in the comments.
Once you’ve successfully navigated the maze of joists and patched your ceiling, don’t make the mistake of thinking it’s a ‘set it and forget it’ situation. I’ve learned that an EV circuit is a living thing that reacts to heat and vibration. I make it a habit to pop my panel cover and check the connections every six months. You’d be surprised how much thermal expansion can wiggle a screw loose over time. If you ignore this small chore, you’ll eventually find out why your main lugs might be loose after a year of charging. It’s not just a minor annoyance; loose lugs cause resistance, which leads to heat, which can eventually melt your expensive components.
Tools That Stop a Disaster Before It Starts
I honestly believe a high-quality torque screwdriver is the most underrated tool in any DIYer’s kit. I personally use a Wiha iTorque because it gives me a precise digital readout. If the charger manual says 20 inch-pounds, I give it exactly 20—no more, no less. According to electrical code expert Mike Holt, ‘Properly torqued connections are essential for safety and reliability,’ especially under the heavy continuous loads of an electric vehicle. If you don’t own one, borrow one or buy it; it’s the only way to ensure ensuring code compliance when installing ev chargers at a professional level. It’s much cheaper than replacing a charred breaker later.
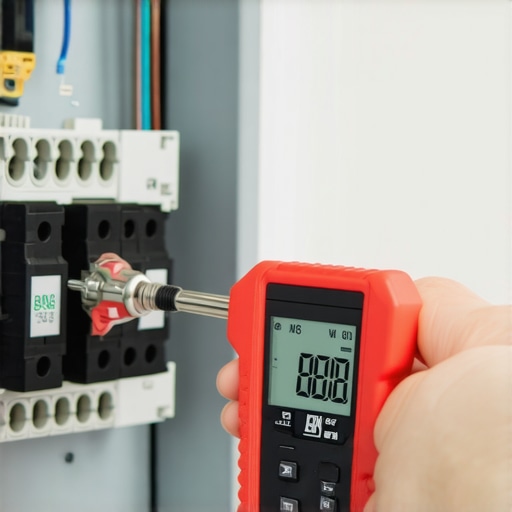
How do I maintain my home charging station over time?
Maintenance isn’t just about the physical wires; it’s about the software, too. I’ve seen homeowners lose their minds because their car didn’t charge overnight, only to realize the charger was stuck in a firmware reboot loop. You need to stay on top of how to update the firmware on your smart charging station just like you update your smartphone. If your app starts acting up or giving you strange readings, don’t panic—usually, troubleshooting ev charger connectivity problems is simply a matter of checking your Wi-Fi signal strength in the garage or resetting the internal logic. Regular check-ins with your charger’s app can help you catch ev charger troubleshooting expert tips for common issues before they leave you stranded with a dead battery.
Plan Your Path for the Next Vehicle
Eventually, you’re going to get a second EV, and that’s when things get complicated. A buddy of mine tried to daisy-chain another circuit off his first one, and it was a total disaster. I told him to stop and look into why your garage needs a sub-panel for multiple chargers. It’s the cleaner, safer way to scale your power needs without a mess of conduit. If you’re already pushing the limits of your service, upgrading your panel for better ev charging performance now will save you from ripping out that beautiful finished ceiling a second time three years down the road.
Prediction: I suspect that within the next five years, local building codes will require every new garage to have a dedicated sub-panel by default. We are moving toward a reality where the garage is no longer just for storage, but the primary energy hub of the modern home. If you take away one thing from my experience, let it be this: go get a cheap thermal camera attachment for your phone. Use it to scan your breaker while the car is charging. If you see a bright ‘hot spot’ at a terminal, you’ve just saved yourself from a future service call. Give it a shot this weekend and see if your connections are as tight as you think they are!
The Hardest Lessons I Learned Behind My Own Garage Drywall
Reflecting on my first few installs, the biggest ‘lightbulb moment’ wasn’t about the tools, but about the patience required for a clean finish. I learned that rushing the pathing stage almost always results in extra drywall repair. Now, I spend twice as much time with my borescope as I do with my drill. If you are worried about your current electrical capacity, checking into panel upgrades for ev chargers before you start pulling wire can save you from a massive headache later. Also, remember that code isn’t just a suggestion; how to verify code compliance for your ev charger installation is your best defense against insurance claims or home sale delays.
The Three Tools I Won’t Start an EV Project Without
If you want to do this right, skip the cheap hardware store specials. I personally swear by these three items: First, a high-end fiberglass fish rod kit—don’t settle for the flimsy ones that snap mid-ceiling. Second, a digital torque screwdriver; it is the only way to avoid why your charger needs a specific torque setting to pass inspection. Finally, a dedicated circuit analyzer to ensure your ground is solid. These tools transform a stressful DIY project into a professional-grade installation that you can trust for years.
#IMAGE_PLACEHOLDER_E#
The Future of Your Garage Starts Today
Taking the time to learn how to run ev charging conduit through a finished ceiling is a major win for your home’s aesthetic and value. It separates a ‘hacker’ job from a craftsmanship job. Even if you hit a snag, remember that most issues are solvable with a little ev charger troubleshooting expert tips for common issues. You’ve done the research, you have the strategy, and now you have the confidence to get that Level 2 charger humming without ruining your ceiling.
What is the biggest hurdle you are facing right now with your garage electrical setup? Let me know in the comments below!