I was sitting on my dusty garage floor last October, staring at a pile of crumpled receipts and a half-installed Level 2 charger, when I realized I’d made a thousand-dollar mistake. I had the charger, I had the electrician, but I didn’t have the proof the IRS actually wanted. I thought the tax credit was a simple box you checked in April, but I quickly learned that if you don’t have your paperwork sorted before the first wire is pulled, you’re basically handing money back to the government. It’s a gut-wrenching feeling to realize your ‘eco-friendly’ upgrade just cost you full price because of a missing PDF. Today, I’m going to make sure you don’t repeat my blunders. We are going to get your documentation airtight before you even think about swiping your credit card for that shiny new station.
Stop Buying Hardware Until You Check Your Census Tract
The biggest hurdle isn’t the wiring; it’s the geography. I spent weeks researching the best chargers, only to find out that my specific neighborhood didn’t qualify for the federal 30C credit because of a line on a census map. You need to know how to claim the federal tax credit for your home installation before you commit to the purchase. According to the IRS instructions for Form 8911, the credit is now strictly tied to ‘eligible census tracts,’ which include non-urban or low-income areas. If you live in a high-density, affluent suburb, that 30% discount might just vanish. I made the mistake of assuming everyone qualified, and it was a $700 lesson I’d rather you didn’t have to learn. Before you buy, go to the 30C Tax Credit Locator and plug in your address. It takes two minutes and saves you months of regret. If you are eligible, the next step is making sure your receipts are itemized correctly. The IRS doesn’t just want a total; they want to see the hardware cost separated from the labor, especially if you had to deal with the real cost of upgrading to a 200-amp service just to handle the new load.
Is the federal tax credit actually worth the paperwork?
I get it—paperwork is the absolute worst part of home improvement. But when we’re talking about potentially covering 30% of your total project cost (hardware and labor) up to $1,000, it’s worth the headache. I once worked with a neighbor who tried to DIY the whole thing without a permit to save a few bucks, only to realize that the rebate paperwork mistake that costs homeowners 500 or more often stems from not having a professional inspection report. Without that permit and inspection, the IRS can easily disqualify your claim for the credit because the installation must meet all local building codes. This is where ensuring code compliance becomes a financial asset, not just a safety chore. Have you ever felt like the government makes these credits intentionally confusing? You aren’t alone, but having a clean folder with your Form 8911, your itemized invoice, and your signed-off permit is the only way to win this game. If you’re still on the fence, you should check how to tell if your panel has space for an ev circuit so you can accurately estimate the labor costs you’ll be claiming. We’re going to dive into the specific lines of the forms next, so grab a coffee and let’s get your money back.
Make Your Receipts Impossible to Dispute
The IRS isn’t going to take your word for it that the $1,200 you spent was for a ‘charger.’ They want a breakdown that looks like a surgical report. When I first did this, I just had a generic invoice from a local guy that said ‘Electrical Work.’ My tax preparer laughed at me. To fix it, I had to go back and ask for an itemized list that clearly separated the cost of the unit from the conduit, the wire, and the labor hours. You need to understand the difference between a 500 and 1500 charger install because that price gap is usually tied to materials that are 100% tax-deductible. Ensure your electrician lists the specific model of the charger and the exact length of the wire run. If they had to install a new subpanel, that needs its own line item to prove it was part of the EV infrastructure and not just a general home upgrade.
Verify Your Load Calculation So You Don’t Blow a Fuse
Think of your home’s electrical panel like a crowded elevator; it can only hold so much weight before the cables snap. Before you ever claim a cent, you have to prove your home could actually handle the new load. I remember watching my lights flicker the first time I plugged in my car because I skipped the load calc. You need to learn how to read the load calculation your electrician sent you. This document is your shield during an audit. It proves that the installation followed the National Electrical Code (NEC). If your panel was already at its limit, you likely needed panel upgrades for ev chargers, and the cost of that upgrade is often eligible for the same 30% credit. Do not let an electrician ‘wing it’ without providing this math in writing.
Pass the Inspection Without Breaking a Sweat
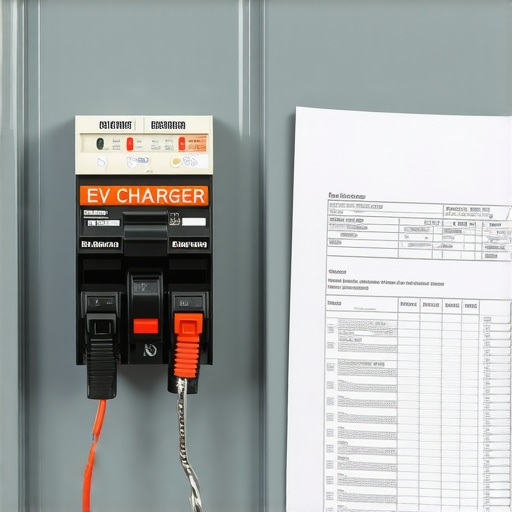
A signed-off permit is the ‘Golden Ticket’ for the IRS. In my second attempt at a home install, I realized that many homeowners fail because of simple physical errors. For instance, the wire gauge mistake that fails 40 percent of inspections is a classic trap. If the inspector sees a 50-amp breaker on 10-gauge wire, they’ll red-tag your project faster than you can blink. Once you fail that inspection, your tax credit is essentially on ice until you fix the violation. To ensure you’re on the right track, study how to pass your garage electrical inspection on the first try. Take a photo of the open panel with the permit sitting next to it. It’s the ultimate proof of a ‘completed’ and ‘compliant’ project.
Fix Those Annoying Connectivity Faults Right Away
Even after the inspector leaves, your charger might act up. I spent three nights trying to figure out why my ‘smart’ charger wouldn’t talk to my phone, only to realize it was a simple grounding issue. If you run into issues, troubleshooting ev charger connectivity problems early is vital. Some faults, like the neutral wire error that fries car motherboards, aren’t just software glitches; they are fundamental wiring errors that could lead to a fire. If you have to call the electrician back to fix a connectivity or grounding issue, keep those service records too. Any cost associated with getting that station up and running safely is part of your investment narrative.
Most homeowners assume that if they have a 200-amp panel, they are bulletproof. I used to think the same until I saw a brand-new panel melt because of a nuance most electricians ignore. We’re often told that upgrading your panel for better ev charging performance is the only way forward, but that’s a half-truth. In many jurisdictions, you can actually use digital load shedding to bypass a $4,000 utility upgrade. In fact, according to the NFPA 70 (National Electrical Code) 2023 standards, energy management systems (EMS) allow you to safely run high-demand appliances alongside your car without ever exceeding your home’s capacity. If you’ve been told you must upgrade your service, you should look into how to squeeze a level 2 charger onto a 60 amp service before writing that check. It’s a sophisticated workaround that many old-school contractors won’t even mention because it requires more programming and less dumb labor.
Can you avoid a massive service upgrade with smart tech?
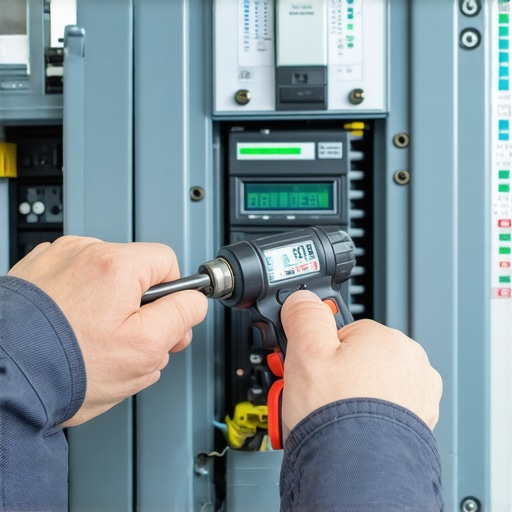
The short answer is yes, but it requires panel upgrade strategies to meet ev charging code requirements in 2025 that focus on intelligence over raw copper. If you jump into a project without this knowledge, you are likely overspending on infrastructure you don’t actually need. This brings me to the most dangerous trap I’ve encountered: the assumption that a tight screw is a safe screw. I’ve seen chargers fail within months because the installer didn’t use a calibrated torque wrench. This isn’t just about being fussy—it’s a code requirement. The forgotten torque test that prevents panel fires is the difference between a charging station and a ticking time bomb. The NEC requires specific tension on every lug, and if you can’t show your inspector the specific torque wrench settings for a wall connector used during the install, you’re technically not in compliance.
The Simple Connection That Might Burn Your House Down
Beyond the hardware, the way your system talks to the grid can be your biggest headache. Most people focus on the car, but they forget the house. If you start noticing your power bill skyrocketing beyond the cost of the miles you’ve driven, you might be falling into the neutral wire trap that spikes your home utility bill. It’s a subtle installation error that creates ghost loads. If you are struggling with performance, checking ev charger troubleshooting expert tips for common issues can save you a $200 service call for a $2 fix. You also need to learn how to verify code compliance for your ev charger installation manually. Don’t trust that ‘it works’ means ‘it’s right.’ Have you ever fallen into this trap? Let me know in the comments. I’m curious to see how many of you were told you needed a new panel when a simple smart controller would have done the job.
If you want to move beyond the ‘guy with a screwdriver’ phase and into actual expertise, you need to talk about the kit. I don’t care how many YouTube videos you’ve watched; if you aren’t using a calibrated torque wrench, you’re playing Russian Roulette with your busbar. I personally swear by the CDI Torque Screwdriver—specifically the 1/4 inch drive 20-100 in-lb model. Why? Because according to the National Electrical Code (NEC) Section 110.14(D), if the manufacturer provides a torque value, it is a code violation to ignore it. Most DIYers think ‘snug’ is enough, but thermal expansion is a real beast. A loose terminal creates resistance, resistance creates heat, and heat eventually leads to a fire. If you’re unsure of the math, check the specific torque wrench settings for a wall connector before you close that panel door.
Beyond the initial install, you have to think about the environment. I’ve seen chargers in coastal areas rot out in three years because the owner never wiped down the contacts. You need to know how to clean your charger ports without damaging them, especially if you live near the ocean. Salt air is an absolute killer for copper. If your plug feels ‘crunchy’ or you notice why your charger handle feels sticky after a rainstorm, it’s not just dirt—it’s oxidation. I’ve found that a can of high-quality electronics cleaner and a specialized lint-free swab can extend the real lifespan of a level 2 charger in coastal salt air by double.
How do I maintain my home charging station over time?
It’s not just about the hardware; it’s about the software and the physical connections. Every six months, I run a full diagnostic. I check for any discoloration on the wires (a sign of overheating) and I force a firmware update via the app. If you ignore those updates, you might find why your smart charger lost its wi-fi connection again is due to a simple patch you missed. I also keep a cheap IR thermometer in my garage. After a heavy charging session, I point it at the breaker. If it’s reading over 140°F, I know I’ve got a loose lug or a failing breaker. Taking a few minutes to how to verify code compliance for your ev charger installation even months after the job is done is the best way to catch errors before they become emergencies.
The future of this tech is moving toward bidirectional charging. Soon, your car won’t just take power; it will run your fridge during a blackout. We’re already seeing this with Ford’s Intelligent Backup Power. You should start looking into how to use your ev as a backup home battery safely now, because the transfer switches required for that are far more complex than a standard Level 2 circuit. If you want to be ahead of the curve, make sure your next upgrading your panel for better ev charging performance includes enough physical space for a whole-home gateway. Stop thinking of your charger as an appliance and start thinking of it as the hub of your home’s energy ecosystem. My advice? Go out to your garage right now, pop the cover off your charger, and just look for any sign of ‘browning’ on the plastic—it’s the first warning sign of a major failure.
Hard-Won Secrets From My Garage Floor
I used to think the inspector was my enemy, someone looking for a reason to fine me. In reality, they are the only ones providing a free safety audit of your work. If you can avoid the permit error that stops 40 of residential charging installs, you have already won half the battle. Another lightbulb moment for me was realizing that the hardware is temporary, but the copper is permanent. Do not skimp on the wire gauge or quality; spotting 3 small mistakes that turn your garage panel into a fire hazard early will save your home and your peace of mind long after the tax credit hits your bank account.
The Gear That Actually Makes A Difference
I recommend keeping a dedicated “EV Folder”—either a physical binder or a cloud-based drive. Inside, you should store your professional load calculation and a copy of the code compliance essentials for ev charger installations in 2025. For physical tools, the CDI Torque Screwdriver is non-negotiable for anyone touching a busbar. Finally, if you ever feel stuck during the process, bookmark a reliable guide on troubleshooting ev chargers common compliance pitfalls and fixes so you are not guessing when a red light starts flashing on your unit.
Start Your Electric Journey On Solid Ground
You now have the specialized knowledge to turn a complicated electrical project into a streamlined, high-value home upgrade. By taking the time to how to verify code compliance for your ev charger installation personally, you are protecting your family and your investment. The transition to electric driving is incredibly exciting, and with the right paperwork and a properly torqued panel, you are ready for the road ahead. Have you ever run into a surprise requirement from your local inspector that almost stalled your project? Let me know in the comments below!