I woke up at 5:00 AM to a cold drizzle hitting the window and a sinking feeling in my gut. I had a two-hour commute ahead of me, and as I glanced at my phone’s charging app, the numbers hadn’t budged since midnight. 0% added. My Ford Lightning was a three-ton paperweight in the driveway. I trudged outside in my slippers, only to find that my outdoor GFCI outlet had tripped again. It wasn’t a surge or a short; it was a ‘nuisance trip,’ the bane of every EV owner’s existence. I’d made the classic mistake of thinking a standard, off-the-shelf GFCI from a big-box store was enough for a continuous, high-draw load like a car charger. It wasn’t.
Your Driveway Isn’t a Kitchen Counter
When most people think of a Ground Fault Circuit Interrupter (GFCI), they think of that little button in the bathroom that pops when the hair dryer gets too close to the sink. But an outdoor EV station is a completely different beast. Most standard GFCIs are designed for intermittent use. When you pull 32 or 40 amps through one for eight hours straight, the heat buildup and minor leakage currents—which are actually normal for some EVSE units—will cause a cheap breaker to snap open. I learned this the hard way by trying to save thirty bucks on a generic brand, only to end up stranded. If you are currently dealing with a charger that keeps cutting out, you might need some expert tips for common issues before you replace the whole unit. It’s usually just the protection device being too sensitive for the job.
Is a specialized GFCI actually worth the hype?
I get the skepticism. Why pay double for a ‘high-immunity’ or Class A GFCI when the cheap one looks identical? The truth is in the internal components. According to the National Electrical Code (NEC) Section 625.54, all 125-volt through 250-volt receptacles used for EV charging must have GFCI protection for personnel. However, many EV chargers already have built-in CCID (Charge Circuit Interrupting Device) protection. When you put a standard GFCI breaker upstream of a charger that already has its own internal leak detection, they ‘talk’ to each other in a way that leads to constant shut-offs. You need a breaker that can handle the specific harmonic noise an EV charger produces.
Have you ever walked out to your car in the morning only to find the little green light has turned a frustrated red? It’s an incredibly annoying way to start the day. Beyond just the breaker, you also have to ensure that your external wiring is up to snuff. I found that using a liquid-tight conduit for outdoor charger runs helped immensely with keeping moisture out of the connections, which is often the silent trigger for these trips. Combining the right protection with proper outdoor weatherproofing is the only way to get a reliable charge 365 days a year. Today, we are going to dive into exactly which brands and specs you should look for so you never get stranded again.
Audit Your Electrical Panel Before Buying Anything
Before you even unbox a new charger, you need to look at the heart of your home’s power. I once walked a friend through an install where he assumed his 100-amp service could handle a 48-amp charger along with his central AC and electric range. We did the math, and he was dangerously close to a total blackout. You must perform a load calculation. If your panel is already packed with double-stuff breakers and showing signs of heat discoloration, you are looking at more than just a simple plug-in job. You likely need to explore panel upgrade strategies to meet EV charging code requirements in 2025 before proceeding. A crowded panel isn’t just an inconvenience; it’s a bottleneck that leads to voltage drops and heat buildup, which are the primary triggers for those annoying GFCI trips.
The Hidden Danger of Using Whatever Breaker is on the Shelf
Not all breakers are created equal, even if they fit the same slot. In my early days of DIY electrical work, I grabbed a generic 50-amp breaker for a heavy-duty air compressor. It worked for a week, then started tripping every ten minutes because it couldn’t handle the ‘continuous load’ profile. EV charging is defined as a continuous load by the NEC, meaning it runs at full capacity for three hours or more. This generates significant internal heat. You need to identify the specific breaker brands that hate constant EV loads and avoid them. For high-draw outdoor stations, I always recommend a high-immunity Class A GFCI breaker. These are specifically engineered to filter out the ‘electronic noise’ that modern car inverters dump back into the lines, which often fools standard breakers into thinking there is a dangerous ground fault when there isn’t.
Why That Precision Click Saves Your Garage
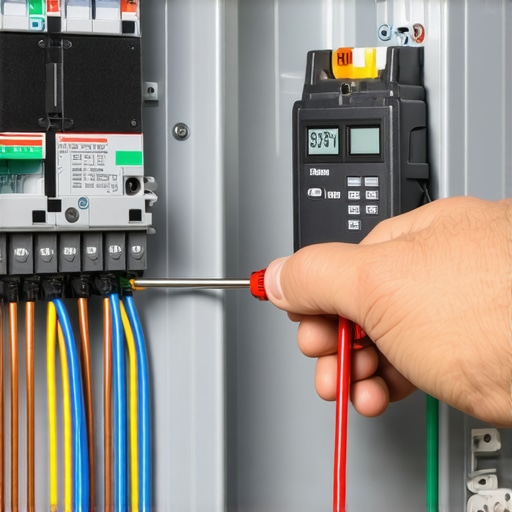
The single most overlooked step in EV installation is the torque setting. I learned this lesson the hard way when I found a scorched lug on a Tesla Wall Connector I’d installed six months prior. I had tightened it ‘by feel,’ which is a recipe for disaster. Metals expand and contract as they heat up during an eight-hour charge cycle. If a connection is even slightly loose, that expansion creates a tiny gap, which creates resistance, which creates more heat. Eventually, the wire insulation melts. This is precisely why your charger needs a specific torque setting to pass inspection. Most manufacturers require between 20 to 50 inch-pounds of torque, and you cannot guess that with a standard screwdriver. Use a calibrated torque wrench. It is the difference between a system that lasts twenty years and one that becomes a fire hazard by next summer.
Don’t Ignore the Small Details During Your Final Check
Once the hardware is mounted, you have to verify the integrity of the entire run. I’ve seen homeowners do everything right inside the house, only to fail the final inspection because of a small technicality with their conduit. You need to how to verify code compliance for your EV charger installation before you call the city. This includes checking that your ground wire is properly bonded and that you haven’t exceeded the ‘fill capacity’ of your pipes. If you are running wires through a garage or along an exterior wall, ensuring you have used the correct schedule 40 or 80 PVC is vital. These details seem minor until a 40-amp current is flowing through them at 2:00 AM while you are asleep. Precision at the start prevents a 0% battery emergency in the morning.
Common wisdom in the EV community suggests that if you want a modern Level 2 charger, you absolutely must upgrade your home to a 200-amp service. I’m here to tell you that this is often an expensive, unnecessary myth. While electricians love the ‘clean slate’ of a massive panel, most average homes can support a respectable charge rate without a five-thousand-dollar service overhaul. The key isn’t brute force; it’s intelligence. By opting for a 32-amp charger instead of a 48-amp unit, you still get a full battery overnight, but you avoid the massive draw that triggers a mandatory service upgrade. In fact, learning how to squeeze a level 2 charger onto a 60-amp service can save you a fortune while providing all the range you actually need for a daily commute.
Stop Overpaying for Amperage You’ll Never Use
Everyone talks about ‘future-proofing,’ but they forget that efficiency is the real goal. The Electrical Safety Foundation (ESFI) has found that many residential electrical fires are caused by overloading older infrastructure rather than the hardware itself failing. Instead of just adding a bigger pipe, we should be looking at upgrading your panel for better EV charging performance through modernization, not just size. If your local utility grid is already strained, they might even require you to limit your peak draw. This is where ‘dynamic load balancing’ becomes your best friend. It allows your car to sip power when the house is quiet and throttle back when the AC kicks on. Understanding how smart chargers use dynamic balancing to prevent blown fuses is the secret to avoiding a total panel replacement.
Could a Load Management Device Save You Five Thousand Dollars?
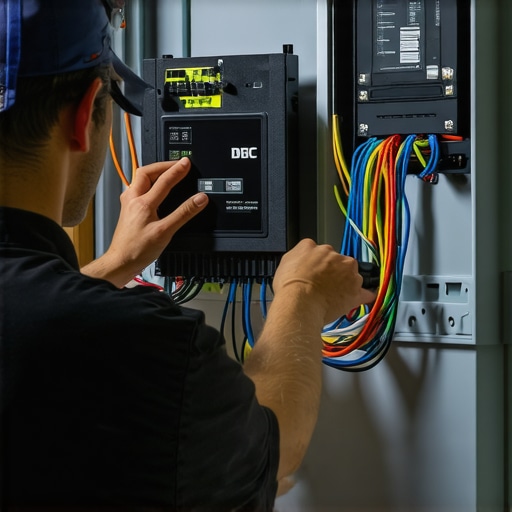
If you are staring at a 100-amp or 125-amp panel and a quote for a full service upgrade, ask about a Load Management Device (LMD). These units, like the DCC-9 or DCC-12, act as a traffic cop for your electricity. When the total load of your home hits 80%, the LMD temporarily de-energizes the EV charger until the demand drops. This is a code-compliant way to add a high-power appliance without overtaxing the main lugs. I’ve seen homeowners save significant money by using these devices to bypass the need for a new utility lateral or transformer upgrade. It’s a sophisticated solution that many general electricians won’t suggest because it requires a bit more programming than a standard breaker install.
The Neutral Wire Trap That Fails Every Inspection
Here is a specific ‘oops’ factor I see constantly: the phantom neutral. Many DIYers and even some pro installers see a NEMA 14-50 outlet and assume they must run a four-wire setup (two hots, a neutral, and a ground). However, many high-end hardwired stations only require two hots and a ground because they don’t have any 120V internal components. If you pull a neutral wire you don’t need, you’re just wasting money on copper. Conversely, if you use a plug-in charger and skip the neutral, you’ve created a code violation and a potential fire hazard. You need to understand why your ev circuit needs a dedicated neutral in some jurisdictions before you pull a single foot of wire through your conduit. Getting this wrong doesn’t just mean a failed inspection; it can lead to erratic ‘ground fault’ errors that are a nightmare to track down later. If you’re already seeing weird behavior on your dash, you might be troubleshooting ev charger connectivity problems that are actually caused by induced noise on an unnecessary neutral line. Have you ever been told you needed a full panel replacement just for one charger, or did you find a way to work around it? Let me know in the comments below.
Your Toolkit Needs This Specific Wrench
If you take one thing away from my trial-and-error journey, let it be this: throw away your standard screwdriver when it comes to final connections. I now keep a dedicated 1/4-inch drive calibrated torque wrench in my garage specifically for electrical work. Why? Because the difference between a connection that is ‘hand-tight’ and one that meets the specific torque wrench settings for a wall connector is the difference between a cold wire and a potential fire. Most terminals require a very specific 20 to 50 inch-pounds of pressure. If you over-tighten, you strip the lug; if you under-tighten, you create resistance. I’ve seen lugs glow cherry red on thermal cameras because they were just a fraction of an inch-pound off. Precision is the only way to ensure you are ensuring code compliance when installing ev chargers in a way that actually lasts through thousands of heat cycles.
How do I maintain my home charging setup over time?
Maintenance isn’t just about the charger; it’s about the environment. Once a year, I kill the breaker and pop the cover off my unit just to look for discoloration. If you see even a hint of brown or black on the wire insulation, you have a loose connection. This is also when I check for any signs of ‘thermal creep,’ where wires slightly shift due to expansion. I also highly recommend keeping the essential spare parts to keep for your home charging unit, like a spare holster or a replacement cable, especially if you live in a climate with extreme temperature swings. According to the Electrical Safety Foundation (ESFI), nearly 51,000 home fires each year involve electrical distribution systems, and many are caused by neglected high-draw appliances. Don’t let your car be part of that statistic because you didn’t spend ten minutes a year inspecting the terminals.
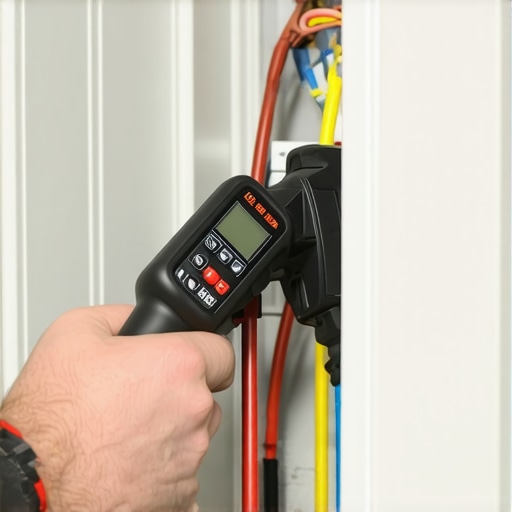
Beyond the internal wiring, pay attention to the physical plug. I’ve noticed that after a particularly wet winter, the pins can develop a thin layer of oxidation. If you ignore this, you’ll eventually notice why your ev plug contacts look burnt and what to do next becomes your top Google search. A quick spray of high-quality electronic contact cleaner once a season can prevent thousands of dollars in hardware damage. It’s also worth checking the cable itself for tiny nicks. Even a small tear in the outer jacket can let moisture seep into the copper, leading to internal corrosion that ruins the cable’s flexibility and conductivity over time.
The Grid is Moving Inside Your Garage
Looking ahead, I predict we are about to see a massive shift toward bidirectional charging (V2H). Soon, your car won’t just take power; it will run your house during a blackout. This means your current installation needs to be robust enough to handle two-way traffic. If you are doing an install today, make sure why your main service panel needs a surge protector for your ev is top of mind. As these systems become more integrated with the home grid, a single surge from a lightning strike or a utility fluke could fry not just your charger, but your car’s entire battery management system. My advice? Grab a torque wrench this weekend and double-check those main lugs; it’s the easiest piece of insurance you can give yourself.
Lessons from My 5 AM Charging Nightmare
One of the biggest lightbulb moments I had was realizing that panel capacity is a moving target. Just because your service label says 200 amps doesn’t mean the main lugs can handle sustained heat for hours without perfect contact. I also learned that troubleshooting ev chargers common compliance pitfalls and fixes usually starts at the breaker quality, not the car’s software. Reliability always beats raw speed; a steady, slightly lower-amperage charge that never trips is infinitely better than a high-speed setup that leaves you stranded at 0% battery on a Monday morning. I’ve found that checking my terminal temperatures with an infrared thermometer once a year gives me more peace of mind than any fancy smartphone app ever could.
My Essential Kit for a Professional Install
To avoid a melted disaster, my go-to tool is always a calibrated torque wrench set to the manufacturer’s exact inch-pound specifications. I also recommend keeping a digital copy of the code compliance essentials for ev charger installations in 2025 handy during the initial permit application to save yourself from multiple trips to the city office. If you’re currently debating the budget, understanding the difference between a 500 and 1500 charger install will help you see why investing in high-immunity breakers and thicker copper wire is the only way to ensure your home remains safe during those long overnight sessions.
#IMAGE_PLACEHOLDER_E#
Power Up with Confidence
You don’t need to be an electrical engineer to get this right, but you do need to be diligent with the details. By verifying panel upgrades for ev chargers what you need to know and focusing on the small stuff—like using the right conduit and checking for loose neutrals—you are building a system that will serve your household for years to come. Don’t let the technical jargon of your local inspector intimidate you; once that green light stays solid all night and you wake up to a full range, you’ll know your hard work paid off. Have you ever had a charger installation fail an inspection for a tiny detail? Let me know below.