I sat in my garage for twenty minutes staring at my car’s infotainment screen, waiting for the “miles per hour” number to climb. It didn’t. I had just spent a Saturday afternoon sweating through a DIY installation, convinced that my shiny new Level 2 station would make range anxiety a thing of the past. Instead, I was getting speeds barely better than the “trickle” charger that came with the car. I felt like I’d been duped by the marketing team. It turns out, that “48-amp” promise on the box is a lot like a gas mileage estimate—it only happens under perfect conditions, and your house probably isn’t “perfect.”
Have you ever walked out to your car in the morning only to see a “charging interrupted” or “low speed” warning on your phone? If you are frustrated by a charger that feels more like a Level 1.5, you are not alone. Today, we are going to dive into the technical bottlenecks that the manual doesn’t tell you about and how to reclaim the speed you paid for.
Stop Trusting the Marketing on the Box
When you buy a charger, the manufacturer assumes you have a pristine electrical setup with zero resistance and a massive service capacity. In the real world, your charger might be failing to reach its full potential because of a dozen tiny factors you didn’t see coming. I’ve been through the trial and error, including a few embarrassing calls to an electrician, so I know exactly where the gremlins hide.
Is Your Home Electrical Panel Secretly Throttling You?
This is the big fear: that you spent five hundred bucks on a unit only to find out your house is the bottleneck. It’s a valid concern. Early on, I made the classic mistake of thinking any 240V outlet would do the trick. I picked up a budget-friendly receptacle from a big-box store, but it wasn’t rated for continuous high-amperage use. Not only was it slow, but picking the wrong NEMA 14-50 outlet can literally lead to a melted mess in your wall. To keep your house from burning down, your car or your charger will often detect this heat or voltage instability and automatically ramp down the power.
According to the National Electrical Code (NEC) Section 625.41, EV charging is considered a “continuous load,” meaning you can only utilize 80% of a circuit’s capacity for extended periods. This is a hard rule, not a suggestion. If you want a 48-amp charge, you absolutely must have a 60-amp circuit. If your electrician (or your own manual settings) throttled the unit to 32 or 40 amps to stay safe, that’s your first “missing” 20% of speed right there.
Why Distance is Killing Your Amps
If your charger is on the opposite side of the house from your main panel, you’re likely losing juice to “voltage drop.” Think of it like water pressure in a long hose; the further it travels, the weaker the spray. I learned this the hard way when I tried to save money by using a thinner wire for a 50-foot run. Using the correct wire gauge is the only way to prevent this phantom power loss. Also, keep an eye on your other appliances. You might notice charging speeds plummeting the moment your AC kicks on, as your home’s internal logic tries to keep the lights from flickering. In the next section, I will show you how to check your wire gauge and settings to ensure you are actually getting the kilowatts you’re paying for.
Calculate Your Load Before the Breaker Trips
I remember standing in front of my electrical panel with a clipboard, feeling like a high schooler failing a math test. I had just added the charger, a new hot tub, and an electric dryer within the same year. Every time I plugged in the car, I was playing a dangerous game of ‘will the main breaker pop?’ To get your speeds up, you have to start with a load calculation. Most people skip this, but the hidden cost of skipping a panel load calculation usually manifests as a middle-of-the-night power outage. If your panel is already pushing its limits, your charger might be smart enough to throttle itself back to 16 or 24 amps just to survive. If you are stuck with a 100-amp service, don’t panic yet; you can often find ways how to add an EV charger without a 200-amp panel upgrade by using smart load-shedding devices that pause the car when the oven is on.
Swap That Cheap Outlet for a Hardwired Connection
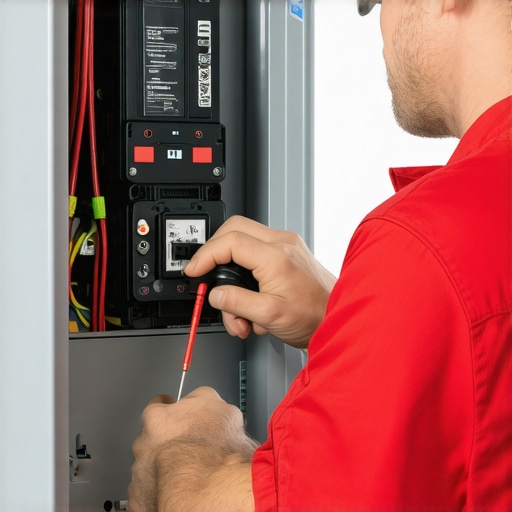
If you’re still using a plug-in model and wondering why your speeds are inconsistent, the answer is often heat. I once used a thermal camera on my garage outlet during a 40-amp session and the colors I saw were terrifying—deep purples and bright, angry yellows. This heat creates resistance, and resistance is the enemy of speed. If you want the full 48-amp experience, you need to ditch the plug entirely. Understanding the real difference between hardwired and plug-in charging stations is the key to unlocking consistent power. Hardwiring eliminates the contact points of a plug and socket that can loosen over time, which is exactly why your breaker gets hot to the touch during charging. A solid, torqued copper connection directly to the unit is the only way to ensure the electrons flow without friction.
Stop the War Between Your Car and Your Wallbox
Sometimes the bottleneck isn’t even in the wires; it’s in the software. I spent three days troubleshooting what I thought was a faulty breaker, only to realize my car’s onboard computer was fighting with the charger’s app. My Tesla was set to charge at 2 AM, but the wallbox was scheduled for midnight, and the conflicting signals resulted in the car defaulting to a ‘safety mode’ trickle. You’d be surprised how often your car’s internal timer conflicts with your wallbox, causing the system to handshake at the lowest possible speed. To fix this, pick one ‘master’ controller—either the car or the charger—and disable the schedule on the other. This ensures the communication protocol remains clear and the car requests the maximum amperage your circuit can handle.
Tighten the Lugs to Save Your Speed
There is a physical maintenance step most DIYers forget: checking the torque. High-amperage draws cause wires to expand and contract slightly every single day. Over a year, these ‘thermal cycles’ can actually loosen the screws holding your wires in the breaker. I’ve seen chargers drop 10% of their efficiency simply because a loose lug was creating a tiny micro-arc. It’s a good habit to safely check these connections once a year. If you find your unit isn’t performing, it might be time for EV charger troubleshooting expert tips for common issues to see if the hardware itself has been compromised by these loose connections.
We often assume that if a charger isn’t hitting its peak, the hardware is broken. But the deeper I get into EV infrastructure, the more I realize the “bottleneck” is usually a misunderstanding of how our homes interact with the grid. Most people will tell you that if you want to add a high-speed charger to an older home, you’re looking at a mandatory, multi-thousand-dollar service upgrade. I’m here to tell you that is often a myth pushed by contractors who don’t want to deal with the nuance of modern tech.
Stop Paying for Power You Don’t Actually Need
The standard advice is that you need a 200-amp panel for a modern lifestyle, especially with an EV. However, I’ve found that many homeowners can skip the massive expense by looking at their actual usage patterns rather than theoretical peaks. Instead of a full teardown, you can learn how to use load-shedding devices to avoid a full service upgrade. These “smart” controllers prioritize your appliances, pausing the car for the 20 minutes your dryer is running. It’s an elegant solution that saves you from the “Oops” factor of over-engineering a system that barely gets taxed 90% of the time.
Can Your 100-Amp Service Handle Two EVs Without a Total Teardown?
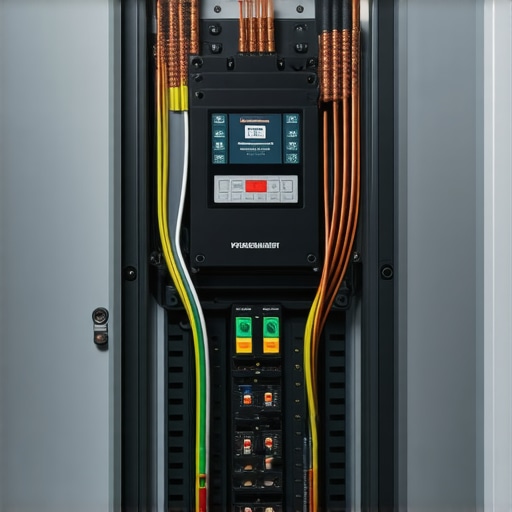
It sounds impossible, right? But the Electric Power Research Institute (EPRI) has highlighted that residential managed charging can shift up to 90% of EV load to off-peak hours, making even smaller services viable. I’ve seen setups where why a 100-amp service isn’t always enough for two EVs comes down to timing, not capacity. If you understand panel upgrade strategies to meet EV charging code requirements in 2025, you can often find a middle ground that keeps your local inspector happy without draining your savings account.
The Compliance Trap That Leads to Ghost Trips
Here is a sophisticated mistake even seasoned DIYers make: doubling up on GFCI protection. Modern EV chargers (Level 2) have sensitive ground-fault protection built directly into the unit. If you follow certain local interpretations of the 2023 NEC and install a GFCI breaker in your panel, the two systems can essentially “fight” each other. This is exactly why the GFCI in your panel keeps nuisance tripping your charger at 3:00 AM for no apparent reason. It’s a frustrating cycle of “everything looks right, but nothing works.” Navigating these code compliance essentials for EV charger installations in 2025 requires knowing when a standard breaker is actually the safer, more reliable choice.
The hidden nuance of EV charging isn’t just about big wires; it’s about system harmony. Before you sign a contract for a new panel, check your load calculations and look for software conflicts. Have you ever fallen into the “must upgrade panel” trap only to find out there was a simpler fix? Let me know in the comments.
Actually, the emails I get most often are from people who have had their chargers for two years and are suddenly seeing ‘Red Ring’ errors or reduced speeds. This is usually where the maintenance—or lack thereof—comes into play. I’ve spent enough time under the hood of my electrical panel to know that a ‘set it and forget it’ attitude is a recipe for a melted garage. If you want your investment to last longer than the car’s lease, you need to be proactive about the hardware you rarely touch.
Stop the Sizzle with a Proper Tool Kit
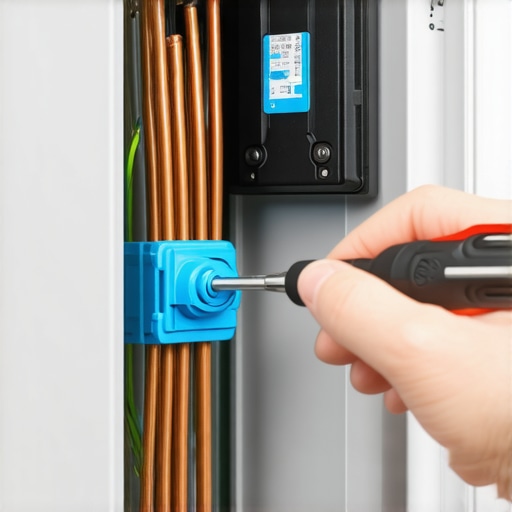
Most DIYers think a standard screwdriver is enough, but I personally swear by a Wera Torque Screwdriver. It might seem like an expensive overkill for a single project, but it is the only way to ensure you are hitting the manufacturer’s exact specifications. For instance, the Tesla Gen 3 Wall Connector Installation Manual is adamant about torquing terminals to precisely 50 lb-in (5.6 Nm); anything less invites micro-arcing. I also keep a budget-friendly FLIR thermal camera in my drawer. Once a quarter, I’ll scan the breaker and the handle while the car is pulling 48 amps. If I see a hotspot that wasn’t there last month, I know exactly why your ev plug contacts look burnt and what to do next before the damage becomes permanent.
How do I keep my charger running like day one for the next decade?
Maintenance for an EV charger isn’t like changing the oil in a combustion engine, but it is just as vital. First, check your cable for physical wear. High-power cables are heavy, and if you’re constantly yanking them or letting them sit in the sun, the insulation can degrade. Beyond the physical, you need to stay on top of the ‘digital’ maintenance. I set a calendar reminder every six months to check how to update the firmware on your smart charging station. These updates often include thermal management patches that actually prevent the hardware from wearing out prematurely. It’s also wise to keep the essential spare parts to keep for your home charging unit, like a spare holster or a replacement J1772 handle, especially if your unit is mounted outdoors where the elements are less than kind.
Look Ahead to the Age of Bi-Directional Charging
If you think your current Level 2 setup is the end-all-be-all, think again. The next five years are going to be dominated by V2H (Vehicle-to-Home) technology. We are moving toward a world where your car isn’t just a consumer of energy, but a giant battery backup for your entire house during a blackout. This shift will make why your garage needs a sub-panel for multiple chargers even more relevant, as the complexity of routing power back into your home requires more sophisticated infrastructure. If you’re building or renovating now, oversized conduit is the best ‘future-proof’ gift you can give yourself. I predict that standard panels will soon be replaced by smart energy hubs that manage this bidirectional flow automatically, making ev charger troubleshooting expert tips for common issues a skill every homeowner will eventually need. Don’t wait for a failure to act—grab a screwdriver today and check if why your charger needs a specific torque setting to pass inspection was actually followed during your initial install.
The Hardest Lesson I Learned While Chasing 48 Amps
Reflecting on my journey from a frustrated trickle charger to a high-speed pro, the biggest realization was that the electrical panel is a living system. I used to think of it as a dumb box of switches, but it is more like a delicate ecosystem. If you ignore the signs of stress, like a warm breaker, you are not just losing speed; you are risking a failure that could cost thousands. I have learned that upgrading your panel for better ev charging performance is not always about brute force—it is about precision and balance. Always verify your work against the latest standards or learn how to verify code compliance for your ev charger installation to ensure you are not leaving safety to chance.
The Gear That Saved My Sanity and My Garage
If you are serious about maintaining your setup, you need more than a generic toolkit. I never touch a terminal without my Wera Torque Screwdriver because hand-tight is almost never code-tight. I also recommend checking in with your power provider; many people miss out because they do not know how to tell if your utility company offers off-peak charging rates, which can save you a fortune over the life of your vehicle. Lastly, if you ever detect a weird odor, stop immediately. Knowing the reason your ev charger smells like burnt plastic is usually the difference between a simple part replacement and a full-blown electrical fire.
#IMAGE_PLACEHOLDER_E#
Take Control of Your Home Energy Future
Transitioning to an electric vehicle is one of the biggest changes you can make to your home’s infrastructure. It can be intimidating at first, but once you master the basics of EV charger troubleshooting and realize that a panel upgrade is not always a mandatory nightmare, you will feel a new sense of independence. You have got the knowledge to move past the marketing on the box and build a system that actually delivers the kilowatts you paid for. Don’t be afraid to open that panel door and take a look—just keep your torque wrench ready and your software schedules synced. Have you ever noticed your charging speeds dropping during the peak of summer heat, or have you found a specific setting that finally unlocked your car’s full potential? Let me know in the comments below!