I was standing in my garage last summer, staring at a tangle of old copper and a humming main breaker, when I realized I was about three steps away from an electrical fire. I had just put a deposit on a new electric SUV, thinking I’d just ‘plug it in’ like a giant cell phone. Boy, was I wrong. I spent the next three weekends realizing that most of us are completely unprepared for the load a Level 2 charger puts on a house. If you’re eyeing a new EV, don’t wait until the car is in the driveway to realize your panel is maxed out. Today, I’m going to walk you through exactly how to audit your home so you don’t end up with a dead car and a tripped main breaker.
Stop Assuming Your Current Panel Can Handle the Load
Most homes built before the 2000s weren’t designed with a ‘fuel pump’ in the garage in mind. I made the classic rookie mistake of thinking my 100-amp service was plenty because I never tripped a breaker with the toaster on. But a charger is a continuous load, meaning it pulls massive power for hours, not minutes. This is where panel upgrades for EV chargers become a non-negotiable reality for many of us. According to the Department of Energy, home charging accounts for nearly 80% of EV charging sessions, which places an unprecedented long-term stress on residential circuits.
Is an expensive panel swap actually worth the hype?
You might be wondering if you can just ‘squeeze’ one more circuit into that crowded box. Trust me, I tried, and I ended up learning about the most common DIY mistakes the hard way—specifically, ignoring heat buildup and wire sizing. If you don’t have the physical space or the amperage to spare, you’re looking at a bottleneck that affects your whole house. You need to calculate if your current service can handle the commute before you even look at charger brands. Have you ever gone to plug something in and noticed your lights flicker? That’s your house screaming for help. Tell me, have you checked your breaker labels lately to see what’s actually left?
Crunch the Numbers to Find Your Real Capacity
First, you have to treat your home’s electrical system like a limited budget where every appliance is a fixed monthly expense. To find out if you can afford an EV, you need to perform a formal load calculation rather than just guessing. I remember the first time I sat down with a calculator in my garage; I realized that if my AC kicked on while I was charging and someone started the dryer, I was literally 5 amps away from total darkness. This is exactly why you must load balance your home electrical system before adding new heavy-draw items. Think of it like a highway during rush hour—you can’t just add a semi-truck without expecting a massive pile-up unless you clear some lanes first or expand the road.
Open the Panel and Hunt for Red Flags
Next, you need to get your hands dirty with a physical inspection. Open that panel and look for signs of heat stress or poor craftsmanship from previous owners. When I opened my old Zinsco box, I noticed one of the lugs was slightly discolored, turning a subtle shade of rainbow blue. It turns out I was dealing with the hidden danger of loose neutral wires that had been vibrating for years. If I hadn’t checked, that small heat issue would have turned into a melted mess the second the 48-amp continuous draw of a Level 2 charger hit the bus bar. While you’re in there, listen closely to the hardware. If you ever wonder why your main breaker hums, it is usually a sign of magnetic vibration from a heavy load or a failing component that simply cannot handle the modern stress of an electric vehicle. 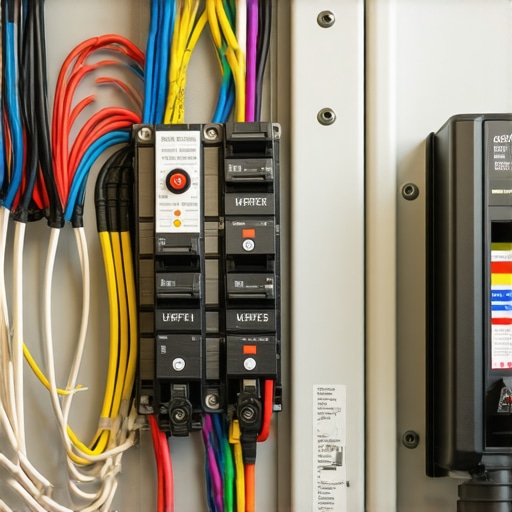
Choose Heavy-Duty Copper Over Cheap Alternatives
When it comes to the actual wiring, do not let a contractor talk you into using thinner wire or inferior materials just to save a few bucks on the quote. You need to verify the exact gauge of wire you need for a 60-amp circuit, which is almost always 6 AWG when using copper. I have seen DIYers try to use aluminum to cut costs, but understanding the difference between copper and aluminum is vital for high-heat, continuous applications. Copper handles the thermal expansion and contraction of an eight-hour charging cycle much more reliably. Also, pay attention to the small details like the specific torque settings for the breaker lugs. If those screws are not tightened to the manufacturer’s exact inch-pound specification, you are effectively building a slow-burning fire hazard in your utility room.
Respect the Clearance Zones and Safety Rules
Your garage layout matters just as much as the internal wiring. You cannot simply bolt the charger wherever it is most convenient for your reach; local code is very specific about safety clearances. For instance, you must know the exact distance your charger must be from the gas meter to prevent any risk of ignition. I once witnessed a neighbor’s installation get completely rejected by a city inspector because the wall unit was three inches too close to a gas line vent. If you want to pass your electrical inspection on the first try, you have to follow these spatial rules to the letter. It is not just about getting power to the car; it is about making sure your home remains safe while that power is flowing at maximum capacity all night long.Everyone tells you that if you want a fast charger, you absolutely must spend thousands on a full service upgrade. But in my experience, that’s not always the best move. You can often load balance your home electrical system without a full panel swap by using smart energy management devices. These units monitor your total house draw and momentarily throttle the car’s intake if the oven or AC kicks on. It’s a sophisticated way of upgrading your panel for better EV charging performance without the utility company digging up your front yard. However, there’s a massive ‘oops’ factor I see constantly: the GFCI headache. Modern chargers have built-in ground-fault protection. If your electrician installs a GFCI breaker in the panel as well, they often ‘fight’ each other. This is why your EV charger trips the GFCI even when not in use. It’s a classic case of over-engineering backfiring. According to the National Fire Protection Association (NFPA), sustained high-current loads like EV charging can expose even minor installation flaws that standard appliances never trigger. 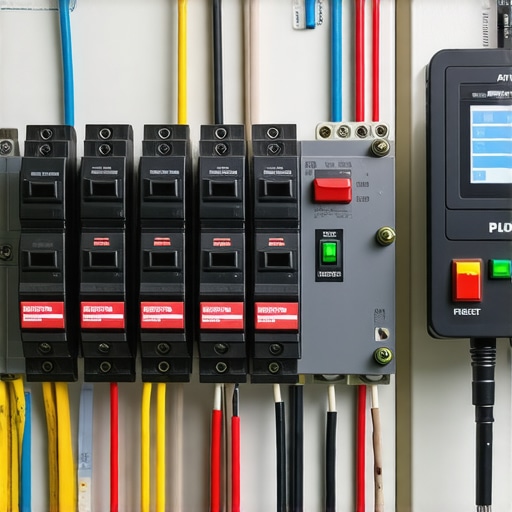
Why does my circuit breaker trip right when the battery is almost full?
It sounds counter-intuitive, right? You’d think the most stress is at the start. But the real reason your circuit breaker trips at 90 percent charge is often thermal saturation. As the car finishes its cycle, the heat has had hours to build up in the breaker and the wire. If the terminal connections aren’t perfect, that’s when the resistance peaks. This is one of the most common troubleshooting EV chargers common compliance pitfalls and fixes that people miss because they aren’t looking at heat signatures with a thermal camera. To keep things legal and safe, you must follow the code compliance essentials for EV charger installations in 2025. This includes proper labeling and ensuring the circuit is sized for 125% of the charger’s load. If you’re cutting corners, you’re not just risking a fine; you’re risking a hardware meltdown. Ensuring code compliance when installing EV chargers is the only way to sleep soundly while your car gulps down electricity at 2 AM. Have you ever fallen into this trap? Let me know in the comments.Once the inspector leaves and your car is finally humming along, you might think your job is done. But I’ve learned the hard way that a Level 2 charger isn’t a ‘set it and forget it’ appliance. Because it represents the highest sustained load in your house, you need to keep a close eye on the physical hardware long after the initial install. One tool I absolutely swear by is a basic infrared thermometer. Once a month, I point it at my main breaker while the car has been charging for at least two hours. If I see a temperature jump that seems localized to one lug, I know I need to check for a loose connection. This is the best way to spot a dying breaker before it shuts down your charging session and leaves you stranded with an empty battery.
How do I maintain my home charging setup over time?
The biggest enemy of a reliable charge isn’t usually a software glitch; it’s the physical environment. If your charger is in the garage, dust and spider webs are your primary villains. I make it a point to clean the pins on my charging handle safely using compressed air and a specialized electrical contact cleaner every season. If you’re charging outside, the stakes are even higher. You need to follow specific maintenance tasks that keep your outdoor charger running through winter, like checking the holster for ice or salt debris that could prevent a solid electrical handshake. Don’t forget the digital side either; I recommend checking your manufacturer app once a month to update your charger software without calling a technician. These updates often include critical bug fixes that improve how your car and wall unit communicate during high-heat periods. 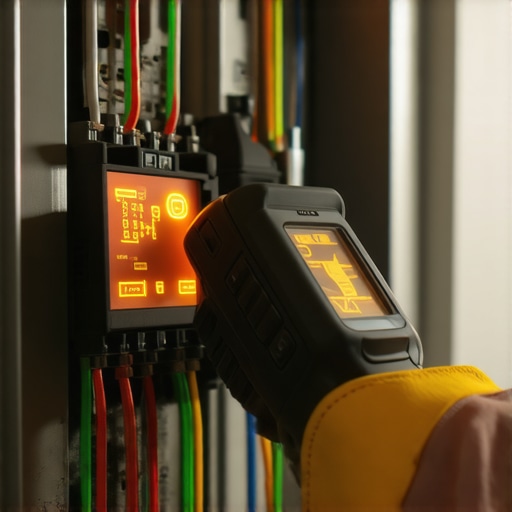 Beyond cleaning, you have to stay on top of ensuring code compliance when installing EV chargers as standards evolve. For instance, technical white papers from Schneider Electric emphasize that residential circuit breakers are often only rated for 80% of their marked capacity for continuous loads. This means that if your breaker is under-spec’d, it will eventually degrade. If you suspect things are getting too warm, you should definitely learn why your breaker gets hot to the touch during charging and address it before the internal springs lose their tension.
Stop Guessing and Start Scaling for Your Next Car
We are rapidly moving toward a world where one EV in the household simply isn’t enough. I’m already planning for when my spouse swaps their hybrid for a full electric, and that means I’m looking at how to install a second EV charger for a multi-car household. If you think your 200-amp panel is enough for two 48-amp chargers running simultaneously, you’re in for a surprise. You’ll likely need to implement panel upgrade strategies to meet EV charging code requirements in 2025 that involve smart energy management or dual-head chargers. The future of home energy is about ‘demand response’ where your house talks to the grid. For now, the best thing you can do is verify code compliance for your EV charger installation one last time. Grab a torque wrench and check those lugs—it’s the one simple DIY check that actually guarantees your house remains safe while you sleep.
The Hardest Lessons I Learned the Hard Way
When I first started this journey, I thought I was just adding an outlet. I quickly realized that the technical reality of a 48-amp continuous draw is vastly different from anything else in your home. Here are my lightbulb moments:
- Heat is a constant, not a variable: Unlike a toaster that runs for three minutes, an EV charger runs for hours. This causes thermal expansion in the wires. If you don’t use the right wire material, that expansion leads to loose connections and eventual failure.
- Labels are your best friend: During my first inspection, the official flagged me because my circuit wasn’t clearly marked. Now I know that following the specific circuit labels required by the inspector is the easiest way to show you mean business.
- Tightness is a science: I used to just ‘snug’ things up. I learned that using a torque wrench to meet the specific torque settings is the only way to truly prevent micro-arcing and potential fires.
My Essential Toolkit for a Stress-Free Install
If you are going to tackle even a small part of this, don’t go in empty-handed. These are the resources and tools that saved my sanity during my own home setup:
- A Non-Contact Infrared Thermometer: This is the easiest way to spot a dying breaker before it shuts down your session. If one breaker is 20 degrees hotter than the rest while charging, you have a problem.
- The 2025 NEC Handbook: It’s dense, but it contains all the code compliance essentials you need to avoid a ‘fail’ sticker from the city.
- Electrical Contact Cleaner: Keep a can in your garage to clean the pins on your charging handle once a season. It’s a 30-second task that prevents expensive port repairs.
Your Future Garage Starts Today
Preparing your home for an EV isn’t just about the car; it’s about modernizing your entire lifestyle and ensuring your infrastructure can keep up. Whether you are performing a full panel upgrade or just tightening a few lugs, taking these steps ensures your home remains a safe haven while it powers the future. Don’t be intimidated by the wires—be empowered by the control you now have over your home’s energy. Have you ever noticed your lights flicker or your breaker get hot while your car is plugged in? Let me know in the comments below!