I still remember the smell of burnt electronics wafting from my garage last July. It was a Tuesday, and I’d just finished what I thought was a flawless DIY install of a high-end Level 2 charger. I was proud. I’d even gone the extra mile, or so I thought, by driving a brand-new copper-clad grounding rod deep into the dirt right outside the garage wall. I figured more grounding meant more safety. I was wrong. Two weeks later, after a mild summer storm, my charger was a dead, silent brick. When the manufacturer’s tech support asked for photos of the installation, they didn’t offer a replacement. Instead, they pointed at my extra rod and told me I’d just voided my $800 warranty by creating a ground loop. It was a painful, expensive lesson in how ‘doing extra’ can actually break the rules.
The Hidden Trap of the Auxiliary Grounding Rod
Most of us think that adding a ground rod is the ultimate safety move. If one is good, two must be better, right? Not in the world of electric vehicles. When you install an auxiliary rod without properly bonding it back to the main service equipment, you create a different path for electrical current. This can lead to ‘stray voltage’ that fries the sensitive logic boards inside your car’s charger. I learned the hard way that how to fix the grounding fail that ruins EV permits isn’t just about passing an inspection; it’s about protecting the hardware that fuels your commute. Today, I want to show you exactly how to avoid this common trap so you don’t end up with a voided warranty and a dead car. We’ll look at the specific NEC requirements and why your manufacturer cares so much about that piece of metal in the dirt.
Can a Simple Piece of Metal Really Kill My Warranty?
It sounds like a corporate excuse to get out of paying a claim, but there’s a real engineering reason behind it. EV chargers are essentially high-powered computers that talk to your car’s battery. If there is a voltage potential between two different ground points—like your house’s main ground and that new rod you just hammered in—current will flow where it shouldn’t. According to the National Fire Protection Association (NFPA 70), improper grounding is a primary culprit in the failure of sensitive electronics during minor power fluctuations. If a manufacturer sees an unbonded rod, they see a direct violation of their installation manual. Have you ever noticed your charger acting finicky or dropping the connection during a light drizzle? That’s often the first sign of a grounding issue. I’d love to hear in the comments if you’ve seen those weird ‘Ground Fault’ red lights on your unit.
Why Local Codes and Manufacturer Specs Often Clash
Sometimes the confusion starts because of why your panel upgrade might require a new ground rod for the house, but not necessarily for the charger itself. Your local inspector might want to see your entire system brought up to 2025 standards, but if your electrician isn’t familiar with specific EV brands, they might treat the charger like a simple dryer outlet. I’ve seen pros make the mistake of thinking a separate rod is ‘cleaner’ power. It isn’t. In fact, many people find that the grounding trick that fixes intermittent charging errors is actually removing the extra rod and ensuring a solid, low-resistance path back to the main panel. We’re going to dive into the specific wiring configurations that keep the inspectors happy and your warranty intact.
Kill the Ghost Voltages with a Single Point of Truth
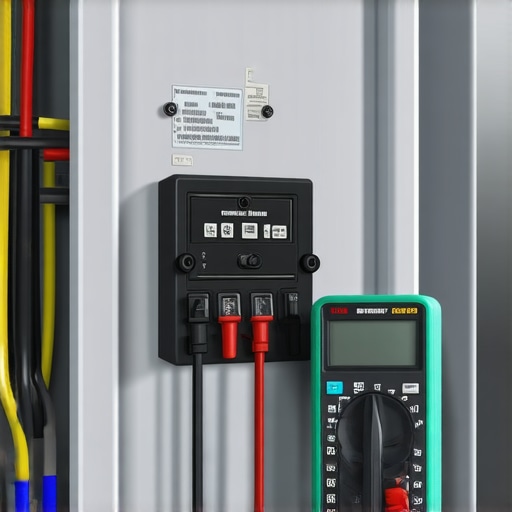
Think of your home’s electrical system like a tree. There is one trunk—your main service panel—and every branch eventually leads back to that single point where it meets the earth. When you hammer in a second grounding rod at the charger, you’re trying to grow a second trunk. This creates a loop where electricity can literally circle back and forth between the two rods through the soil. This is called a ground loop, and it’s the silent killer of EV motherboards. To avoid this, your equipment ground wire must run directly from the charger back to the main panel’s ground bar. No detours, no extra rods, just a clean, continuous copper path. I once helped my neighbor, Dave, who couldn’t figure out why his charger kept clicking off. We pulled out a multimeter and found a 4-volt difference between his “custom” garage rod and the house ground. That tiny bit of pressure was enough to trigger the charger’s safety sensors every single time it rained.
Check the Main Bonding Jumper Before You Start
Before you even pull the wire for your charger, you need to verify that your house’s “foundation” is solid. Many older homes have loose or corroded connections where the main ground wire hits the water pipe or the original rod. If that connection is weak, your car will become the best path to ground for the whole house. That’s a recipe for a fire. You should always perform the forgotten torque test that prevents panel fires on your ground and neutral lugs. Use a torque screwdriver to ensure every set screw is tightened to the manufacturer’s inch-pound specification. If it’s loose, it creates heat; if it’s hot, your charger’s sensitive internal relay will eventually fail, and you’ll be hunting for ev charger troubleshooting expert tips for common issues instead of enjoying a full battery.
Keep Your Neutrals and Grounds Separated in Subpanels
If you are installing your charger off a subpanel in the garage, this is where 90% of DIYers (and even some pros) trip up. In your main service panel, the neutral wires and ground wires all hang out on the same bar. But the moment you move to a subpanel, they must be strictly segregated. You need a four-wire feed: two hots, one neutral, and one ground. The neutral bar in that garage subpanel must be “floating”—meaning it shouldn’t touch the metal box. Only the ground bar should be bonded to the enclosure. If you bond them together in the subpanel, you’re creating a parallel path for the return current, which is a major violation of ensuring code compliance when installing ev chargers. I’ve seen this mistake lead to a “Ground Fault” error that wouldn’t go away until we re-wired the entire subpanel, adding to the 3 hidden costs of diy ev charger wiring that people rarely account for.
Verify the Resistance of Your Ground Path
Once everything is hooked up, don’t just flip the breaker and hope for the best. Use your meter to check the resistance between the charger’s metal chassis and the main ground. It should be near zero. If you see high resistance, you likely have a “dirty” connection or a bad splice somewhere. Often, the grounding trick that fixes intermittent charging errors is simply cleaning the paint off the mounting surface or ensuring the conduit fittings are tight. Electricity at 48 amps doesn’t play nice with loose fittings; it finds the gaps and creates arcs that can melt your expensive Level 2 unit faster than you can say “warranty denied”.
Stop Assuming Your 200-Amp Panel Can Handle Everything
The most common advice you’ll hear in EV forums is a simple mantra: “Just get a 200-amp service and you’re golden.” But here is the contrarian truth I’ve learned after seeing dozens of failed inspections: a 200-amp panel is a capacity rating, not a guarantee of performance. Even if you have the space, the physical layout of your breakers and the heat dissipation of your panel enclosure play a massive role. When you look at panel upgrades for ev chargers what you need to know, you realize that adding a 60-amp circuit to a panel that is already running a heat pump, an electric range, and a pool heater pushes the bus bar to its thermal limits, even if you never technically hit 200 amps. I’ve seen brand-new panels warp because the installer crowded all the high-draw breakers at the very top, creating a localized ‘hot zone’ that the panel wasn’t designed to vent.
Why Does Your Breaker Keep Tripping Even When You Aren’t Over the Limit?
This is the question that drives homeowners crazy. You have a 50-amp breaker and a 40-amp charger, so it should work, right? The ‘Oops’ factor here is failing to account for the NEC Article 625.41 requirement, which classifies EV charging as a continuous load. This means the circuit must be sized at 125% of the load. If your charger pulls 40 amps, your circuit must be rated for 50. However, most standard residential breakers are not ‘100% rated.’ They are designed to trip if they stay at their limit for too long to prevent fires. According to a study by the Electrical Safety Foundation International (ESFI), thermal fatigue is one of the leading causes of premature breaker failure in homes with high-power appliances. If you use the specific breaker brands that hate constant ev loads, you’ll find that the internal springs literally lose their tension over time due to the constant heat of an 8-hour charging cycle.

The Hidden Cost of Using ‘Good Enough’ Residential Wire
Many DIYers reach for standard 6/3 Romex (NM-B) because it’s available at every big-box store. But there is a massive difference between residential and industrial grade wire for evs. Romex is rated at the 60°C thermal column, which limits its ampacity more strictly than THHN wire pulled through conduit (rated at 75°C or 90°C). If that Romex is buried deep in attic insulation on a hot July afternoon, it can’t shed the heat generated by 48 amps of current. This leads to the voltage drop secret thats ruining your morning charge. When wire gets hot, its resistance increases; when resistance increases, the voltage at the charger drops. Your car might see 208V instead of 240V, making your ‘fast’ charger feel like a turtle. If you’ve noticed your charging times creeping up, you might be seeing 4 signs your electrician used the wrong gauge wire for the specific environment of your home. It’s all part of the code compliance essentials for ev charger installations in 2025 that ensure your home doesn’t just pass a test, but stays safe for a decade of use. Troubleshooting these issues later is a nightmare, which is why understanding troubleshooting ev chargers common compliance pitfalls and fixes before you pull the trigger is so vital. Have you ever fallen into this trap where ‘pro’ advice didn’t match your reality? Let me know in the comments.
Stop Your Charger From Dying a Slow Death
Most homeowners assume that once the green light is on and the car is humming, the job is done. But I’ve learned that the ‘install and ignore’ approach is why many systems fail just past the two-year mark. To keep your system running, you must regularly how to verify code compliance for your ev charger installation even after the inspector has left. Over time, thermal cycling—the constant heating and cooling of wires—can cause connections to loosen. This isn’t just a theory; according to the National Electrical Manufacturers Association (NEMA) standard PE 1-2023, EVSE enclosures must be inspected annually for environmental ingress and terminal integrity to prevent catastrophic failure. If you ignore this, you’ll eventually find yourself hunting for ev charger troubleshooting expert tips for common issues because of a simple loose lug.
The Two Precision Tools That Saved My Garage
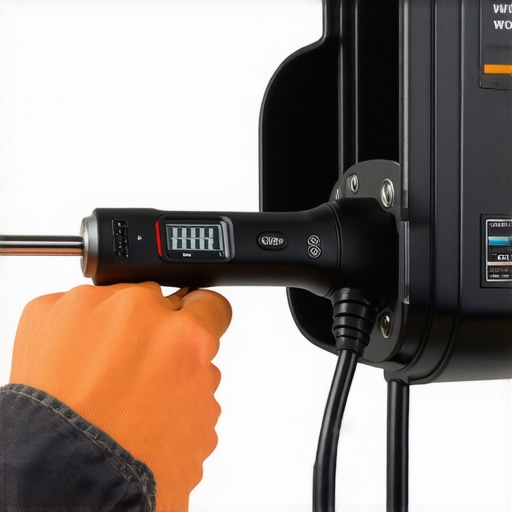
I don’t go near a charger without two specific tools: a calibrated digital torque wrench and a basic FLIR thermal camera. I use the torque wrench because ‘hand tight’ is a lie that leads to house fires. You need to follow the specific torque wrench settings for a wall connector precisely—usually around 4.4 to 5.2 Newton-meters depending on the model. Why? Because the resistance at a terminal increases exponentially with every fraction of an inch it loosens. After a month of heavy use, I pull the cover and hit the terminals with my thermal camera while the car is charging. If one wire is glowing brighter than the others, I know I have a high-resistance connection that needs attention before it triggers troubleshooting ev chargers common compliance pitfalls and fixes.
How do I maintain my EV charging circuit over time?
Maintenance is less about cleaning the plastic and more about monitoring the electrical ‘vitals.’ Every six months, I recommend a physical inspection of the handle and pins. Look for any discoloration or blackening on the copper contacts; this is a sign of arcing. If you see it, you need to learn how to diagnose a faulty internal relay in your charging station before it welds itself shut. Also, don’t forget the external conduit. In many climates, moisture can get trapped in horizontal runs, leading to corrosion. This is a critical part of code compliance essentials for ev charger installations in 2025—ensuring the physical housing hasn’t been compromised by shifting soil or pests.
Where the Grid and Your Car Are Heading Next
The future isn’t just about one-way charging. We are rapidly moving toward V2H (Vehicle-to-Home) systems where your car becomes the backup battery for your house. This shift means your panel is going to work harder than ever. I predict that panel upgrade strategies to meet ev charging code requirements in 2025 will soon include ‘smart’ breakers as a standard requirement, allowing utilities to throttle your charging during peak demand to save the grid. To stay ahead of the curve, I highly recommend you grab a digital multimeter today and check your voltage at the car versus the main panel while charging—if you see a drop of more than 3%, your wire gauge is likely the culprit and you’re wasting money on heat every single night.
What Most Electrical Manuals Leave Out About Long Term Charging Health
One of the biggest lightbulb moments I had after my garage mishap was realizing that electrical connections aren’t static. Copper expands and contracts every time you plug in your car. This “thermal cycling” is why a connection that was perfect in January might be dangerously loose by August. I now make it a habit to how to verify code compliance for your ev charger installation twice a year. It’s not just about passing the initial inspection; it’s about preventing the 3 small mistakes that turn your garage panel into a fire hazard. I’ve learned that “code minimum” is exactly that—the bare minimum. If you want your system to survive a decade of daily 48-amp pulls, you need to over-engineer your cooling and your connections.
My Personal Loadout for a Bulletproof Garage Setup
If you’re serious about doing this right, you need more than just a screwdriver and a prayer. Here are the three things that live in my electrical kit: First, a high-quality digital torque wrench is non-negotiable. You cannot “feel” 5.2 Newton-meters accurately, and getting the specific torque wrench settings for a wall connector wrong is the fastest way to melt a terminal. Second, a basic thermal imaging camera allows you to see “ghost heat” before it causes a failure. Finally, I always keep a copy of the NEC Handbook nearby. While blog posts are great, the handbook explains the why behind the rules, which helps you avoid troubleshooting ev chargers common compliance pitfalls and fixes down the road.
Build a System That Lasts as Long as Your Battery
Transitioning to an electric vehicle is a massive shift in how you interact with your home’s energy. By taking the time to focus on ensuring code compliance when installing ev chargers, you’re not just following the law—you’re protecting your family and your investment. Don’t let the technical jargon intimidate you. Once you understand the flow of power and the importance of a single ground point, the rest is just following a roadmap. You’ve got the tools and the knowledge to do this better than I did that first time in my garage. Have you ever found a loose wire or an unexpectedly hot breaker during a routine check of your garage panel? Let me know in the comments below.