It was 11:45 PM on a freezing Sunday night, and I had a 200-mile drive for a client meeting starting at dawn. I plugged my car in, expecting that comforting ‘thunk’ of the contactors closing. Instead? Silence. Then a frantic, rhythmic red blinking light mocked me from the garage wall. I realized then that my J1772 handle latch had snapped clean off, meaning the car wouldn’t handshake with the charger. I spent forty minutes in the cold with duct tape and a prayer, failing miserably. I ended up at a public fast charger three towns over at 1:00 AM, cursing my lack of foresight. That was the night I realized your home charging station isn’t a ‘set it and forget it’ appliance; it’s a high-use piece of electrical gear that needs a dedicated ‘oh-crap’ kit.
The Night My Charger Quit and What It Taught Me
We often treat our EV chargers like a toaster—something that just works until it doesn’t. But your charger handles more current in one night than your toaster does in a year. After my Sunday night disaster, I started digging into expert tips for common issues and realized I was missing the most basic safety net. If you don’t have a few specific components tucked away in a drawer, you aren’t just risking a minor inconvenience; you’re risking your ability to get to work. Today, I’m going to walk you through the essential spare parts I now keep on my workbench so that a $20 plastic clip never leaves you stranded again. According to a study by JD Power, nearly 20% of EV owners experience charging failures, and a significant portion of those are due to hardware wear and tear that could be fixed in minutes with the right part on hand.
Is a Backup Kit Really Worth the Hassle?
I get the skepticism. Why buy parts for something that isn’t broken? I used to think the same way until I made a massive mistake early on. I noticed my plug was getting slightly warm, but I ignored it because I didn’t have a spare outlet ready. That tiny bit of heat eventually led to a melted housing that cost me five hundred dollars to replace. If I had simply known how to pick a NEMA 14-50 outlet that could handle the stress and kept a spare in my toolbox, I would have saved a fortune. You might see a check charger warning on your dash and panic, but often, the fix is a simple component swap. Have you ever been stuck at 6 AM because your charger decided to take a permanent vacation? I’d love to hear if you’ve faced this headache too. Whether you are dealing with a Tesla Wall Connector blinking red or a handle that keeps sticking, having the right piece of hardware nearby is the difference between a five-minute fix and a very expensive morning. Let’s get into the specific items that actually belong in your garage.
Build Your Disaster-Proof Charging Shelf
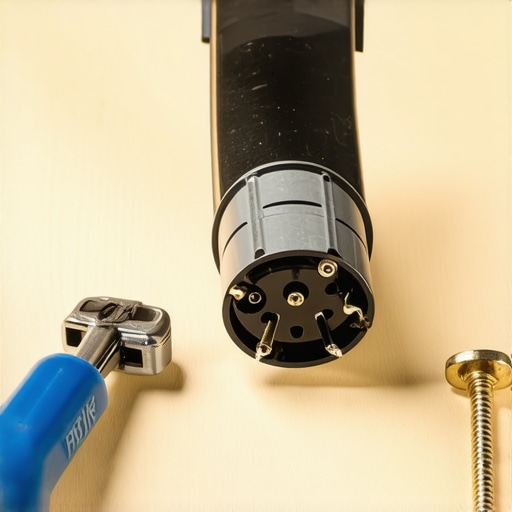
The first thing you need is a replacement J1772 or Tesla handle latch. These are almost always plastic, and they take a beating every single day from being dropped or roughly inserted. I once spent a Tuesday morning frantically searching for a replacement because my latch wouldn’t click, and without that physical ‘click,’ the car’s proximity pilot signal won’t initiate the charging handshake. I ended up trying to use a heavy rubber band to maintain the connection, but the car eventually threw a check charger warning because the pins weren’t making full contact. Now, I keep a $15 replacement kit in my workbench drawer. It’s a five-minute fix that prevents a five-hour headache. If you find your plug is resisting, learn how to stop your charger handle from sticking in the port before you snap the mechanism entirely.
Replace the Outlet Before the Plastic Bubbles
If you aren’t hardwired, your NEMA 14-50 outlet is the weakest link in the chain. Most ‘builder grade’ outlets are designed for a clothes dryer that runs for 45 minutes, not an EV that pulls max current for eight hours straight. I’ve seen cheap outlets literally char the drywall behind them because they simply aren’t built for a 100% duty cycle. You need to keep a spare industrial-grade outlet (like a Hubbell or Bryant) and, more importantly, know the specific torque settings that prevent panel fires during high load charging. If the screws are even a fraction of an inch loose, the resistance creates heat, and heat is the absolute enemy of your home’s safety. Check your outlet every few months for any discoloration; if you see brown marks, swap it immediately.
Solve the Capacity Puzzle Without Blowing a Fuse
Think of your home’s electrical panel like a highway. Most appliances are like cars—they come and go quickly. An EV charger is like a 50-car convoy that never ends. If your ‘highway’ only has two lanes, you’re going to have a massive traffic jam that shuts everything down. This is why upgrading your panel for better ev charging performance is often non-negotiable for older homes. If you’re constantly tripping breakers, it’s not just an annoyance; it’s a sign your system is redlining. I once helped a neighbor troubleshoot a charger that kept cutting out, only to find the previous owner had used undersized aluminum wire that was literally vibrating under the load. We had to rip it all out to ensure code compliance. In your kit, you should have a printout of the exact wire gauge you need for a 50-amp ev circuit. Having this info on hand means when you do have to call a pro, you can speak their language and ensure the job is done right. Don’t let a contractor talk you into cutting corners that could lead to a service call in the middle of a blizzard.
Why Your Local Inspector’s Approval Isn’t a Guarantee of Performance
Here is a hard truth most electricians won’t tell you: passing a city inspection doesn’t mean your EV setup is ‘perfect,’ it just means it didn’t violate the law. I’ve walked into garages where the National Electrical Code (NEC) was followed to the letter, yet the owner was still dealing with nuisance trips and scorching hot wires. Most people assume that if the inspector signs off, the system is optimized. In reality, code is the absolute floor of safety, not the ceiling of quality. You need to know how to verify code compliance for your ev charger installation through the lens of performance, not just legality. According to the Electrical Safety Foundation International (ESFI), high-current appliances like EV chargers are responsible for a rising number of residential electrical failures because the underlying home infrastructure was never designed for continuous 100% duty cycles.
The Invisible Risk of the Empty Breaker Slot
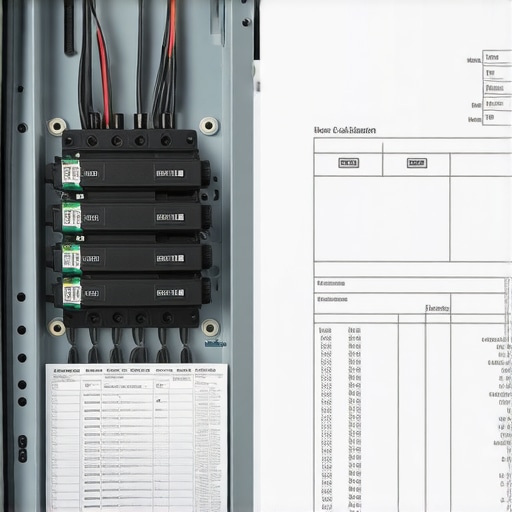
The most common ‘trap’ I see is the empty slot fallacy. You look at your panel, see two empty spaces, and think, ‘Perfect, room for a 50-amp breaker.’ This is the ‘oops’ moment that can lead to a literal meltdown. Just because there is physical room for a breaker doesn’t mean your electrical service has the capacity for the extra amperage. This is the hidden cost of skipping a panel load calculation. If you skip this step, you might find your main breaker tripping in the middle of the night when the water heater and the car try to run simultaneously. It is also a common permit error that stops home charger installs in their tracks when the city catches the discrepancy during the final review. Have you ever fallen into this trap? Let me know in the comments below.
Is Your Service Panel Actually Ready for That New Level 2 Load?
If you are running on an older 100-amp or 125-amp service, you are likely redlining. But here is the nuance: you don’t always need to spend thousands on a full service upgrade. There are creative ways how to add an ev charger without a 200-amp panel upgrade, such as using smart load-shedding devices. However, you must be careful with the implementation. For instance, I have seen many DIYers fail because they didn’t realize why your subpanel needs a separate ground bar for ev circuits. This oversight is a fast track to why the city inspector failed your garage wiring. Don’t just aim to ‘make it work’—aim to build a system that won’t require a fire extinguisher in three years. Niche details, like the specific torque on the lugs and the separation of neutral and ground in subpanels, are what separate a professional install from a dangerous hobby project.
If you think the job is done once the wires are pulled and the lights are green, you’re setting yourself up for a nasty surprise in about eighteen months. To keep things running smoothly, I’ve added a ‘quarterly inspection’ to my calendar. My secret weapon isn’t some high-tech diagnostic computer; it’s a simple handheld infrared thermometer. Every few months, while the car is pulling its full 48-amp load, I point that laser at the breaker, the conduit entry points, and the outlet face. If I see temperatures climbing above 140°F, I know a connection is loosening or the wire is undersized for the run. This is exactly why your breaker gets hot to the touch during charging, and catching it early prevents the plastic from deforming before it smells like a campfire. I also keep a high-quality torque wrench set to the manufacturer’s specs—usually around 20 to 50 inch-pounds depending on the lug—because thermal cycling (the constant heating and cooling of wires) will eventually back those screws out. This is one of the most overlooked troubleshooting ev chargers common compliance pitfalls and fixes that I’ve seen in the field. Even if it felt tight during the initial install, copper and aluminum expand at different rates, and that microscopic movement adds up over a thousand charging cycles until the resistance becomes dangerous.
How do I maintain my home charging station over time?
Maintenance isn’t just about the internal electronics; it’s about the physical wear and tear of daily use. I make it a point to check the cable for ‘kinks’ or memory set, especially in the winter when the insulation gets brittle. If you live in a cold climate, you need to perform specific 3 maintenance tasks that keep your outdoor charger running through winter, like inspecting the gaskets for ice expansion and clearing the port of debris. I also occasionally dive into the software side of things. If you notice your charging stats look wonky or your scheduling fails, it might be the reason why your smart charger app is giving you wrong data. Usually, a quick reboot or learning how to update the firmware on your smart charging station clears up those communication glitches. According to NFPA 70B (Recommended Practice for Electrical Equipment Maintenance), periodic tightening of connections and thermal imaging are the gold standards for preventing industrial electrical failure—and your garage is now, for all intents and purposes, a small industrial site. Ignoring these basics is how you end up needing a full upgrading your panel for better ev charging performance because a small arc ruined the busbars.
Prepare Your Garage for the V2G Revolution
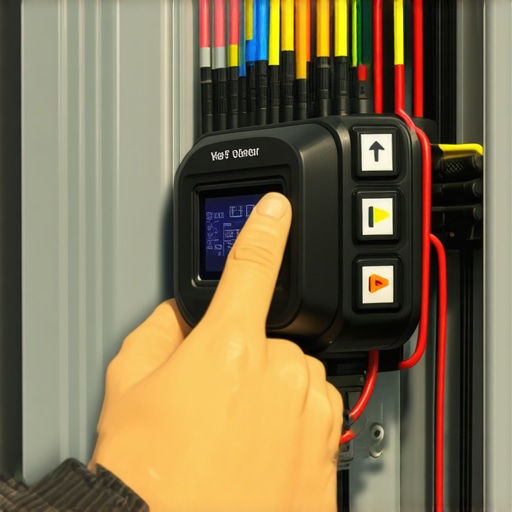
Looking ahead, the next big shift isn’t just about faster charging—it’s about bidirectional flow. We are moving toward a world of Vehicle-to-Grid (V2G) where your car powers your house during a blackout. This makes your installation’s integrity even more critical because the hardware will be working twice as hard, essentially acting as both a consumer and a generator. If your current setup is struggling with basic one-way flow, it will never survive the demands of these upcoming systems. This is why I am so obsessive about ensuring code compliance when installing ev chargers today. My best advice for the ‘pro’ DIYer? Buy a torque screwdriver and a cheap thermal leak detector. Don’t ‘feel’ the tightness; measure it. It’s the single best way to protect your home from the silent threat of high-resistance heating. Go check your breaker temperature tonight while the car is charging—it takes thirty seconds and might save you a five-thousand-dollar repair bill later this year.
The Maintenance Lessons That Saved My Sanity
After years of tinkering with home setups, I’ve realized that the most dangerous phase for an EV charger isn’t the first week—it’s month eighteen. By then, the initial excitement has faded, and thermal cycling has had plenty of time to work its magic on your connections. One hard-won truth I’ve learned is that a visual check isn’t enough. You can’t see a loose lug or a failing capacitor until it’s already smoking. I now treat my garage like a mini-utility station. If you want to avoid a middle-of-the-night emergency, you need to be proactive about troubleshooting ev chargers before a warning light ever appears. Another lightbulb moment for me was realizing that environmental factors, like humidity or salt air if you’re near the coast, can corrode the internal pins of your handle faster than the manufacturer suggests. A little bit of electrical-safe contact cleaner once a year goes a long way toward preventing that dreaded red ring of death.
My Go-To Toolkit for a Reliable Charging Station
You don’t need a degree in electrical engineering to keep your setup safe, but you do need a few specialized items that the average homeowner overlooks. Here is what I keep on my dedicated ‘EV Shelf’ to stay ahead of potential failures:
- Infrared Thermometer: This is my number one tool. While the car is charging at full power, I check the breaker and the outlet. Anything significantly hotter than the surrounding environment is a red flag that requires immediate attention.
- Torque Screwdriver: Following the manufacturer’s exact inch-pound specifications is the only way to prevent arcing. Hand-tight is never enough for a 50-amp continuous load.
- Code Compliance Checklist: I keep a printed guide on how to verify code compliance for your ev charger installation. Whenever I make a tweak or an upgrade, I double-check that I’m not accidentally creating a safety hazard.
- Manufacturer App: I regularly check for firmware updates. Many people forget that their charger is a computer, and updates often include safety patches that manage heat better during peak summer months.
Ready to Future-Proof Your Home Energy Grid?
Transitioning to an electric vehicle is a massive step toward energy independence, but it shifts the responsibility of ‘fueling safety’ onto your shoulders. By staying diligent with your maintenance and ensuring code compliance when installing ev chargers, you aren’t just protecting your car; you’re protecting your home and your family. The peace of mind that comes from knowing your connections are torqued and your wires are cool is worth every second of inspection time. Whether you are currently upgrading your panel for better ev charging performance or just trying to keep an older unit alive, remember that safety is a continuous process, not a one-time event. Have you ever noticed your charger handle or breaker getting unusually warm during a long session? Let me know in the comments below!