I’ll never forget the morning I nearly did a face-plant over my charging cable while reaching for a bag of mulch. There it was—a beautiful, high-tech electric vehicle plugged into a wall that looked like a bird’s nest of thick, heavy-duty wiring. It was embarrassing. I had spent so much time researching the car, yet my garage looked like a half-finished construction site. When I first started, I made the classic rookie move of trying to secure a heavy 6-gauge wire with flimsy plastic adhesive clips. Spoiler alert: they lasted about two hours before the heat and weight sent everything crashing down. That was my lightbulb moment. If you are tired of your garage looking like a disorganized server room, I’m going to show you exactly how to tuck those wires away safely and stylishly. We aren’t just talking about aesthetics; we are talking about making your space functional again.
Stop Letting Your Charging Cable Ruin the View
If you have already figured out how to find the best spot in your garage for a level 2 install, you are halfway there. But the distance between your electrical panel and that perfect spot often leaves you with a long run of conduit or exposed wire that sticks out like a sore thumb. I’ve seen some pretty creative, yet terrifying, attempts to hide these. People use duct tape, zip ties, or even try to hide them behind stacks of cardboard boxes. Don’t do that. One of the most common DIY mistakes in home charger installations is prioritizing a ‘clean look’ over ventilation and access. According to the National Fire Protection Association (NFPA), electrical failures or malfunctions are a leading cause of home fires, and crowding high-voltage lines without proper support only increases that risk. My goal today is to help you achieve that minimalist, high-end look without compromising the safety of your home or your brand-new car. Have you ever walked into your garage and felt a little ping of annoyance at the cable chaos? You are definitely not alone.
Does a Clean Look Really Matter for Charging?
I used to be a ‘function over form’ guy until I realized how much the clutter was stressing me out. Beyond the mental peace of a tidy space, hiding and securing your wires actually protects your equipment. When cables are left dangled or poorly supported, it puts unnecessary tension on the ports and the internal connections of the unit. I learned this the hard way when I realized I hadn’t considered the best height for a wall-mounted charger to avoid cord strain, leading to a frayed outer jacket on my very expensive charging handle. By using the right conduit and mounting strategies, you ensure that your charging station remains a long-term asset rather than a maintenance headache. We are going to look at everything from paintable surface raceways to the art of the ‘hidden’ sub-panel, so you can finally have a garage that matches the car parked inside it.
Conduit Choice Can Make or Break the Look
To get that professional finish, you first need to choose between rigid conduit and decorative surface raceways. While plastic cord covers are fine for a lamp, they won’t cut it for the heavy-duty juice your car needs. I recommend using EMT (Electrical Metallic Tubing) if you want that industrial, high-end look. It is sleek, thin-walled, and incredibly durable. If you are worried about the ‘factory’ look, you can easily paint EMT to match your garage walls. However, if you are going for maximum invisibility, a surface-mounted raceway designed for high-voltage power is your best friend. These are wider, flatter channels that sit flush against the drywall. I remember trying to cram a set of heavy THHN wires into a slim decorative channel I bought at a big-box store. I spent forty minutes wrestling with the stiff copper, only for the plastic cover to buckle and snap under the pressure. It was a mess because I hadn’t respected the wire fill capacity, a mistake that often leads to ensuring code compliance when installing ev chargers becoming an uphill battle. 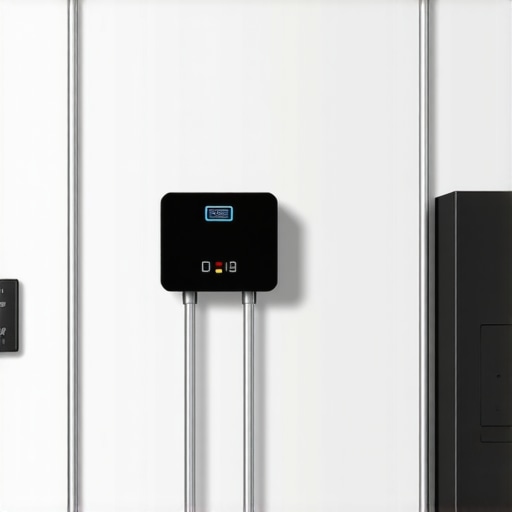
How to Handle the Heavy 60-Amp Wiring
Most Level 2 chargers require a significant amount of power, often pulling 40 to 48 amps continuously. This means you are likely dealing with 6-gauge wire, which is about as flexible as a frozen garden hose. To manage this without the wires bulging out, you must use the right support. Forget the adhesive clips; you need one-hole or two-hole metal straps screwed directly into the studs every three to four feet. This prevents the conduit from sagging or vibrating when the current starts flowing. If you are aiming for a cleaner setup, consider the benefit of a hardwired charger over a nema plug. Hardwiring allows you to run the conduit directly into the back of the charging unit, hiding all the connections and removing the need for a bulky, industrial-looking outlet on your wall. It also eliminates a common point of failure where the plug can loosen over time due to the weight of the cable. When stripping and landing these wires, pay close attention to the specific torque settings that prevent panel fires during high load charging. A loose screw on a 60-amp circuit isn’t just a minor error; it’s a heat generator.
Stop Your Breaker From Overheating Under Load
Even the prettiest wiring job is useless if your electrical panel can’t handle the stress. Think of your electrical panel as the heart of your home; if you ask it to run a marathon every night by charging your EV, you need to make sure the ‘arteries’ are clear. If your home is older, you may need to look into panel upgrades for ev chargers to ensure you have the physical space and the electrical capacity for the new load. During a summer heatwave, I noticed a faint humming coming from my garage. When I checked the panel, the breaker was almost too hot to touch. This is why why your breaker gets hot to the touch during charging is a topic every owner should understand. It’s often a sign of a loose connection or an aging breaker that can’t handle the continuous draw. By ensuring your conduit is properly sized—avoiding the conduit depth rule that fails more garage inspections than anything else if you are running lines through a slab—and keeping your connections tight, you create a system that is as safe as it is invisible.
A 200-Amp Panel Isn’t the Silver Bullet You Think
I hear it all the time in DIY forums: ‘I have a 200-amp panel, so I’m good to go.’ This is one of the most dangerous myths in home electrification. In my experience, the total capacity of your service is far less important than the actual load diversity. You can have a 200-amp panel and still trip the main breaker if your heat pump, electric range, and EV charger all kick in at the same time. This is where how to load balance your home electrical system without a full panel swap becomes a critical skill. Before you start pulling wire, you need a true load calculation. If you aren’t careful, you might realize why a 100-amp service isnt always enough for two evs or even a single high-draw unit during peak hours. The Electrical Safety Foundation International (ESFI) notes that many residential panels are pushed to their absolute thermal limits by the continuous draw of EV charging, which is unlike any other appliance in your home.
Why does my car refuse to talk to the charger?
Sometimes the wiring is perfect, but the software is a nightmare. I’ve spent hours scratching my head over a ‘communication error’ on the dashboard, only to realize it wasn’t the electrical line at all. If you are seeing red lights, you might be dealing with troubleshooting ev charger connectivity problems. The ‘handshake’ between your car and the station is incredibly sensitive to electromagnetic interference (EMI). If you ran your communication wires too close to the high-voltage lines without proper shielding, the signal can get garbled. I’ve found that ev charger troubleshooting expert tips for common issues often boil down to simple physical interference or outdated firmware. Have you ever fallen into this trap where you blamed the hardware but it was actually a software glitch? Let me know in the comments.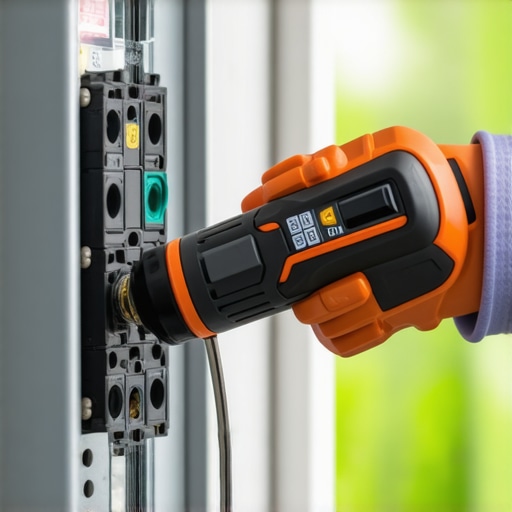
The Tiny Loose Screw That Wrecks Your Efficiency
The biggest ‘oops’ factor I see with advanced DIYers is neglecting the torque screwdriver. Most people just tighten the breaker lugs until they feel ‘snug.’ That is a recipe for a localized fire. Because an EV charger pulls a continuous high load for hours, the metal expands and contracts significantly. If the screw isn’t set to the specific torque settings that prevent panel fires during high load charging, the connection will eventually loosen, creating high resistance and heat. This is also why you need to be vigilant about the hidden danger of loose neutral wires in your electrical panel. A loose neutral won’t always trip a breaker immediately, but it can cause voltage swings that fry your car’s sensitive onboard charger. While you are in the panel, check for ‘double tapping’—where two wires are shoved into one breaker. If you find this, why you should check your panel for double tapped breakers explains the fire risk in detail. To stay on the right side of the law and safety, always prioritize ensuring code compliance when installing ev chargers. It might seem like overkill to follow every sub-rule in the NEC, but those rules were written in the ashes of homes that didn’t. If you’re feeling overwhelmed by the technicalities of panel upgrades for ev chargers, it might be time to contact us for a professional load assessment.
The Secret Weapon for Avoiding Electrical Fires
I don’t just rely on my ears to listen for humming or my nose to sniff for ozone. Once a year, I pull the cover off my panel and break out a thermal imaging camera. To the naked eye, a breaker looks fine, but through an infrared lens, a loose connection glows like a miniature sun. I started doing this after I learned how to spot a dying breaker before it shuts down your charging session. This $200 tool is my first line of defense; if I see a temperature differential of more than 10 degrees Celsius between phases, I know I have a high-resistance connection that needs immediate attention. Beyond the panel, I’m obsessed with keeping my hardware in factory condition. I keep a can of high-quality contact cleaner in my garage cabinet because learning how to clean the pins on your charging handle safely is the best way to prevent the dreaded ‘Yellow Light’ of death on your car’s dashboard. 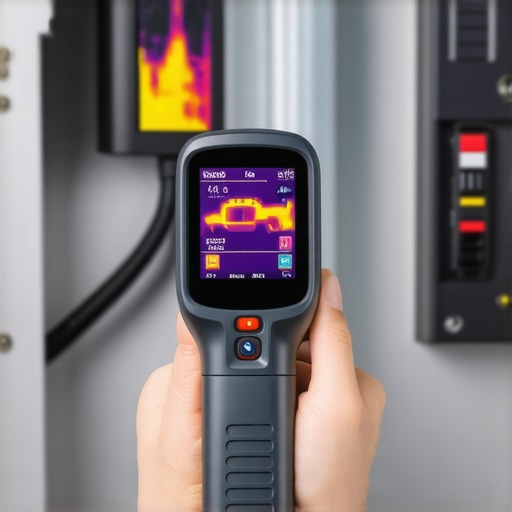
How can I keep my charging station healthy for the long haul?
Maintenance isn’t just for the car; the station needs a little love too. Every winter, I perform a quick audit, especially for my neighbors who have their units mounted near the driveway. I always recommend following 3 maintenance tasks that keep your outdoor charger running through winter, such as checking the gasket seals and ensuring the holster isn’t packed with ice. Dust and spider webs are the silent enemies of indoor units, as they can clog the small vents that prevent the internal transformers from overheating. If you notice your charging speeds dropping, it might not be your car’s battery; it could be the unit throttling itself to stay cool. Keeping the area clear of clutter ensures maximum airflow and longevity.
Scale Your Setup for a Two-EV Household
The moment my wife bought her electric SUV, our garage logistics got complicated. We didn’t want to double our electrical service cost, so we looked into how to install a second ev charger for a multi-car household using a dynamic load-sharing system. This allows both cars to be plugged in at once, but the chargers ‘talk’ to each other, splitting the 50-amp circuit so we never exceed the house’s capacity. If you’re planning for the future, upgrading your panel for better ev charging performance now will save you thousands in labor costs later. I predict that within the next decade, bidirectional charging (V2H) will be the standard, turning our cars into whole-home backup batteries. To prepare, always ensure your current work is ensuring code compliance when installing ev chargers today so you don’t have to rip it all out when the technology shifts. As specified in the NEC Article 625.40, your EVSE must be on a dedicated circuit, which is the foundational rule for any safe expansion. I challenge you to grab a torque screwdriver this weekend and verify those panel lugs are set to the manufacturer’s specs—it’s the single most important thing you can do for your home’s safety.
Lessons I Learned the Hard Way About High-Voltage DIY
Reflecting on my early days of tinkering with garage wiring, I realized that the clean look is only the tip of the iceberg. I spent hours obsessing over the conduit’s paint color while completely ignoring the heat building up inside my panel. One major lightbulb moment was realizing that safety and aesthetics must evolve together. For instance, I used to think a quick glance at the breaker was enough, but I learned that how to verify code compliance for your ev charger installation involves digging into the technical specs of your specific equipment. Another hard lesson? Don’t assume your charger is broken just because of a red light; often, it’s a simple case of troubleshooting ev chargers common compliance pitfalls and fixes that you might have missed during the initial rush. Finally, remember that your panel is a living system. What worked for a toaster won’t work for a vehicle pulling 48 amps for eight hours straight.
The Toolkit That Saved My Sanity
If you are going to take this seriously, you need more than just a standard screwdriver and a dream. I’ve curated a list of essentials that turned my chaotic garage into a professional-grade charging hub. First, a digital torque screwdriver is non-negotiable; it ensures you follow code compliance essentials for ev charger installations in 2025 to the letter. Second, I highly recommend a basic infrared thermometer to check for hot spots during your first few charging sessions. Lastly, keep a copy of the NEC Handbook nearby. It might seem dry, but it is the ultimate authority on keeping your home from becoming a statistic. These tools aren’t just about finishing the job—they are about the peace of mind that comes when you plug in and walk away.
Build the Future Your Car Deserves
Setting up your home for an EV is more than a home improvement project; it’s an investment in a cleaner, more efficient lifestyle. Whether you are currently upgrading your panel for better ev charging performance or just trying to tidy up a few loose wires, the effort you put in now will pay off for years. Don’t let the technical jargon or the sight of heavy-duty conduit intimidate you. You’ve already taken the first step by learning the right way to do things. If you ever feel like the task is bigger than your current bandwidth, don’t hesitate to contact us for a professional hand. Your garage can—and should—be as high-tech as the car sitting inside it. #IMAGE_PLACEHOLDER_E#
Have you run into a communication error that nearly made you throw in the towel? Tell me your troubleshooting stories below!