It was nearly midnight, the kind of cold rain that soaks through your jacket in seconds, and I was standing in my driveway staring at a pulsing red light on my brand new Level 2 charger. I had just finished what I thought was a perfect installation. I’d followed the manual, used the right wire, and even bought the expensive torque wrench. But every time I plugged the car in, I heard a click, followed by a frustrated beep, and then—nothing. The car refused to take a single kilowatt. I felt like a total failure. After hours of shivering and scrolling through forums, I realized I had fallen for the most common trap in the book. I assumed that because my lights turned on, my house’s grounding system was sufficient for a high-tech electric vehicle. I was dead wrong. That one little mistake, a poorly seated grounding rod, was effectively telling my car that the house wasn’t safe to talk to. Today, I want to share exactly how to spot this issue so you don’t end up stranded in your own driveway like I was. We are going to dive into the nitty-gritty of grounding requirements and how to ensure your setup actually meets the grade.
That Copper Stake in Your Yard is Probably Lying to You
Many people think a ground is just a ground. When I first started, I actually tried to ground my charger to a nearby metal water pipe because it was closer than the main service. I learned the hard way that the grounding rod mistake that voids your ev warranty is usually born from convenience rather than compliance. EV chargers are incredibly sensitive. They perform a ‘handshake’ with your car, checking for the path of least resistance to the earth. If that path is corroded, loose, or simply too shallow, the car’s onboard computer will kill the session to prevent a shock hazard. I’ve seen homeowners spend thousands on a panel upgrade for their EV charger only to have it fail because the 20-year-old grounding rod out back was vibrating in dry, sandy soil. According to the National Electrical Code (NEC) Section 250.53, grounding electrodes must be at least eight feet in length and in direct contact with the soil. If yours is shorter or rusted through, your car is going to stay thirsty. Have you ever been haunted by a mysterious ground fault error that seems to come and go with the weather? I’d love to hear your story in the comments below.
Is a second grounding rod actually worth the extra effort?
This is where most people get skeptical. They ask me if they really need to drive another eight-foot rod into the dirt when they already have one. The answer is almost always a resounding yes. In fact, why your panel upgrade might require a new ground rod usually boils down to modern safety standards requiring a resistance of 25 ohms or less. If a single rod can’t hit that number, the code requires a second one. I once spent three days troubleshooting EV charger connectivity problems for a neighbor, only to find out their original ground rod was only four feet deep. Once we added a proper second rod and bonded them together, the car started charging instantly. It’s not just about passing an inspection; it’s about making sure you don’t accidentally turn your car’s chassis into a live wire during a surge. You might also want to check the forgotten torque test to make sure your connections are tight, because a loose ground wire at the bus bar is just as bad as no rod at all.
Ditch the multimeter for a real resistance test
To truly solve a grounding mystery, you have to think like the car. Your standard multimeter is great for checking if a circuit is live, but it won’t tell you if the earth itself is being stubborn. I remember a job in July where the homeowner insisted their ground was fine because their pool pump worked perfectly. I broke out a specialized ground resistance tester—it read 88 ohms. The EV, however, was hunting for 25 ohms or less to feel safe. If you are struggling with a persistent red ring, you need to learn how to fix a ground fault error on your home station by measuring the actual impedance of the soil. Think of it like a straw; if the straw is crimped (high resistance), you can’t pull water through it. If your grounding system is ‘crimped’ by dry or rocky soil, the car’s safety computer will refuse to initiate the high-voltage handshake. This is one of the most overlooked ev charger troubleshooting expert tips for common issues because most people assume a connection to any metal pipe is sufficient. It isn’t. 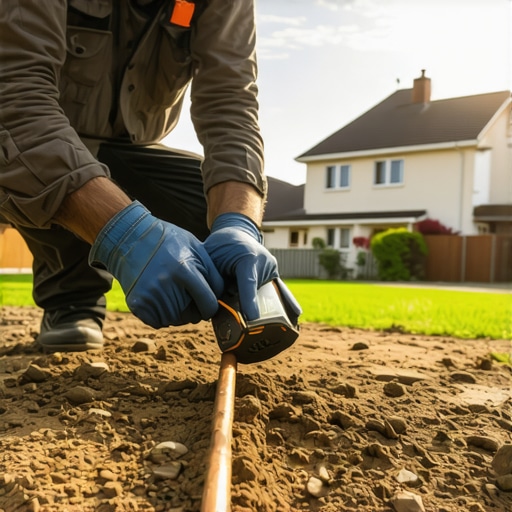
Give those rods six feet of breathing room
When you realize one rod isn’t enough, the solution is usually to add a second one, but proximity matters. You can’t just shove two copper stakes an inch apart and call it a day. The NEC requires supplemental grounding electrodes to be at least six feet apart. I once saw a DIY install where the owner drove two rods into the same hole thinking it doubled the ‘grounding power.’ It doesn’t work that way. Imagine trying to drain a bathtub with two drains that share the same small pipe—it’s the same bottleneck. By spacing them out, you are accessing a larger volume of earth, which effectively lowers the resistance. This is a critical part of ensuring code compliance when installing ev chargers. If you’re wondering why your panel upgrade might require a new ground rod, it’s because modern EVs pull a massive, continuous load that older grounding systems simply weren’t designed to stabilize.
Tighten down or prepare for a meltdown
Even the best grounding rods in the world are useless if the connection at the bus bar is weak. I’ve opened up dozens of panels where the ground wire was literally jiggling in its lug. When a wire is loose, it creates micro-arcs that generate heat. This heat causes the metal to expand and contract, which makes the connection even looser over time—a vicious cycle that can eventually lead to a fire. This is why I always preach about the forgotten torque test that prevents panel fires. Using a torque screwdriver to hit the manufacturer’s exact specifications isn’t just for ‘pros’; it’s for anyone who wants to sleep soundly while their car draws 40 amps in the garage. If you are already upgrading your panel for better ev charging performance, take five extra minutes to verify every ground and neutral connection. A single loose screw can be the root cause of those annoying troubleshooting ev charger connectivity problems that keep you from getting a full charge by morning.Most people think as long as they have 200 amps in their panel, they can just slap a 50-amp breaker in and call it a day. But that’s a dangerous oversimplification. I’ve walked into garages where the panel was technically rated high enough, yet the main lugs were charring because the continuous heat from an 8-hour charge was exposing a weak point in the original service entry. You need to know how to read the load calculation your electrician sent you before you commit to a high-speed install. If you ignore the actual calculated demand, you’ll start seeing 5 signs your main breaker is overwhelmed by a new level 2 charger, like dimming lights every time your car kicks in. One of the biggest headaches I see is what I call the GFCI Conflict. The NEC requires GFCI protection for receptacles in garages, but almost every Level 2 charger has its own sensitive internal GFCI. When you put a GFCI breaker on a circuit for a charger that already has one, they often fight each other. This results in why your ev charger trips the gfci in the rain even when there’s no actual water ingress. It’s an incredibly common oversight in ensuring code compliance when installing ev chargers. If you’re dealing with this, you should look into 6 ways to stop nuisance tripping during high humidity charging to prevent your morning from being ruined by an empty battery. 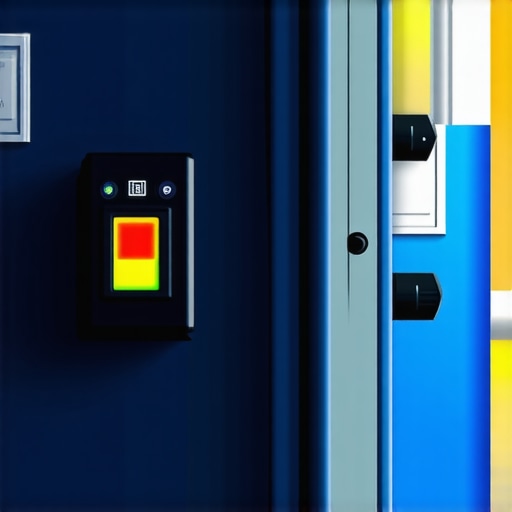
Can you really run a 48-amp charger on a 60-amp circuit indefinitely?
The answer is technically yes, but practically, maybe not. The National Electrical Code treats EV charging as a continuous load, meaning it can run for three hours or more at full tilt. This requires a 125% over-sizing of the circuit. While a 60-amp breaker is the legal minimum for a 48-amp draw, some residential breaker brands simply aren’t built for that thermal stress night after night. I’ve identified the specific breaker brands that hate constant ev loads because their internal components weaken under the heat, leading to premature failure. This is one of those troubleshooting ev chargers common compliance pitfalls and fixes that usually isn’t caught until six months after the inspector leaves. If you’re trying to avoid a massive bill, you might be looking for how to squeeze a level 2 charger onto a 60-amp service using smart load management. It’s a much more reliable path than just hoping your old panel won’t melt under the pressure. We also see many homeowners ignoring panel upgrade strategies to meet ev charging code requirements in 2025, which often involve more than just a bigger box on the wall. Have you ever fallen into the more amps is always better trap? Let me know in the comments. I’ve seen 100-amp services perform better than 200-amp services simply because the smaller setup was perfectly torqued and balanced.I used to think that once the lights were green on my home station, the job was done forever. But after five years of heavy charging, I’ve realized that intentional maintenance is what separates a reliable setup from a melted plastic mess. I’ve started carrying a compact FLIR thermal camera for every routine check-up. It’s the only way to catch high-resistance heat before you actually hear the noise your breaker makes before it fails. If you see a bright purple or white glow around your breaker lugs while the car is pulling its full 48 amps, you’ve got a problem that no standard multimeter will ever catch. This isn’t just a hobbyist tip; the NFPA 70B Standard for Electrical Equipment Maintenance now emphasizes that thermal imaging is a critical component of preventative maintenance for any continuous-load electrical system. Addressing these heat signatures early is a huge part of upgrading your panel for better ev charging performance. 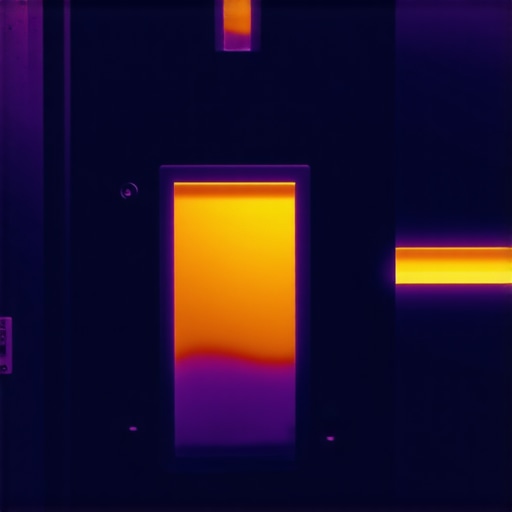
How do I maintain my charging setup over the years?
Maintenance isn’t just about the panel; it’s about the hardware you touch every single day. I’ve seen pins in charging handles become so pitted with oxidation that they start arcing, which slows down your speeds significantly. You need to know how to clean your charger ports without damaging them using quick-dry electronic contact cleaner rather than just blowing on them like an old gaming cartridge. Also, don’t ignore the cable itself. If you live in a cold climate, you know the struggle of how to keep your charging cable from freezing to the driveway. A simple wall-mounted holster can save the internal copper strands from the micro-fractures that occur when you’re constantly yanking a frozen cable out of the ice. I also recommend a quarterly check on your torque settings. As part of troubleshooting ev chargers common compliance pitfalls and fixes, I’ve found that thermal cycling—the constant heating and cooling of copper wires—can actually back screws out over time. If you’re not re-tightening those connections to the manufacturer’s spec, you’re inviting a service call you don’t want to pay for. Looking ahead, the way we interact with our cars is shifting from consumption to an integrated ecosystem. We are moving toward a world where your car isn’t just a drain on your panel, but a backup generator. Learning how to use your ev as a backup home battery safely is going to be the next big hurdle for homeowners. We’re already seeing panel upgrade strategies to meet ev charging code requirements in 2025 that include provisions for bidirectional power flow. This means the work you do today to ensure a solid ground and a robust panel isn’t just for charging—it’s for turning your home into a microgrid. If you haven’t yet, go grab a can of electronic contact cleaner and a torque wrench this weekend. Inspect your handle pins for any signs of blackening or melting; catching a small arc today could save you from replacing a $600 charging station next month.
The Hardest Lesson I Learned While Watching My Charger Fail
One thing I wish someone had told me early on is that your home is a living system. When you add a continuous 48-amp load, you aren’t just adding a circuit; you’re stress-testing your entire electrical service. I realized that the specific breaker brands that hate constant ev loads aren’t necessarily bad products, they just weren’t designed for the relentless thermal stress of a nightly eight-hour charging session. Looking back, my biggest lightbulb moment was realizing that electrical maintenance is proactive, not reactive. If you wait for a smell or a trip, the damage is already done. Here are three things I never ignore anymore: First, check your panel lugs every season because thermal expansion is real. Second, prioritize copper over aluminum for short runs to minimize resistance. Third, always listen for the noise your breaker makes before it fails, as that subtle hum is often the only warning you get before a meltdown.
#IMAGE_PLACEHOLDER_E#
Tools Every EV Owner Needs in Their Garage Cabinet
To keep things running smoothly, I rely on a few specific items that go beyond the basic toolbox. A calibrated torque screwdriver is non-negotiable for anyone upgrading your panel for better ev charging performance because