I stood there in the driveway at 11:30 PM, shivering as a light drizzle turned into a steady soak, trying to figure out why my car suddenly decided it was “allergic” to electricity. I’d jam the plug in, wait for that reassuring click, and instead, I’d get a hollow thud and a red warning light on the dash. My first instinct was to panic and assume my expensive home station was dead, leading me down a rabbit hole of expert tips for common issues. But when I finally peered into the port with a flashlight, I didn’t see a broken component; I saw a flattened piece of a dead insect and a whole lot of pocket lint. I almost made a five-hundred-dollar mistake that night by trying to scrape it out with a metal paperclip. Thankfully, I stopped before I shorted out the whole system, and today, I’m going to share the right way to keep those connections pristine so you never have to deal with a “dead” car on a Monday morning. Have you ever felt like you had to wrestle with your plug just to get a charge started?
Stop Fighting Your Charging Handle Every Night
For the longest time, I just assumed that if the plug went in, the connection was good. I was wrong. I learned the hard way that environmental gunk is the silent killer of Level 2 charging speeds. If you’ve noticed that your charger handle feels sticky after a rainstorm or if you’re constantly hunting for the quick reset trick for non-responsive charging ports, the culprit might just be physical debris rather than a software glitch.
Will a Tiny Bit of Dust Actually Break My Car?
It sounds dramatic, doesn’t it? But here is the reality: charging an EV involves pulling a massive amount of current—often 40 to 48 amps—through those small copper pins for hours on end. According to the Electrical Safety Foundation International (ESFI), any contamination on electrical contacts can create “contact resistance,” which generates localized heat. That heat doesn’t just slow down your charge; it can eventually melt the plastic housing of your port. If you are struggling with the 3 things to check if your charger won’t click into place, cleaning should be your very first step before calling an electrician.
How One Tiny Piece of Grit Can Kill Your Range
Early on, I ignored a bit of green crust forming on the bottom pin of my port. I figured the car was smart enough to handle it. I was wrong. That “crust” was actually oxidation, and it eventually got so bad that my car’s computer throttled my charging speed to half because it detected the port was overheating. You need to know how to spot corrosion inside your outdoor charging pedestal before it spreads to your vehicle’s expensive socket. By the time I realized what was happening, I’d already wasted dozens of hours on slow charges. Cleaning your port isn’t just about “neatness”—it’s about protecting the longevity of your battery and your sanity. We’re going to walk through the non-conductive tools and specific sprays that actually work, without the risk of a “shocking” surprise like the one I almost had.
Shut Down the Juice First
Before you even think about touching the internal pins of your vehicle’s charging port, you have to eliminate the risk of a high-voltage arc. I’ve seen DIYers try to wipe down a live port with a damp cloth, which is essentially playing Russian roulette with your car’s onboard charger. Locate your dedicated breaker and flip it to the off position. If you find that your breaker is hot to the touch or difficult to toggle, you might be seeing 5 signs your main breaker is overwhelmed by a new level 2 charger. Safety isn’t just about the port; it’s about ensuring the entire delivery system is dormant while you work. I make it a habit to check the charger’s status light to ensure all residual power has dissipated before proceeding.
Gather Your Non-Conductive Toolkit
Metal is the enemy of your charging pins. Even with the power off, you should never use a screwdriver, paperclip, or metal needle to scrape out debris. I use a kit consisting of a soft-bristled nylon brush (an old toothbrush works perfectly), a can of moisture-free compressed air, and a plastic toothpick. Using plastic ensures you won’t accidentally bridge two pins or scratch the delicate silver plating on the contacts. 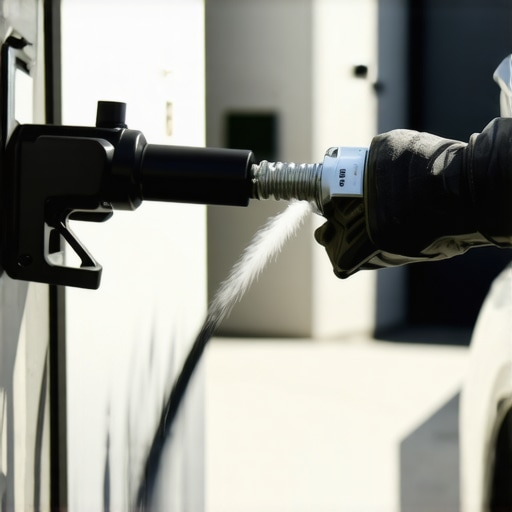
Use Air to Evict the Dust Bunnies
Most charging failures are caused by physical obstructions like pocket lint, pet hair, or spider webs. I once spent an hour diagnosing what I thought was a software error, only to realize a tiny piece of mulch had wedged itself into the signal pin hole. Use short, sharp bursts of compressed air to blow out the port. Avoid holding the can upside down, as you don’t want liquid propellant freezing the plastic. If you’re dealing with moisture-related faults, this is one of the most effective 6 ways to stop nuisance tripping during high humidity charging.
Dissolve Oxidation with the Right Chemicals
If you see a dull, grayish coating or green crust on the pins, that’s oxidation. It’s a common result of living in coastal areas or humid climates. Do not use WD-40 or any oil-based lubricants; these will attract more dirt and eventually create a sticky sludge. Instead, use a specialized ‘Quick Dry’ electronic contact cleaner. Spray it onto your nylon brush rather than directly into the port to avoid pooling. Gently scrub the pins until the silver shine returns. This prevents the resistance that causes heat and mimics faulty internal relay symptoms.
Verify Your Mechanical Connections
While you are down there with a flashlight, look at the port housing itself. Are the mounting screws tight? A loose port can wiggle every time you plug in, eventually stressing the internal wiring until it snaps. This is similar to why electricians perform the forgotten torque test that prevents panel fires; a loose connection is a hot connection. If you notice the port feels ‘crunchy’ when you insert the handle, check for 3 ways to prevent static buildup on your charging handle which can sometimes be exacerbated by dry, dusty environments. Cleaning the port is a 10-minute job that can save you a $2,000 repair bill for a melted socket.Cleaning the port is a great start, but many homeowners stop there and miss the electrical nuances that cause long-term damage. Most people assume that if their car is charging, everything is fine. In my experience, ‘fine’ is often the prelude to a melted terminal. The biggest myth in the EV community is that a 200-amp service upgrade is mandatory for every Level 2 installation. While many sales-heavy electrical firms will push for a full service replacement, you can often find the secret to getting faster charging without a new panel by utilizing smart load management. This technology pauses the car’s intake when your AC or oven kicks in, keeping you within your existing capacity while ensuring code compliance when installing EV chargers.
The Dangerous Myth of the One-to-One Breaker Match
If you have a 40-amp charger, you might think a 40-amp breaker is the correct fit. This is the ‘oops’ factor that leads to house fires. According to the National Electrical Code (NEC) Article 625, EV charging is defined as a ‘continuous load.’ This means the circuit must be rated for 125% of the charger’s maximum output. A 40-amp charger actually requires a 50-amp breaker and wire sized accordingly. If you ignore this rule, the heat builds up over several hours, leading to 3 small mistakes that turn your garage panel into a fire hazard. I’ve walked into garages where the smell of ‘hot plastic’ was the only warning before the insulation failed entirely.
Why Does My New GFCI Breaker Keep Tripping During a Charge?
This is a question I get from sophisticated DIYers who follow the rules but still face issues. Many modern chargers have built-in Ground Fault Circuit Interrupter (GFCI) protection. When you pair that with a GFCI-protected breaker—often required by local code—you end up with ‘nuisance tripping’ because the two systems can interfere with one another’s signals. Understanding why your outdoor charger needs a specific type of GFCI or a hardwired connection is the nuance that separates a professional install from a headache. Hardwiring the unit often bypasses the need for the secondary breaker-based GFCI in certain jurisdictions, eliminating the conflict entirely. 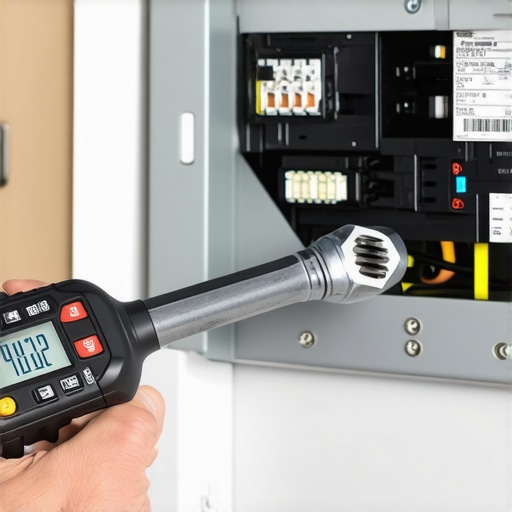
The Torque Wrench is Your Best Friend
Another massive mistake I see is ‘hand-tightening’ lugs in the panel. In a standard outlet, a slightly loose screw might never cause an issue. With the massive, constant draw of an EV, a loose connection creates a micro-arc. You need to follow the specific torque wrench settings for a wall connector to ensure the connection is vibration-proof. If you don’t, the metal will expand and contract as it heats, eventually loosening the lug and causing a failure. If you’re doing this yourself, you must also be able to spot 4 signs your electrician used the wrong gauge wire, as heat-damaged copper is brittle and dangerous. Have you ever fallen into this trap of assuming a standard breaker was enough? Let me know in the comments. Before you finalize any project, always double-check how to verify code compliance for your EV charger installation to protect your home’s resale value and your family’s safety.I didn’t realize it back when I first plugged in, but an EV charger is more like a water heater than a toaster—it’s a heavy-duty appliance that needs a check-up once a year. After my first winter, I started noticing that my charging speed would drop after thirty minutes, and it drove me crazy until I realized I was fighting a voltage drop secret that’s ruining your morning charge. Now, I keep a basic digital multimeter in my garage. It’s not just for pros; knowing how to check if your outlet is actually delivering 240V versus 208V can save you hours of head-scratching when the car says ‘Charging Limited.’
My Secret Weapon for Keeping the Connection Alive
Beyond the physical pins, the biggest headache in modern charging is the software. I can’t tell you how many times I’ve seen people assume their hardware is broken when they just need to know how to fix an ev charger that wont connect to your home wi-fi. If your smart features stop reporting, your scheduled charging might fail, leaving you with an empty battery at 7 AM. I use a dedicated Wi-Fi extender in the garage specifically for the charger. It sounds like overkill, but avoiding why your smart charger lost its wi-fi connection again is worth the small investment.
How do I keep my charging speeds from dropping over the years?
The answer is thermal management. Heat is the enemy of efficiency. According to the National Electrical Manufacturers Association (NEMA) WD 6 standards, the mechanical tension of the plug and the cleanliness of the contact surface are the two biggest factors in preventing thermal runaway in high-current devices. I personally perform a touch test on the handle after it’s been running for an hour. If it’s too hot to hold, you likely have oxidation or a loose wire inside the unit. This is why I always emphasize upgrading your panel for better ev charging performance rather than just making it work with what you have. 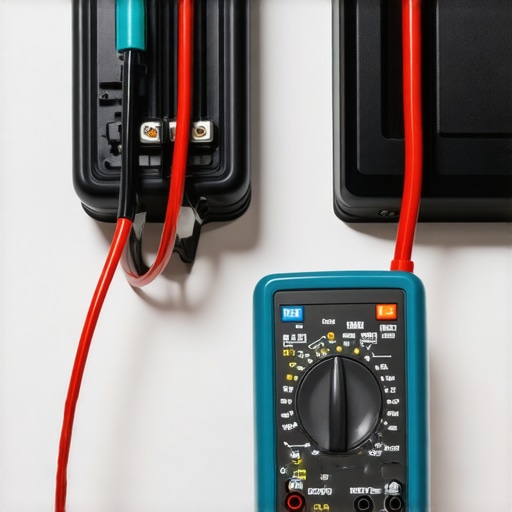
Scaling Up Without Starting From Scratch
Eventually, you or your spouse will likely get a second EV, and that’s when the real math starts. Instead of paying for a whole new service entry, I’m a huge fan of the subpanel approach. Understanding why your garage needs a subpanel for that second ev can save you thousands in labor costs later. It allows you to run one large feeder line and then split the load efficiently. If you’re worried about the total house load, look into panel upgrade strategies to meet ev charging code requirements in 2025. The industry is moving toward dynamic load shedding, where your house intelligently talks to your chargers. My prediction is that in five years, we won’t even talk about panel capacity because smart breakers will handle everything in real-time. For now, take ten minutes this weekend to check your port for grit and verify your code compliance essentials for ev charger installations in 2025—your future self will thank you when you’re not staring at a red light on your dashboard.
The Hardest Lesson I Learned About Port Longevity
Early in my EV journey, I treated my charging port like a gas tank—something you just fill and forget. That mistake cost me a week of Uber rides when my port finally oxidized into a useless plastic lump. The biggest lightbulb moment for me was realizing that maintenance isn’t a repair; it’s an insurance policy. I now perform a ‘five-second feel test’ every time I unplug. If the handle is uncomfortably warm, I know I’ve got a potential fire hazard brewing in the connections. Another tip: never ignore the sound of your charger. If it starts clicking more than usual, you’re likely facing connectivity problems or a dying relay.
The Only Tools You Need in Your Garage
You don’t need a professional electrician’s van to keep your setup running. My ‘Golden Three’ tools are a high-quality non-conductive nylon brush, a can of dedicated electronic contact cleaner, and a digital multimeter for verifying voltage. I also highly recommend keeping a folder—physical or digital—with your permit approvals and receipt of installation. This is vital when you need to claim the federal tax credit for your home installation or prove your work to a future home buyer. If you’re planning to expand your setup, start researching how to properly size a subpanel for your ev workshop now so you don’t have to rewire everything twice.
Take Back Your Monday Mornings
Driving an electric vehicle should be about the thrill of the instant torque and the silence of the road, not the anxiety of whether your car actually charged overnight. By taking these small steps to master your own troubleshooting EV charger routine, you’re transitioning from a passive driver to an empowered owner. You’ve got the knowledge to keep your home safe and your battery full. If you ever run into a situation that feels over your head, don’t hesitate to reach out to a professional who understands the nuances of high-amperage systems. Have you ever encountered a ‘mystery fault’ that turned out to be something incredibly simple like a piece of debris? Let me know in the comments below!