It was 7:15 AM, and the rain was doing that annoying misty thing that gets under your collar. I had a meeting across town and exactly zero patience. I walked out to my garage, pressed the release button on my Level 2 charger, and… nothing. The handle was locked tight. Not just a little snug, but “welded by the gods” stuck. I tugged. I wiggled. I might have even whispered a few words my grandmother wouldn’t approve of. In that moment, I felt like a complete amateur. I’ve been around electric vehicles for years, yet here I was, defeated by a piece of plastic and a solenoid. This isn’t just about a minor inconvenience; it’s about the reliability of your daily commute. If you can’t get the car unplugged, all the panel upgrade strategies in the world won’t get you to work on time.
Stop the tug-of-war with your charger
Early on, I made the classic rookie error of trying to brute-force the situation. I figured if I pulled hard enough, physics would eventually side with me. Spoiler alert: it didn’t. I ended up needing some serious troubleshooting expert tips because I had actually slightly bent the internal locking pin on my J1772 connector. That’s a mistake that stays with your wallet for a while. We often assume a stuck handle is a massive software glitch or a sign that we need better EV charging performance from our home grid, but usually, it is something much simpler. Most of the time, the locking mechanism is just physically blocked by grit or lack of lubrication. Today, I’m going to show you the “secret handshake” for releasing a stubborn handle without calling an electrician or losing your mind. We aren’t just talking about a one-time fix; I’ll help you understand why your charger handle feels sticky after a rainstorm and how to prevent it from happening when you’re already running late. Have you ever stood in your driveway, staring at a stuck plug while your car’s dashboard blinks at you like it’s laughing? Reach out to us through our contact page if you have a horror story to share.
Will a quick DIY fix actually ruin my car’s warranty?
I get it. You’re worried that messing with the port might trigger a fried motherboard scenario or void your manufacturer’s protection. But here’s the reality: knowing how to manually trigger the mechanical override is a standard feature built into almost every EV. According to data from the Alternative Fuels Data Center, mechanical latch failures are among the most common non-electrical issues reported by users, and most are solved by simple maintenance rather than part replacement. Before you assume you have connectivity problems or a dead unit, we need to look at the grime. It’s not just dirt; it’s a cocktail of road salt, humidity, and microscopic debris that gums up the works. If you have noticed 3 things to check if your charger won’t click into place, you are already halfway to understanding the mechanical nature of this issue. Usually, the fix doesn’t require a total panel overhaul; it just requires a little bit of finesse and a specific type of cleaning routine.
Force a digital handshake when the software freezes
Before you grab the WD-40, we need to rule out a software ‘hangover.’ Your car and the charger are constantly talking, and sometimes they get stuck in a loop where the car thinks it is still drawing power even after the session ends. I have found that the fastest way to break this loop is to hit the ‘unlock doors’ button on your key fob three times in rapid succession. It sounds like a cheat code from an old video game, but for many EVs, this force-triggers the solenoid to retract. This simple reboot is part of the quick reset trick for non-responsive charging ports that I now keep bookmarked for Monday mornings.
Don’t just pull—toggle the lock
Think of your charger handle like a stubborn deadbolt on an old front door. Sometimes, you have to push the handle into the port slightly before the lock will release. I learned this the hard way during a freezing sleet storm in the Appalachian mountains. I was tugging so hard I thought I would rip the bumper off. It was not until I pushed the handle inward—relieving the pressure on the locking pin—that the mechanical latch finally clicked open. If you are fighting high humidity, you might also be dealing with 6 ways to stop nuisance tripping during high humidity charging, which can confuse the car’s internal logic about whether the port is safe to open.
Locate your car’s secret emergency release cord
Every EV manufacturer knows that solenoids fail. That is why they hide a ‘Plan B’ somewhere in the chassis. Most often, it is a small plastic pull-cord or a hidden lever located behind the interior trunk lining, directly opposite where the charging port sits. I remember helping a neighbor who was nearly in tears because her car was ‘holding her hostage’ in her own garage. We popped the small plastic panel in her trunk, gave the bright orange cord a firm but gentle tug, and the handle popped out instantly. Finding this cord is more important than knowing where your spare tire is, because you will likely use it more often. 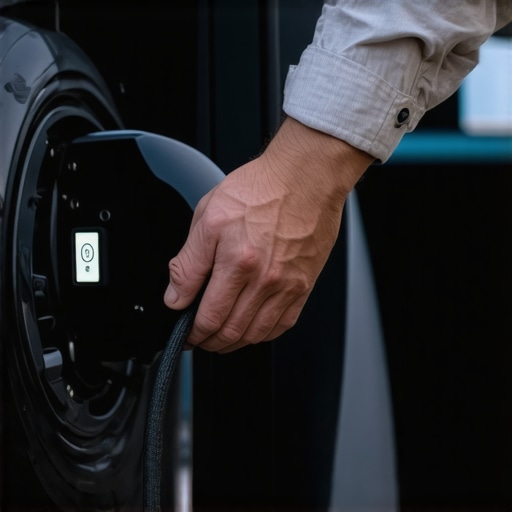
The gentle tug method
When you find that release cable, do not yank it like you are starting a lawnmower. These are usually thin wire cables attached to a plastic pivot. A steady, firm pull while simultaneously pressing the thumb-latch on the charger handle is the sweet spot. If it still will not budge, you might have a deeper issue with the 3 small mistakes that turn your garage panel into a fire hazard, specifically if excessive heat has slightly melted the plastic housing of the plug—though that is a worst-case scenario.
Stop the grit from seizing your pins
Preventative maintenance is the only way to avoid the ‘stuck handle’ dance entirely. If you live near the ocean, the real lifespan of a Level 2 charger in coastal salt air is cut short by the way salt crystallizes inside the latching mechanism. Every three months, I take a can of compressed air and a specialized electrical contact cleaner to my port. Learning how to clean your charger ports without damaging them is the difference between a 10-second departure and a 20-minute struggle. A tiny dab of non-conductive dielectric grease on the outer plastic locking tab (never on the electrical pins themselves!) can keep the mechanical parts sliding smoothly even after a week of rain.
Let’s dig deeper into why these mechanical failures happen even when everything looks perfect on paper. Most people assume that if their installation passed a local inspection, they’ve reached the gold standard. But here is the contrarian truth: code compliance is the floor, not the ceiling. I’ve seen countless owners struggle with code compliance essentials for ev charger installations in 2025 while ignoring the voltage drop secret that’s ruining your morning charge. If your wire run is long and your electrician used the bare minimum gauge allowed by law, that heat buildup is going to travel straight to your handle. This heat causes the plastic to expand slightly, locking you out even without a software glitch. It’s a physical reality that a building permit simply doesn’t account for.
Why your building permit is a false sense of security
One oops factor I see constantly involves the torque on the lugs inside your panel or charger. There’s a common myth that hand-tight is good enough. In reality, the Fire Protection Research Foundation has found that loose connections are a leading culprit in residential electrical fires. This is exactly why the forgotten torque test that prevents panel fires is non-negotiable. If those screws are even a fraction of an inch off, the micro-vibrations from a 48-amp continuous draw will loosen them over time. 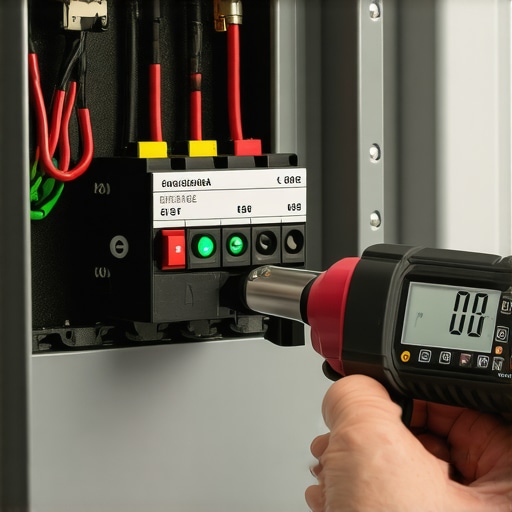 I’ve walked into garages where the panel smelled like fish—a classic sign of melting insulation—all because of 3 small mistakes that turn your garage panel into a fire hazard. When heat builds at the panel, the resistance increases, which can trick the charger’s locking solenoid into thinking there is a ground fault, keeping your handle hostage.
Stop the double-protection nuisance trips
Another hidden nuance is the GFCI conflict. Many local codes require a GFCI breaker for outdoor outlets, but modern Level 2 chargers already have sensitive ground-fault protection built into their circuitry. When you have two systems watching the same line, they end up fighting each other. This results in why your outdoor charger needs a specific type of gfci or, more annoyingly, a charger that stays locked because it thinks there’s a safety risk that doesn’t actually exist. It is a sophisticated headache that beginners often mistake for a broken charger. Don’t get stuck in a loop of ev charger troubleshooting expert tips for a problem that is actually a hardware logic conflict.
Is your chosen breaker brand silently failing under pressure?
Not all hardware is created equal, even if it has a UL sticker. I’ve found that the specific breaker brands that hate constant ev loads can be the root cause of a charger that refuses to release its lock. When a breaker starts to internalize too much heat due to inferior internal bus-bar contacts, it can send erratic voltage ripples back to the charger. These ripples often confuse the solenoid. Have you ever fallen into this trap where you thought your car was the problem, only to realize your main panel was the culprit? Let me know in the comments. If you’re unsure if your current setup is up to the task, feel free to reach out via our contact page. We can help you determine if you need upgrading your panel for better ev charging performance before your next long-distance trip or winter storm makes the situation worse.
Stop guessing and start using a thermal camera
If you really want to graduate from ‘hopeful homeowner’ to ‘EV expert,’ you need to see what your eyes can’t. I personally keep a small FLIR thermal imager in my glovebox. Why? Because heat is the ultimate snitch. After a long charging session, I point it at my main breaker and the charger handle. If I see a glowing ‘hot spot’ where the wires meet the terminal, I know I have a loose connection before it even has a chance to fail. This is the only way to truly verify that your panel upgrades for ev chargers are actually holding up under load. If you see temperatures exceeding 60°C (140°F) at the lugs, you’re looking at a future service call. This simple check prevents the dreaded 5 reasons your electrical panel smells like fish, which is almost always the scent of melting plastic insulation.
Prep your garage for the inevitable second car
I often tell people that installing one charger is like buying one potato chip—you’re eventually going to want another. Within two years, most of my clients add a second EV to the household. Instead of tearing up your drywall twice, you should be looking at why your garage needs a subpanel for that second ev right now. By running a larger feeder line once, you save thousands in labor later. If your current service is limited, don’t panic. You can use how to load balance your fleet without tripping the main feed techniques, where two chargers ‘talk’ to each other and split the available 50 amps. It’s a brilliant way to avoid a massive utility-side service upgrade while still getting a full charge on both cars by morning. 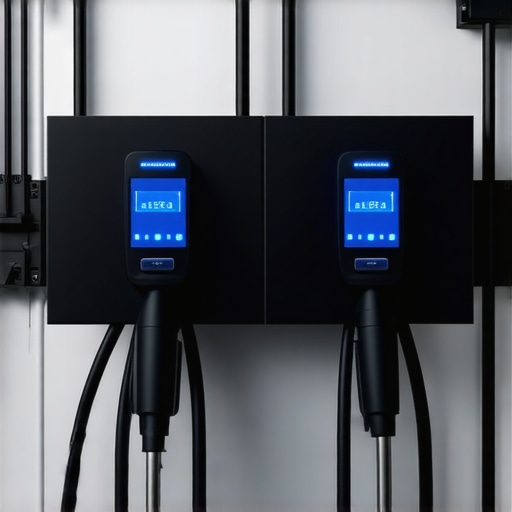
How do I maintain my home charging station over time?
Maintenance isn’t just about software updates; it’s about physical integrity. Every six months, I perform a ‘tug test’ on the visible conduit and check the mounting bracket for any play. I also make it a point to learn how to clean your charger ports without damaging them using only dry compressed air or a specialized plastic-safe contact cleaner. According to the Electrical Safety Foundation International (ESFI), residential electrical systems should be inspected every few years, especially when supporting high-continuous loads like an EV. I take it a step further and suggest you verify the specific torque wrench settings for a wall connector at least once a year. Copper and aluminum expand and contract with heat, and those screws can back out just enough to cause an arc fault.
Bidirectional charging is the next frontier
We are moving toward a world where your car isn’t just a sink for power, but a source. Vehicle-to-Home (V2H) technology is the trend I’m watching most closely. Imagine using your F-150 Lightning or your VW ID.4 to power your fridge and AC during a summer blackout. To get ready for this, you need to ensure your setup is more than just ‘to code’; it needs to be robust. You can already look into how to use your ev as a backup home battery safely to understand the transfer switches required. If you’re still struggling with basics like troubleshooting ev charger connectivity problems, now is the time to tighten up your network and your wiring. If you want to be sure your system can handle the two-way flow of electrons, reach out to us on our contact page. My advanced tip for you this week: grab a manual and locate that emergency release cord today—don’t wait until you’re already late for work to find it.
Lessons learned from a week of morning charging battles
One of the biggest eye-openers for me was realizing that mechanical locks are often victims of their own precision. If the alignment is off by even a millimeter because of a sagging cable, the solenoid won’t fire. I’ve learned to always support the weight of the cable before pressing the release button. Another hard-earned lesson: don’t ignore the signs of a struggle. If it’s getting harder to plug in, you might be looking at how to fix the grounding fail that ruins ev permits or early signs of physical wear that lead to a permanent lock. I also realized that why your charging speed drops by half at midnight can sometimes be a precursor to thermal expansion issues in the handle itself.
The small toolkit that saves my sanity every winter
I don’t leave home without a few essentials to keep my Level 2 station running. First, a can of plastic-safe electrical contact cleaner is vital—I use it to clear out road salt every few months. Second, I highly recommend keeping a copy of your vehicle’s manual specifically bookmarked to the ‘Emergency Release’ page. For those who want to be proactive, reading up on how to fix a ground fault error on your home station can help you distinguish between a mechanical jam and a legitimate electrical safety shutdown. #IMAGE_PLACEHOLDER_E# Finally, if you’re worried about the health of your setup, learn how to tell if your panel is actually a fire hazard to ensure your home remains a safe place to power up.
Confidence behind the wheel starts in your garage
The shift to electric driving is a learning curve, but once you master the “secret handshake” of your charging port, that range anxiety and morning frustration will vanish. Dealing with a stuck handle is just a rite of passage for the modern EV owner. By keeping your equipment clean and knowing your car’s mechanical overrides, you ensure that EV charger troubleshooting is a quick 30-second fix rather than a day-ruining event. You’ve got the tools and the knowledge—now go out there and enjoy the drive. Have you ever had a charger handle get stuck in the middle of a storm? Let me know your story in the comments below!