It was 11 PM on a soggy Tuesday, and I’d just parked my brand-new EV in the driveway. The supplied charging cable was exactly eighteen inches too short to reach the outlet. Being the ‘resourceful’ guy I am, I grabbed a thick orange extension cord from the garage, snaked it across the pavement, and patted myself on the back. I thought I was being smart. I was wrong. By morning, the car hadn’t charged a mile, and the plastic casing on my extension cord was slightly warped. I had made a classic rookie mistake that could have cost me my garage. Today, I want to pull back the curtain on the truth about extension cords and Level 1 charging. We’re going to talk about the real risks, why most cords fail, and how to actually keep your home safe while you’re waiting for a permanent installation.
Stop reaching for that old cord in the shed
The temptation is real. You just spent a small fortune on a car, and now you’re told you might need a panel upgrade for better charging performance or a dedicated circuit. It feels easier to just bridge the gap with whatever is lying around. But here’s the truth: most extension cords are not built for a ‘continuous load.’ Charging an EV isn’t like running a toaster for two minutes; it’s like running that toaster for twelve hours straight. Early in my EV journey, I didn’t realize that standard cords create resistance, which generates heat. I once ignored the fact that my charger smelled like burnt plastic, thinking it was just a ‘new electronics’ smell. It wasn’t. It was the insulation on my cheap hardware-store cord beginning to fail. If you’re currently using one, have you ever actually felt the temperature of the plug after it’s been running for four or five hours?
Is this really worth the risk to your home?
You might hear people on forums say they’ve done it for years without an issue. They are the lucky ones. According to the Electrical Safety Foundation (ESFI), extension cords are involved in roughly 3,300 home fires annually, and adding the sustained, high-amperage draw of an electric vehicle into that mix is risky business. We need to talk about why you should never use a standard outlet for daily charging without understanding the limits of your home’s wiring first. Today, I’m going to show you why the math usually doesn’t add up for these temporary fixes. We will look at voltage drop, wire gauges, and the specific reasons your car might keep throwing a ‘fault’ code. Have you noticed your garage lights flickering or felt heat coming from your outlet lately? Let’s figure out if your ‘simple fix’ is actually a safety hazard. Before we dive into the specs, it’s worth checking the simple test to see if your garage outlet is truly grounded, because a missing ground is often the first thing that trips up an extension-cord-reliant setup.
The math behind the meltdown
Imagine trying to push a gallon of water through a cocktail straw in five seconds. You’d need an incredible amount of pressure, and the straw would likely burst. This is exactly what happens when you push 12 amps of current through a thin, 16-gauge extension cord for twelve hours. Electricity is lazy; it encounters resistance in thin wires, and that resistance turns into heat. I once measured my voltage at the wall (120V) and then measured it at the end of a 50-foot ‘heavy duty’ cord. It had dropped to 104V. My car’s computer immediately threw a check charger warning on the dashboard and throttled the charge to a crawl. If your car is charging slower than expected, it’s likely protecting itself from your wiring.
Why wire thickness is non-negotiable
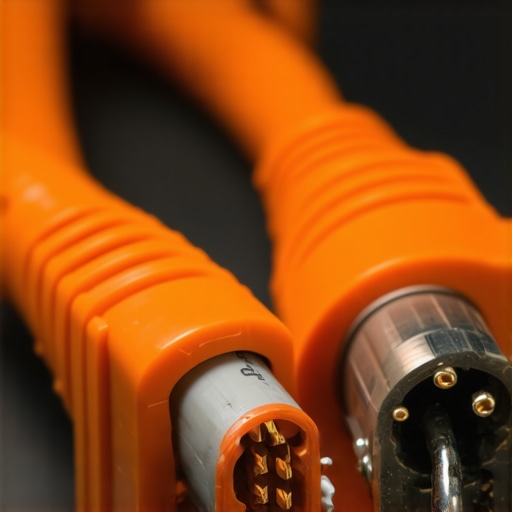
If you absolutely must use a cord as a temporary bridge, you need to understand American Wire Gauge (AWG). The smaller the number, the thicker the copper. Most orange cords in the shed are 16AWG or 14AWG—fine for a leaf blower, but dangerous for an EV. You need at least 12AWG for a short run, though 10AWG is the gold standard for safety. Using the wrong size is the reason your ev charger smells like burnt plastic after just an hour of use. Even if you aren’t doing a Level 2 install yet, knowing the exact wire gauge you need for a 50 amp ev circuit helps you realize how much beefier a dedicated line is compared to your ‘heavy duty’ cord. I remember pulling my plug out once to find the plastic around the prongs had turned a sickly shade of brown. It was a hair’s breadth away from an electrical arc.
The hidden danger of the 80 percent rule
Electrical codes aren’t just red tape; they are safety guidelines based on real-world failures. In the world of electricity, an EV is a ‘continuous load,’ meaning it draws full power for more than three hours. Because of this, you should only load a circuit to 80% of its rated capacity. If you have a 15-amp circuit, you should only be pulling 12 amps. When you add an extension cord, you increase the resistance, which effectively lowers that safety margin. This is often why your ev charger trips the gfci even when not in use; the system detects an imbalance it can’t handle. If you’re constantly resetting breakers, your house is likely begging for an upgrade to your panel for better charging performance.
The physical check you need to perform tonight
Go to your garage while the car is charging. Don’t just look at the dashboard; touch the cord and the outlet cover. If the outlet plate feels warm to the touch, you need to unplug it immediately. I’ve seen cases where internal wire connections behind the drywall started to oxidize because of sustained heat. This is a primary reason why the city inspector failed your garage wiring during many of my friends’ Level 2 upgrades—the existing 120V wires were already toasted from years of misuse. Finally, check the difference between copper and aluminum wiring in your home. If you have older aluminum wiring, the risk of fire from an extension-cord-driven heat cycle is exponentially higher because aluminum expands and contracts more than copper, loosening connections over time.
Common wisdom says if you want a real charger, you need a full 200-amp panel upgrade. I’m here to tell you that’s often a waste of money. Most electricians will look at a 100-amp panel and immediately quote you thousands for a service upgrade. But you can often bypass this by learning how to add an ev charger without a 200-amp panel upgrade. By using load-shedding devices, your charger simply throttles down when the dryer or oven is on. It’s a sophisticated way to follow code compliance essentials for ev charger installations in 2025 without tearing up your yard for a new service line. Have you ever been told your panel was ‘too full’ to handle a car? Let me know in the comments.
Does your charger need its own smart brain?
Using load shedding devices to avoid a full service upgrade isn’t just about saving money; it’s about grid efficiency. The ‘Oops’ factor most DIYers and even some pros miss isn’t the wire gauge—it’s the torque. I’ve seen perfectly gauged copper wires melt because the installer didn’t use a calibrated torque screwdriver. According to the National Fire Protection Association (NFPA), poor terminations are a leading cause of electrical failure in high-load circuits. If you don’t know the specific torque settings that prevent panel fires during high load charging, you are literally playing with fire. 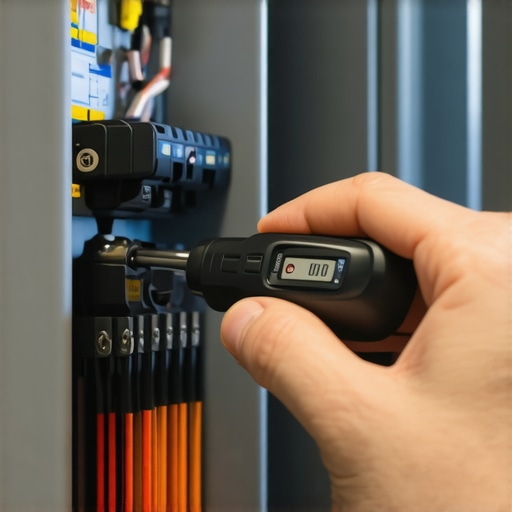 This is one of the top reasons why the city inspector failed your garage wiring during a post-install check. It’s not just red tape; it’s physics. When you’re ready to get serious, make sure you know how to verify code compliance for your ev charger installation. Don’t forget the specific circuit labels required by the electrical inspector, as a missing label can be a sign of a rushed, unsafe job. Keep an eye out for 3 signs your main breaker is running dangerously hot, because if your panel is humming or smells like ozone, something is wrong.
I used to think my basic set of screwdrivers was enough for any home project. Then I started looking into high-amperage EV circuits and realized how wrong I was. If you don’t own a calibrated torque screwdriver—I personally use a Wera Kraftform—you aren’t actually finished with your installation. The National Electrical Code (NEC) Section 110.14(D) specifically mandates that terminal torque must be verified with a tool that provides a numerical reading. Why? Because ‘hand tight’ is a guess, and when 40 to 50 amps are pulsing through a wire for ten hours, a loose connection becomes a heating element. This is the science behind the specific torque settings that prevent panel fires during high load charging. I make it a habit to pop my panel cover once a year—with the main breaker off, obviously—to look for any signs of discoloration or ‘pitting’ around the breaker. If you aren’t comfortable doing that, buy a thermal camera attachment for your phone. It’s a game-changer for spotting 3 signs your main breaker is running dangerously hot during overnight charging before you actually smell smoke.
How do I keep my charging setup healthy for years?
Maintenance isn’t just about the wires; it’s about the environment. If your charger is mounted outside, you have to be proactive against the elements. I’ve seen spiders nest inside J1772 handles and ice jam the locking mechanism so hard it cracked the plastic. Performing 3 maintenance tasks that keep your outdoor charger running through winter, like applying dielectric grease to the pins and checking the holster for debris, will save you from a cold morning with zero range. Also, periodically check your car’s port for grit. A tiny bit of sand can cause high resistance, which leads to troubleshooting ev charger connectivity problems that can be a nightmare to diagnose. 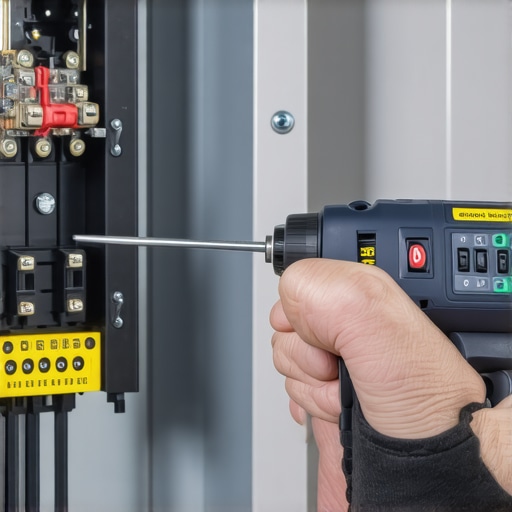
Don’t let your smart charger turn into a brick
Most modern Level 2 units are basically specialized computers with high-voltage relays. Just like your smartphone, they need software updates to stay stable. I once spent an entire Saturday wondering why my charging station was stuck in waiting mode, only to realize the manufacturer had pushed a security patch that required a manual power cycle and a firmware handshake. Learning how to update the firmware on your smart charging station is just as important as the initial wiring. These updates often improve load management and fix the software bugs that cause ‘ghost’ trips of the GFCI. If your charger is acting glitchy, always check the app for an update before you call an electrician.
Plan for the second EV before you need it
The biggest mistake I see is ‘one-car thinking.’ You might only have one EV now, but your next family car will almost certainly be electric too. Before you finish your garage or close up any walls, you should learn how to load test your house before adding a second charger. If you’re already at your panel’s limit, you don’t necessarily need a $5,000 service upgrade. You can look into how to add an ev charger without a 200-amp panel upgrade by using smart load-sharing devices that split the power between two cars. Also, do yourself a favor and install a whole house surge protector in the panel. One nearby lightning strike can fry the sensitive motherboard in a $700 charger, and standard warranties usually won’t cover it. My advice? Grab a torque wrench this weekend and verify your connections—it’s the single most effective way to ensure your home stays safe while you sleep. Next, we will look at the final inspection steps to make sure your setup is truly legal and insured.
Hard-Won Truths from My Garage to Yours
After years of tinkering and a few close calls with smoking outlets, I’ve realized that electrical safety isn’t about being paranoid; it’s about being precise. First, a thermal camera is the best investment you will ever make for your home maintenance kit. It lets you see heat signatures before they become fires, helping you catch 3 signs your main breaker is running dangerously hot during overnight charging. Second, never trust a ‘hand-tightened’ screw on a high-load circuit. Using a torque wrench to meet the specific torque settings that prevent panel fires is the difference between a reliable system and a fire hazard. Finally, don’t skimp on the paperwork. Taking the time to verify code compliance for your ev charger installation ensures that if something does go wrong, your insurance company won’t have a reason to deny a claim.
#IMAGE_PLACEHOLDER_E#
The Gear That Keeps My House from Melting
If you’re serious about DIYing parts of your setup or just want to audit your electrician’s work, there are three things I always keep in my electrical bag. I swear by the Wera Kraftform torque driver because it takes the dangerous guesswork out of terminal connections. For protection against the unpredictable, I always recommend installing a surge protector in the panel; it’s a small price to pay to protect the sensitive motherboards in modern cars. Also, if you are installing a plug-in unit, make sure you pick a NEMA 14-50 outlet that won’t melt—industrial-grade models like those from Hubbell or Bryant are designed for the sustained, heavy-duty load of EV charging.
Stop Guessing and Start Charging Safely
Switching to an electric vehicle is a massive leap forward, but your home’s infrastructure needs to be ready to support that leap. Whether you are currently troubleshooting ev charger connectivity problems or planning a major panel upgrade for your ev charger, remember that the goal is total peace of mind. You shouldn’t have to wake up in the middle of the night to check if your garage is still standing. Take the small steps today—tighten those lugs, check your ground, and ditch the extension cord—to ensure your transition to electric is as smooth as the drive itself. Have you ever noticed your outlet feeling warm or found a ‘mystery’ scorch mark on a plug? Let me know in the comments below!