I still remember the absolute shock of staring at my first home EV installation quote. The car was sitting safely in the driveway, but my wallet was about to take a beating I never anticipated. I honestly thought the electrician was pulling my leg when he handed me the itemized breakdown. How could a run of wire from my panel to the garage cost more than a high-end appliance? I realized right then that I had stumbled into a massive global bottleneck, and it all boiled down to a single element: copper. Today, I want to help you make sense of that eye-watering estimate so you can understand exactly where your hard-earned money is going and how to keep those expenses from spiraling out of control. We will look at why metal markets dictate your installation costs, how to spot an over-inflated quote, and the clever layout choices that can save you hundreds of dollars on raw materials.
Is copper actually worth the hype?
Early on in my DIY journey, I made the mistake of thinking I could outsmart the system by cutting corners on materials. I bought a cheaper roll of generic wire, hoping it would do the trick, only to realize I was risking a major hazard. As outlined in the 4 signs your electrician used the wrong gauge wire, cheaping out on the backbone of your system is a recipe for disaster. According to the Goldman Sachs commodities index, copper demand is projected to outstrip supply by historic margins over the next decade due to global electrification efforts. This global rush means that the thick, heavy-duty wiring needed for a safe level 2 charger is at an all-time premium. Have you recently received a home installation quote that made you double-check your bank account? Let me know in the comments below, because you are definitely not alone. Underestimating the raw cost of metals is the number one reason homeowners get sticker shock. If you want to keep costs down, you need to understand how upgrading your panel for better EV charging performance affects material choices, or how simply changing the physical location of your charger can dramatically shorten the wire run. When you realize that every foot of heavy-gauge conductor adds a significant chunk to your bill, you can start making smarter planning decisions before the electrician even arrives.
How to Route Your Wire and Save Hundreds on Copper
The secret to keeping your wallet intact lies in the physics of your home layout. Think of your electrical panel as a central water reservoir and your EV charger as a high-pressure hose. If you want to water a plant right next to the reservoir, you only need a short, cheap garden hose. If you try to stretch that hose all the way to the back corner of your property, you need an incredibly thick, expensive firehose to keep the water pressure from dropping. When I installed my first level 2 charger, I initially planned to put it on the far side of my garage, away from the electrical panel. After sketching the route, I realized I needed nearly 75 feet of heavy wire. By simply reversing the parking setup and putting the charger right next to the garage door, I chopped that distance down to 12 feet. That single adjustment saved me over $400 in raw copper costs alone.
Measure twice and calculate your voltage drop
Before you buy a single foot of conductor, you must calculate how much power you will lose over the distance of the run. Running a thin wire over a long distance acts like a bottleneck, restricting the flow of electricity and heating up your walls. To avoid dangerous thermal issues, you have to understand the voltage drop secret thats ruining your morning charge. If your run exceeds 50 feet, you will likely need to step up to a thicker wire gauge than standard tables suggest to keep the voltage from dropping during those long, overnight sessions. 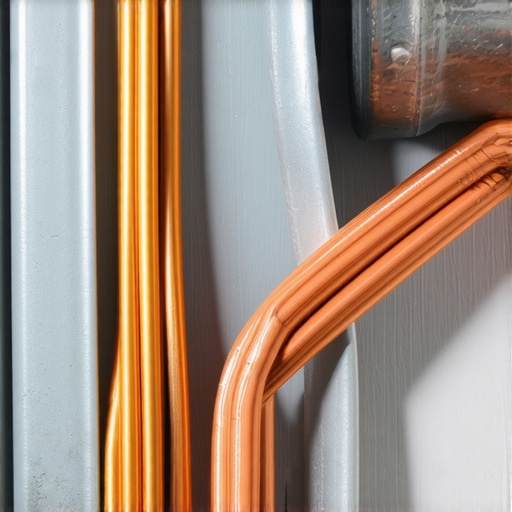
Avoid the common code compliance pitfalls
It is incredibly tempting to run cheap, unprotected wire through your garage rafters, but local building inspectors will shut you down instantly. I learned this the hard way when an inspector pointed out that my exposed Romex wire was subject to physical damage near the garage door. I had to rip out the entire run and pull new conductors through rigid conduit. To save yourself the double labor, make sure you know the wire gauge mistake that fails 40 percent of inspections before you start mounting boxes. Every bend in your conduit must be calculated, and the physical depth of your trench or wall path must adhere strictly to local rules. If you are mounting your charger outdoors, you also need to make sure you use wet-rated conductors like THWN-2 instead of standard indoor NM-B wire.
Ditch the outlet and hardwire the connection
Many homeowners choose a plug-in NEMA 14-50 outlet because they think it offers more flexibility. However, adding a heavy-duty receptacle actually introduces a major point of failure. Modern safety codes require expensive GFCI breakers for plug-in chargers, which frequently suffer from nuisance trips due to the diagnostic self-tests run by the car itself. By hardwiring the charger directly into a junction box, you eliminate the need for that sensitive GFCI breaker, bypass the receptacle cost entirely, and protect your home from dangerous thermal issues. If you still want to use a plug, you must understand why your nema 14-50 outlet keeps melting during overnight sessions so you can choose a industrial-grade receptacle that can actually handle continuous high-amperage loads.
While many bloggers tell you that upgrading to a 50-amp circuit is a straightforward plug-and-play task, my hands-on experience has shown me a far more complex reality. Most people assume that if their main panel has a 200-amp rating, they can easily add a high-speed car charger without a second thought. This is a massive misconception. In reality, your panel is governed by a strict calculation of active, continuous loads rather than just the physical space remaining on your breaker bus bar.
Before you run out and spend thousands on an unnecessary electrical overhaul, you need to challenge the mainstream advice. Many electricians will immediately push you toward an expensive service panel replacement. However, you can often bypass this costly step by learning how load management modules prevent expensive panel upgrades. These smart devices temporarily pause or throttle your EV charging speed when your home dryer or electric range kicks on, keeping your total household draw safely below the limit without requiring a brand-new service entrance line.
Why are modern smart chargers suddenly failing local municipal inspections?
An increasingly common issue that catches experienced DIYers off guard is the strict interpretation of safety codes regarding dedicated disconnects and local ground paths. The National Fire Protection Association (NFPA) updated the National Electrical Code to require accessible disconnect switches for specific high-amperage equipment. If your installer glosses over these details, you run a massive risk of failing inspection. To ensure you do not have to pay for a second visit, it is vital to know how to verify code compliance for your ev charger installation before signing off on the contractor’s work.
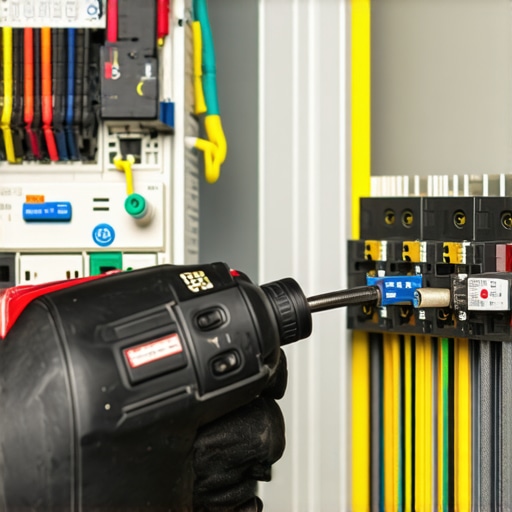
The ultimate trap for those trying to save a buck is ignoring precise physical specifications during the final hardware connections. I have watched homeowners carefully pull heavy-gauge wire, only to ruin the entire project at the finish line by using standard hand tools to tighten the breaker lugs. According to data compiled by the International Association of Electrical Inspectors, loose terminal connections under thermal stress are the primary cause of residential panel failures. Skipping the use of a certified torque screwdriver is a dangerous gamble. Take the time to understand the forgotten torque test that prevents panel fires so you can verify that every connection is tightened to the manufacturer’s exact specifications.
If you run into issues after the installation, do not panic and start ripping out wires immediately. Many times, the issue is not your physical wiring but a simple configuration mismatch between your vehicle’s onboard software and your equipment. You can resolve most startup issues by reviewing troubleshooting ev chargers common compliance pitfalls and fixes. Have you ever fallen into this torque-setting trap or suffered through an unexpected municipal inspection failure? Let me know in the comments below!
Once your Level 2 station is wired and the inspector has signed off on the paperwork, you cannot simply forget about the hardware. High-amperage continuous loads put unique mechanical stress on electrical connections. The repeating cycles of heating and cooling cause copper conductors to expand and contract. Over time, this thermal cycling can back screws out of their terminals. I make it a habit to check my system periodically, and keeping a reliable maintenance routine is the only way to avoid a costly system failure down the road.
How do I maintain my EV charging system over time?
Every six months, I perform a thorough physical inspection of my entire setup. I begin by completely shutting off the dedicated breaker in the main panel to ensure everything is dead. Next, I pull the cover off my charger junction box to look for any signs of discolored insulation or heat damage on the copper conductors. I also use a specialized insulated torque driver to verify the tightness of the lugs. If you want to dive deeper into the exact steps to diagnose electrical faults or software lockouts yourself, check out my guide on ev charger troubleshooting expert tips for common issues. Additionally, I use a non-contact infrared thermometer immediately after a heavy three-hour charging session to verify that no part of the cable or breaker is running dangerously hot. If you notice unusual warmth, you must learn why your ev breaker runs warmer than other circuits before it develops into a serious fire hazard.
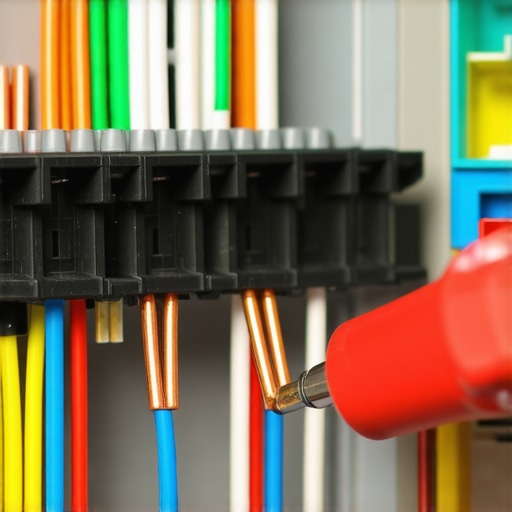
Looking ahead, the next decade of residential charging is rapidly shifting toward bidirectional power flow and dynamic home energy management. According to the Electric Power Research Institute (EPRI), over seventy percent of municipal utility grids will require integrated smart-charging communication protocols by 2030 to prevent localized substation overloads. This means the hardware you install today needs to be robust enough to handle the software updates of tomorrow. If you notice your station behaving erratically after a system update, you can often pinpoint the problem by reading about troubleshooting ev chargers common compliance pitfalls and fixes. Do not wait for a complete system failure to start testing your hardware. Grab a torque screwdriver this weekend, verify your terminal lugs to the manufacturer’s precise inch-pound specifications, and protect your home from hidden electrical degradation.
What Experts Won’t Tell You About Electrical Load Calculations
When I first planned my installation, I assumed my 200-amp service panel had plenty of overhead. The biggest shock wasn’t the cost of copper, but realizing how close my household was to overloading the system during peak times. Here are the crucial lessons I learned through trial, error, and failed inspections:
- Your panel’s physical space is a lie: Just because you have two open breaker slots does not mean your electrical system can handle a continuous 40-amp draw. You must perform a formal calculation.
- The secondary disconnect requirement: Many local jurisdictions now strictly enforce a dedicated shut-off near the charger. If you skip this, you might have to rip out finished drywall. Reviewing why your wall connector needs a dedicated disconnect switch can save you a major headache.
- Solid wire vs. Stranded wire: Stranded wire is easier to pull through tight conduit, but solid copper provides a more secure, low-resistance connection at the terminal lugs. I highly recommend learning why solid copper wire beats stranded for heavy duty ev circuits before purchasing raw materials.
- Nuisance GFCI tripping: Double-GFCI protection (one in the breaker and one in the charger) causes endless charging interruptions, especially in high humidity.
My Essential Toolkit for High-Amperage Electrical Projects
To safely install, troubleshoot, and maintain a high-power charging circuit, you cannot rely on a standard household toolbox. Over the years, I have curated a specific kit that ensures my installation remains code-compliant and fire-safe. Here is the gear I trust:
- A Certified Inch-Pound Torque Screwdriver: This is non-negotiable. Standard hand-tightening leads to loose lugs over time due to thermal expansion. I use a calibrated torque driver to perform the forgotten torque test that prevents panel fires during my bi-annual maintenance checks.
- An Infrared Thermal Camera or Non-Contact Pyrometer: After a long charging session, I scan my electrical panel. If a breaker is running unusually hot, it is an early warning sign of a loose terminal or an overloaded bus bar. You can easily diagnose these thermal signatures by understanding why your ev breaker runs warmer than other circuits.
- The National Electrical Code (NEC) Handbook: Specifically, focus on Article 625, which covers Electric Vehicle Charging Systems. This book is my ultimate reference guide to bypass expensive mistakes before the city inspector knocks on my door.
Take Control of Your Home Energy Future
Transitioning to electric transport is one of the most rewarding home upgrades you can make, but it demands respect for the physics of high-voltage systems. By understanding your home’s load limits, choosing a smart layout to minimize expensive copper runs, and performing regular torque maintenance, you protect your property and ensure reliable daily charging. Do not let the complexity of a panel upgrade or local permitting hold you back from a clean, self-sufficient energy setup.
Have you ever run into an unexpected permitting delay or struggled to pass your local electrical inspection? Let me know in the comments below!