It was 2:00 AM on a freezing Tuesday, and I was standing in my garage with a digital multimeter in my freezing hands, utterly baffled. My brand-new Level 2 charger was supposed to be topping off my battery in under five hours. Instead, my dashboard estimated a painful nine-hour wait. I had done everything by the book—or so I thought. But my car was crawling along at a snail’s pace, and the culprit was a silent, invisible thief known as voltage drop. It is a frustratingly common issue that quieted my charging speed and wasted electricity without ever tripping a breaker.
The Night I Realized Thinner Wires Cost Real Miles
When I first installed my charger, I made a classic amateur mistake: I ignored the distance between my main electrical panel and the garage. I figured copper is copper, right? Wrong. Because of that oversight, I ended up with a classic case of why thinner wire is costing you miles every night. Under a heavy 40-amp continuous load, a run that is too long or a wire that is too thin acts like a kinked garden hose. The voltage drops, the station runs hot, and your charging efficiency plummets. In fact, according to the National Electrical Code (NEC), a voltage drop of more than 3% under load is considered highly inefficient for branch circuits. That is when I realized that to fix the problem, I had to learn exactly how to measure voltage drop dynamically while the car was pulling maximum current.
Is measuring voltage drop actually worth the hassle?
You might be wondering if you really need to break out a meter just to charge your car. Yes, absolutely. If you do not verify what is happening while your charger is pulling its peak load, you are essentially guessing. A standard static reading when the car is unplugged might show a perfect 240 volts. But the moment that contactor clicks and the car demands 48 amps, that voltage can dive down to 215 volts. That drop is not just slowing down your morning commute; it can trigger internal safety faults inside your vehicle, leading to frustrating ev charger troubleshooting headaches that are tough to diagnose.
How to Safely Get a Real-Time Reading Under Load
Today, we are going to walk through how to safely measure this drop during an active, peak charging session so you can pinpoint exactly where your installation is losing power. We will look at checking connections at your breaker, reading the voltage directly at your terminal blocks, and identifying if your setup requires upgrading your panel for better ev charging performance. Have you ever noticed your EV charging speed mysteriously drop when your home’s air conditioner kicks on, or felt your charging cable getting warm to the touch? Drop a comment below and let me know—I would love to hear what your home setup looks like.
To pinpoint exactly why your charging speed is lagging, we must measure the electrical circuit under a live, heavy load. Doing this safely requires a methodical approach and a reliable digital multimeter. Think of your electrical system like a household plumbing network. If you only measure pressure with all the taps closed, you will always get a high reading. The real test happens when you turn on the high-flow valves and watch how the pressure holds up under demand.
Setting Up Your Multimeter for Live Diagnostics
Before you touch any wiring, safety is your absolute priority. Set your digital multimeter to Auto-Range AC Voltage. If your meter is not auto-ranging, manually select the 600V AC scale. Do not use cheap, unrated meters for this task. You need a Category III (CAT III) rated meter to safely handle the potential energy of a residential electrical panel. I remember my first live-load test back in my early DIY days. I grabbed a flimsy, unbranded meter from a bargain bin, and the moment the contactor clicked, the meter started humming. That terrified me enough to immediately invest in professional-grade gear before attempting any real ev charger troubleshooting steps.
Step 1: Establishing Your Static Baseline
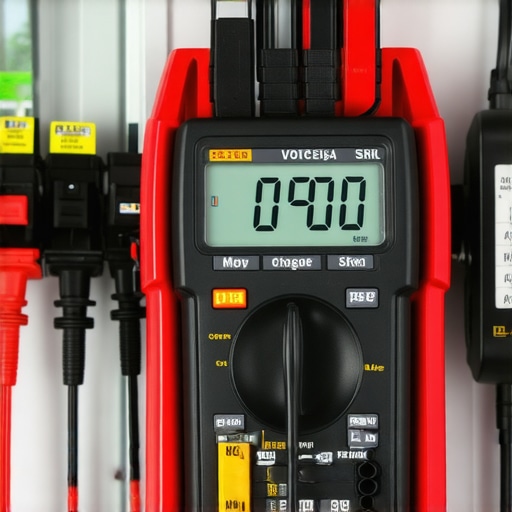
With your EV unplugged and the charging station in standby mode, measure the voltage across the two hot terminals inside your charger or at the dedicated disconnect switch. This is your static baseline. In a healthy system, this reading should sit comfortably between 240V and 244V. Jot this number down on a notepad. If your starting voltage is already hovering below 230V before any load is applied, you might be dealing with utility-side drops or a main panel that is already running at its absolute limit, signaling that it might be time for panel upgrades for ev chargers.
Step 2: Monitoring the Live Drop Under Peak Current
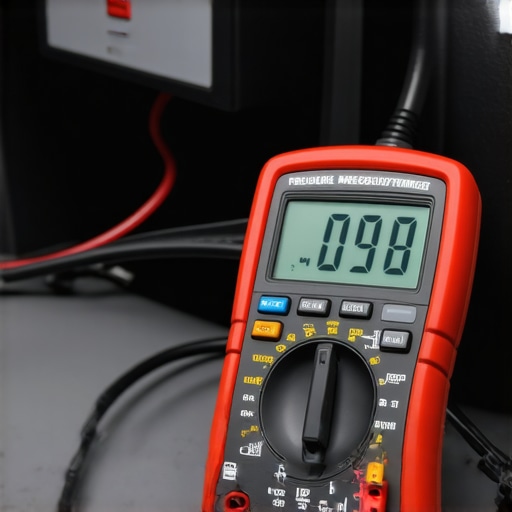
Now, plug the charging cable into your vehicle and initiate a charging session. Program your EV or its companion app to pull the maximum allowable current immediately. Watch your multimeter screen closely as the charging session ramps up. You will notice the numbers start to fall. A minor dip is normal, but a sudden plunge is a red flag. If your voltage drops from 240V down to 228V, you have experienced a 12-volt drop, which translates to a 5% loss. This exceeds the 3% efficiency threshold recommended for optimal performance and safety.
Where the Bottlenecks Hide in Your Circuit
When you see a significant drop, the culprit is usually resistive heating caused by poor installation physical connections or improper materials. If you notice your breaker getting warm, you are likely dealing with the forgotten torque test that prevents panel fires. Loose terminal screws create a localized point of high resistance that eats away at your voltage and generates dangerous heat. During my messy garage troubleshooting session, I discovered that the terminal screws on my subpanel breaker had backed out just a fraction of a turn. Tightening them down to the manufacturer’s exact torque specifications immediately recovered 4 crucial volts and brought my charging speeds back to peak performance. Another common culprit is run distance; if your charger is located far from your panel, utilizing too thin of a wire will bottleneck your power, making it clear the wire gauge mistake that fails 40 percent of inspections is more than just a regulatory hurdle—it is a daily performance drain.
Most electricians will tell you that if your installation passes inspection, your job is done. I used to believe that too. But here is the contrarian truth: standard electrical code is designed for safety, not for peak electronic performance. A circuit can be 100% compliant with local regulations and still deliver a sluggish, disappointing charge. The National Electrical Code (NEC) permits up to a 5% voltage drop across feeder and branch circuits combined. While that 5% drop won’t burn your house down, it will absolutely starve your vehicle’s onboard charger, extending your charge times and wasting energy as heat.
The Common Oversizing Trap Most DIYers Fall Into
When trying to combat voltage drop, well-meaning DIYers often think, “I’ll just throw the thickest wire possible at the problem.” This introduces a frustrating trap. Attempting to force a massive 4 AWG copper wire directly into a charging station terminal block designed only for maximum 6 AWG wire is a recipe for disaster. I have seen folks trim away outer strands of copper wire just to make them fit into the smaller terminals. Doing this creates an incredibly dangerous bottleneck, concentrating extreme heat right at the connection point. This oversight completely bypasses ensuring code compliance when installing ev chargers and can easily ruin your expensive equipment.
Why does my charger still run slow even after upgrading my panel?
If you have already invested in panel upgrades for ev chargers and still experience lagging speeds, the issue is likely not your service capacity, but your dynamic line impedance under load. According to a technical study by the National Renewable Energy Laboratory (NREL), sustained high-amperage continuous draws expose micro-resistances in your circuit that a simple static test will never show. Loose busbar connections, oxidation on breaker contacts, or even a sub-par utility transformer drop can choke your voltage. If your system drops more than 3 volts the second the relay clicks, the vehicle’s onboard computer will automatically throttle down its current draw to protect its sensitive battery cells.
Smarter Ways to Bypass the Bottleneck
Instead of hacking your wiring, the correct engineering solution is to run the thicker gauge wire from your panel to a dedicated, enclosed junction box or a disconnect switch placed right next to your charger. Inside that box, you can safely transition from the heavier wire down to the maximum gauge supported by your station’s terminals using approved polaris blocks. This method maintains excellent voltage stability over long distances while ensuring you do not run into common ev charger troubleshooting issues down the road. It keeps your station running cool, protects your vehicle’s sensitive motherboard, and delivers every single mile of range you are paying for.
Have you ever fallen into this trap or noticed your charging speeds dropping off during hot summer afternoons? Let me know in the comments below—let’s figure out your setup together.
To keep your setup working flawlessly year after year, you must treat your high-amperage charging circuit as a dynamic, living system. Sustained 48-amp draws generate cyclical thermal expansion and contraction. Over time, this natural cycle can subtly loosen even the most meticulously torqued connections. I personally make it a habit to perform a biannual maintenance sweep of my entire charging pathway. This involves checking the physical integrity of the plug, inspecting the conduit runs, and ensuring that no moisture has breached the outdoor enclosures.
The Essential Toolbox for EV Infrastructure Maintenance
You do not need a truck full of industrial gear, but a few specialized tools will save you from major headaches down the road. First, I highly recommend owning a commercial-grade infrared thermal camera. You do not need an expensive standalone unit; a compact smartphone attachment works beautifully. By scanning your main electrical panel, subpanel, and charger terminals while the car is actively pulling its maximum load, you can instantly spot localized thermal anomalies. A terminal block glowing bright white-hot on your screen is a clear indicator of high contact resistance. Catching this early prevents terminal melting and helps you avoid complex ev charger troubleshooting issues before they disrupt your daily commute.
Second, never underestimate the power of a high-quality torque screwdriver. Electrical connections in high-power applications must be tightened to the exact inch-pounds specified by the manufacturer. If a terminal is under-torqued, it creates high resistance; if it is over-torqued, you risk stripping the threads or crushing the conductor. Keeping a calibrated torque tool on hand ensures your setup remains safe and fully compliant with national safety standards.
How do I maintain my EV charging system over time?
Long-term maintenance comes down to thermal monitoring, physical inspection, and periodic torque verification. Every six months, shut off the main breaker, open up your charger’s cover, and check for any signs of discoloration or pitting on the terminal blocks. Use your torque screwdriver to verify that the connections have not loosened due to thermal cycling. Additionally, clean the contact pins inside the J1772 or NACS handle using specialized electrical contact cleaner. This simple routine prevents carbon buildup, reduces plug resistance, and eliminates random charging interruptions.
The Future of Smart Residential Power Delivery
As we look ahead, the trend is moving rapidly away from static, over-engineered hardware and toward highly intelligent, software-driven energy distribution. With municipal grids facing unprecedented demand, relying solely on massive physical infrastructure is no longer practical. In the coming years, expect to see widespread adoption of dynamic load-balancing systems. Rather than requiring expensive, heavy-gauge physical upgrades, smart home energy managers will actively throttle your charging speeds in real time based on your home’s total live consumption. This shift will make understanding panel upgrades for ev chargers less about physical capacity and more about choosing the right digital power management integration.
If you want to ensure your system remains highly efficient and safe, I encourage you to try one specific tip tonight: while your vehicle is actively charging, carefully feel the main breaker in your panel. If it feels noticeably hot to the touch, grab a digital multimeter or a thermal camera and measure the live voltage drop across that breaker to pinpoint any hidden bottlenecks before they cause a system shutdown.
What Experts Won’t Tell You About Dynamic Line Resistance
When I first started tackling my own garage electrical setup, I assumed that passing a local municipal inspection meant my system was performing at its absolute peak. It was a massive reality check to realize that code compliance is merely the baseline for safety, not a guarantee of high-efficiency performance. One of the most critical lessons I learned is that static voltage testing is virtually useless. Your meter might show a pristine 240V when the car is unplugged, but the true health of your circuit only reveals itself under a sustained, heavy load. If you do not test your system dynamically, you are essentially blind to the micro-resistances that choke your charging speed.
Another common trap is assuming that a modern electrical panel automatically solves all your speed issues. Even after executing seamless panel upgrades for ev chargers, a single loose lug, oxidation on a breaker clip, or a slightly undersized subpanel feed wire can bottleneck your power. To make matters worse, your vehicle’s onboard computer is highly sensitive; the moment it detects a volatile swing in voltage, it will silently throttle down the current to protect its battery cells, leaving you with a half-empty battery in the morning without ever throwing an error code on your dashboard.
My Essential Toolbox for Heavy-Duty Electrical Diagnostics
You do not need an industrial truck full of gear to keep your home charging infrastructure running flawlessly. Over years of trial, error, and some incredibly frustrating late nights, I have narrowed my diagnostic kit down to three non-negotiable tools that I trust completely:
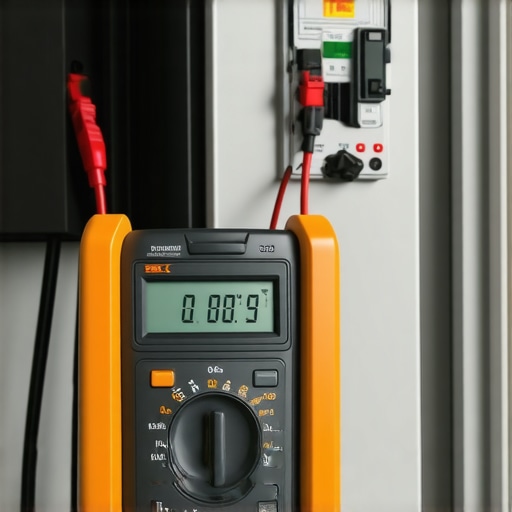
- A CAT III Rated Digital Multimeter: Safety is paramount when you are dealing with a live 240-volt system. I rely on a high-quality auto-ranging meter to safely measure real-time drop directly at the terminal blocks without risk of arc faults.
- A Calibrated Torque Screwdriver: Thermal cycling will slowly back out terminal screws over time. I use this tool to periodically execute the forgotten torque test that prevents panel fires, ensuring every connection meets exact manufacturer specifications.
- A Compact Infrared Thermal Camera: This is my secret weapon. By plugging a thermal camera attachment into my smartphone, I can scan my panel under load to instantly locate glowing hot spots that point to high resistance before they cause terminal damage.
Take Control of Your Home Power Delivery Today
Amateur installations often overlook the physical realities of high-amperage continuous loads, but you do not have to settle for degraded charging performance. By understanding how to measure and combat the voltage drop secret thats ruining your morning charge, you can ensure your vehicle charges as fast as the manufacturer intended while keeping your home exceptionally safe. Grab your tools, run a live-load test on your circuit this weekend, and eliminate the silent bottlenecks hiding behind your drywall.
Have you ever noticed your charger running sluggishly or felt your station’s breaker getting warm to the touch during a long charging session? Let me know what your voltage readings look like in the comments below—let’s get your setup optimized!