I smelled it before I saw it. That acrid, chemical stench of melting insulation is something you never forget once it wafts through your garage at 2 AM. I’d just bought a “premium” J1772-to-Tesla adapter from a third-party seller for half the price of the OEM version. I felt like a genius until I saw the smoke. It turns out, saving fifty dollars nearly cost me a three-thousand-dollar charging port repair and potentially my home. I made the classic mistake of prioritizing a “deal” over safety, and I’m here to make sure you do not do the same. If you’ve ever noticed your charging handle getting uncomfortably warm, you might already be in the danger zone.
Why Cheap Adapters Are a House Fire Waiting to Happen
It is incredibly tempting to grab the cheapest accessory on the shelf, especially when you have already spent a small fortune on the car itself. But here is the cold, hard truth: counterfeit adapters often lack the internal thermal sensors and high-quality copper pins required to handle 40 or 48 amps of continuous current. When these sub-par materials meet high resistance, they do not just stop working; they generate massive amounts of heat. This is often why your breaker gets hot to the touch or why your charging speeds suddenly crater. According to a report by the Electrical Safety Foundation International (ESFI), counterfeit electrical goods are a leading cause of property damage, often because they bypass the rigorous testing of labs like UL or Intertek.
Are these generic adapters actually worth the risk?
You might think, “It is just a piece of plastic and metal, how different can it be?” The difference lies in the tolerances. A counterfeit J1772 adapter might look identical to a certified one, but if the pins are even a fraction of a millimeter off, you get a loose connection. Loose connections create arcing. Arcing creates fire. If you are already dealing with common EV charger issues, adding a questionable adapter to the mix is like pouring gasoline on a campfire. Have you ever noticed a faint clicking sound or a yellow light on your port while using a third-party plug? Today, we are going to dive into the physical red flags you need to look for. Before you plug in again, you should also consider if your home is protected; for instance, knowing if you need a whole-house surge protector can save your car’s sensitive electronics from the spikes caused by poor adapter connections. We will look at weight, pin alignment, and those all-important safety certifications that fakes simply forge, much like the risks found when people don’t know how to spot a counterfeit charging cable.
The Weight Test Tells the Whole Story
Think of an adapter as a bridge for electricity. If that bridge is built with thin, hollow supports, it will collapse under the weight of a heavy truck. In the EV world, that truck is a continuous 48-amp load. One of the easiest ways I have found to distinguish a legitimate adapter from a fire hazard is the simple heft of the device. High-quality connectors use solid copper pins because copper is the gold standard for conductivity. However, many third-party manufacturers cut costs by using thin-walled brass or even aluminum coated in a thin layer of nickel. When you hold a certified adapter next to a generic one, the weight difference is immediate. This choice in materials is critical because the difference between copper and aluminum for ev wiring and components dictates how much heat is retained. If the adapter feels like a hollow plastic toy, it likely lacks the internal mass required to dissipate heat during an overnight charging session. 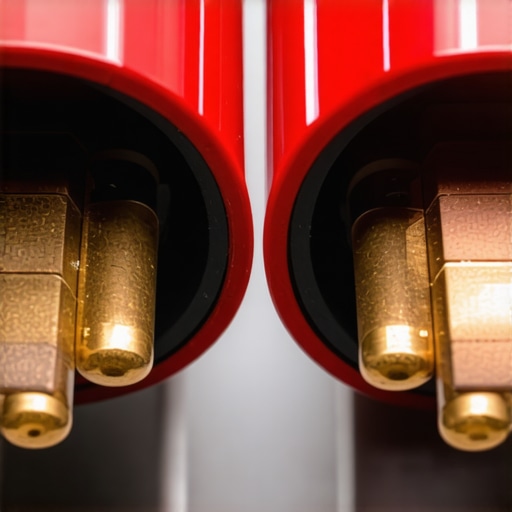
Look for Lab Symbols That Actually Matter
I used to think those little ‘UL’ or ‘ETL’ stickers were just bureaucratic red tape until I saw a melted port firsthand. These marks mean a third-party lab has literally tried to set the device on fire and failed. Genuine adapters will have these marks embossed into the plastic, not just printed on a sticker that peels off. This is a core part of code compliance essentials for ev charger installations in 2025. If you cannot find a file number associated with the UL mark, you are essentially beta-testing a high-voltage device in your own garage. I remember inspecting a friend’s ‘bargain’ adapter and finding a forged CE mark that stood for ‘China Export’ rather than the European safety standard. It was a subtle difference in the font spacing, but it was the only warning sign before his charger started throwing errors.
Run Your Own Thermal Audit at Home
You do not need an engineering degree to monitor your equipment. During the first thirty minutes of a charge, I always perform a ‘touch test’—carefully, of course. The handle should feel warm, like a cup of coffee, but never hot enough to make you pull your hand away. If the plastic feels soft or you smell even a hint of ozone, stop immediately. These are the same red flags you would look for when learning how to spot a dying breaker before it shuts down your charging session. Heat is the enemy of efficiency, and excessive temperature is often the reason why your charging station isnt reaching its full 48 amp potential.
Check for Pin Alignment and Tightness
The physical fit of the J1772 side into the adapter must be snug. If there is any ‘wiggle’ when you seat the plug, you have a high-resistance connection. I once helped a neighbor troubleshoot a ‘Check Charger’ light only to find that the internal pins of his cheap adapter had actually recessed into the housing because the plastic had softened from previous heat cycles. This lack of structural integrity is a major safety violation. To ensure long-term safety, you must how to verify code compliance for your ev charger installation and the accessories you use with it. Just as you would use the specific torque settings that prevent panel fires during high load charging inside your breaker box, the physical tension of those pins is what keeps the electrons flowing safely rather than jumping through the air as dangerous arcs.
While a faulty adapter is the most visible point of failure, I have learned that the real danger often lurks where you cannot see it: inside your walls and electrical panel. Everyone tells you that if you want to charge an EV at home, you absolutely must have a 200-amp service. In my experience, this is one of the most expensive myths in the industry. You can often avoid a five-thousand-dollar service upgrade by learning how to load test your house before adding a second charger or implementing smart load management. Before you sign a contract for upgrading your panel for better ev charging performance, consider that the National Fire Protection Association (NFPA) reports that high-resistance connections—not just total load—are the leading cause of electrical fires. This means even a 400-amp panel will not save you if the terminations are poor.
The Invisible Killer Hiding in Your Breaker Box
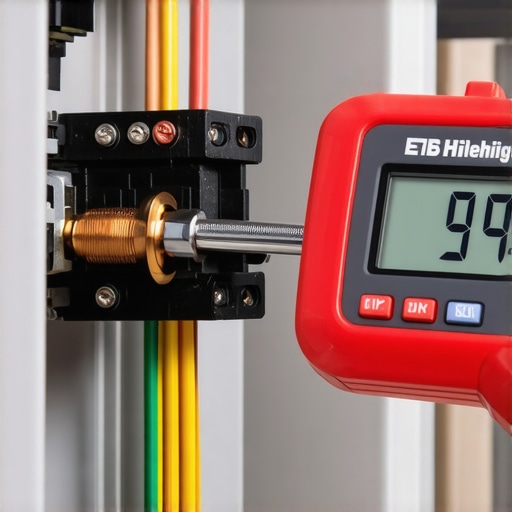
One of the biggest ‘oops’ factors I see with DIY installs and even some ‘general’ electricians is the neglect of a torque wrench. It sounds pedantic, but the specific torque settings that prevent panel fires during high load charging are not suggestions; they are code. Copper and aluminum expand and contract as they heat up during an 8-hour charging session. If the lugs are not torqued to the manufacturer’s exact inch-pound specification, those microscopic movements eventually create gaps. Those gaps lead to arcing, and arcing leads to a melted busbar. This is a primary reason for troubleshooting ev chargers common compliance pitfalls and fixes after a few months of use. I once saw a homeowner try to how to add an ev charger to a home with a small 60 amp panel without a load shed device, and the main breaker was so hot it had discolored the surrounding plastic. They were lucky the breaker tripped at all.
Why do some ‘compliant’ installs still fail when the car hits 90% charge?
This is a sophisticated question that stumps many. As your battery reaches a high state of charge, the internal resistance of the battery increases, and the communication between the car and the charger can become more ‘sensitive.’ If your wiring is marginally undersized or you have a loose neutral, the voltage drop can become significant enough to trigger a fault. This is often the real reason your circuit breaker trips at 90 percent charge rather than a faulty charger. Understanding these nuances is a core part of code compliance essentials for ev charger installations in 2025. It’s not just about getting the green light from an inspector; it is about ensuring the system can handle the thermal stress of ‘continuous load’ which the NEC defines as any load running for three hours or more. Have you ever fallen into the ‘cheaper is better’ trap, or did you get talked into an expensive panel upgrade you didn’t need? Let me know in the comments.
To really keep your system safe long-term, you need to treat your electrical panel like the high-performance machine it is. I never touch a breaker without a calibrated torque wrench in my hand. The NFPA 70 Section 110.14(D) specifically mandates that if a torque value is provided on the equipment, it must be followed using a calibrated tool. I personally use a CDI Torque screwdriver because it ensures those lugs aren’t just ‘tight,’ but code-compliant. This is the cornerstone of ensuring code compliance when installing ev chargers. If you skip this, you are essentially waiting for a thermal event caused by vibration and thermal expansion over months of use.
How do I maintain my home charging setup over time?
Maintaining your station isn’t about complex engineering; it is about consistency. Every six months, I perform a visual sweep of the entire circuit. I look for discolored plastic on the J1772 handle and check for any debris inside the female pins. If you are charging outside, you should follow the same principles found in a maintenance guide for commercial fleet charging stations to combat environmental corrosion. Dust, spider webs, or moisture in the port can cause high resistance, which is a frequent reason why your ev charger is making a clicking sound but not charging. A simple blast of compressed air and a clean microfiber wipe of the cable keeps the connection points pristine. 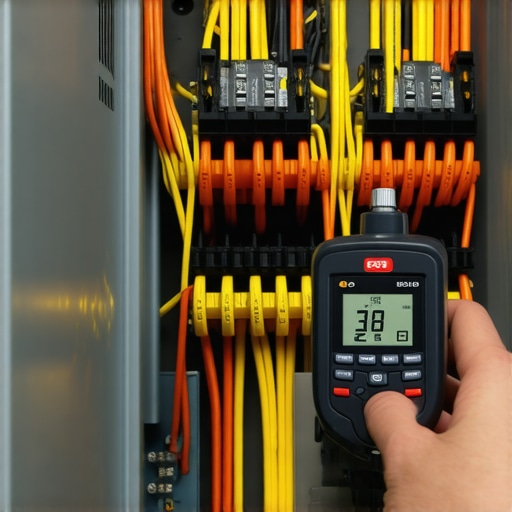 One of the most useful tools I have added to my maintenance kit is a pocket-sized thermal camera, such as a FLIR One. Being able to see a ‘hot spot’ on a breaker while the car is pulling a full 40-amp load is the most reliable method of how to spot a dying breaker before it shuts down your charging session. If one leg of your circuit shows significantly higher temperatures than the other, you have an imbalanced load or a failing internal contact. This kind of proactive monitoring prevents the need for emergency troubleshooting ev chargers common compliance pitfalls and fixes later. Beyond the physical hardware, do not ignore the digital side of your equipment. Many homeowners forget how to update the firmware on your smart charging station. These updates often include critical patches for thermal management and improved communication protocols with newer vehicle models. Looking ahead, the trend is shifting toward bidirectional charging (V2H), where your car functions as a home battery. Preparing for this now by upgrading your panel for better ev charging performance ensures your infrastructure can handle power flowing in both directions. For an immediate safety boost, I recommend checking your breaker panel tonight: turn off the EV circuit and use a screwdriver to verify that the wire lugs haven’t loosened since your initial installation.
The Hardest Lessons Learned from High-Voltage Mistakes
After years of tinkering and a few scary near-misses, I’ve realized that the most dangerous thing you can bring into your garage isn’t the car—it’s overconfidence. The biggest lightbulb moment for me was realizing that ‘tight’ isn’t a measurement. Using a calibrated tool to manage code compliance is the only way to sleep soundly. I also learned that you should never assume a new adapter is safe just because it has a high rating on a retail site; real-world thermal stress is the only true test. Most importantly, I discovered that EV charger troubleshooting usually starts at the physical connections, not the software. If your setup feels like it was rushed, it probably was, and that is where the heat starts to build.
The Gear That Keeps My Garage Fire-Free
If you want to move beyond guessing and start charging like a professional, there are a few items I never go without. First is a high-quality torque screwdriver, which is non-negotiable for applying the specific torque settings that prevent panel fires during high load charging. Second, I highly recommend a basic thermal imaging camera; it’s the quickest way to spot high resistance in a panel upgrade before it turns into a fire. Third, always keep the manufacturer’s manual or a digital copy of the NFPA 70 handy to how to verify code compliance for your ev charger installation. Finally, don’t forget to regularly check for software updates and learn how to update the firmware on your smart charging station to keep your thermal management protocols current.
#IMAGE_PLACEHOLDER_E#
Take Control of Your Home’s Energy Future
Setting up a home charging station is more than just a convenience; it’s an investment in your property and your peace of mind. By focusing on quality components and proper installation techniques, you’re ensuring that your vehicle remains a tool for freedom rather than a liability. Whether you are currently upgrading your panel for better ev charging performance or just fine-tuning your current setup, remember that safety is a continuous process, not a one-time event. Keep your connections tight, your equipment clean, and your curiosity high. Have you ever found a loose wire or an unexpectedly hot breaker during a routine check? Let me know in the comments below.