It was 11:30 PM on a Tuesday, and all I wanted to do was plug in my car and go to sleep. I heard the click, waited for the familiar hum, and instead, my dashboard lit up with a cold, red ‘Communication Error’ message. My heart sank. I stood there in the dark garage, wondering if I’d be taking an expensive Uber to work the next morning. It is a visceral, frustrating moment when the tech you rely on simply refuses to speak to each other. I have been in those shoes more times than I care to admit, and honestly, I once spent four hours tearing apart my cable only to realize the software just needed a hard reboot. Today, I am going to show you exactly how to bridge that gap so you never feel stranded in your own driveway again. We are going to look at why that ‘handshake’ fails and how you can fix it without losing your mind.
Why Your Car and Charger are Giving Each Other the Silent Treatment
In my early days of EV ownership, I made the classic rookie mistake of assuming a communication error meant the hardware was fried. I almost called an electrician for a full panel upgrade before realizing the issue was much simpler. Most of these errors are basically just a digital misunderstanding. Your car and the charger use a protocol to decide how much power is safe to pull. If there is even a tiny bit of interference—dust on a pin, a slight voltage dip, or a software glitch—the whole conversation shuts down for safety. Research from groups like the University of California, Berkeley, has shown that public charging reliability often suffers from these same connectivity problems, with some studies suggesting up to 20% of charging attempts fail due to software handshakes. It is not just you; it is a known hurdle in the industry. Have you ever stared at that blinking red light and felt like the car was mocking you? I want to hear your story in the comments.
Is a communication error just a fancy way of saying I need a new charger?
It is easy to get skeptical and think this is all a ploy to get us to buy more expensive gear. But here is the reality: 90% of the time, your equipment is perfectly fine. Before you start looking into expert tips for common issues, try the ‘neighborly’ fix first. I once spent a weekend troubleshooting a ‘dead’ charger only to find out that I just needed to clean the pins on the handle. A little bit of grit was blocking the pilot signal. We are going to walk through the steps to isolate whether the problem is your car, your cable, or your home’s electrical logic, starting with the simplest resets you can do yourself. You might even find that you can update your charger software right from your phone and clear the error in minutes.
Get Your Car and Charger Talking Again
To fix a communication error, you need to approach the hardware like a technician, not just a frustrated driver. Think of the charging cable as a high-speed data line that happens to carry a lot of voltage. When the ‘handshake’ fails, the system enters a fail-safe mode to prevent an electrical fire. We are going to strip back the mystery and look at the physical and digital resets that actually work.
Start with the Two-Minute Power Cut
The most common fix is also the simplest, but people usually do it wrong. Simply unplugging the handle from the car is rarely enough because the charger’s internal computer stays powered on. You need to go to your main electrical panel and flip the dedicated breaker to the ‘Off’ position. Wait at least 120 seconds. This allows the capacitors in the charger to fully discharge, clearing any temporary logic errors. While you wait, check if you can see 3 signs your main breaker is running dangerously hot during overnight charging, such as discoloration or a faint buzzing sound. If the breaker feels cool, flip it back on. This ‘hard reboot’ forces the car and charger to start their negotiation from scratch.
Sync the Software Before Blaming the Hardware
If the hardware reset doesn’t work, the bottleneck is likely in the cloud. Most modern smart chargers rely on a Wi-Fi or cellular signal to verify charging permissions. If your home network flutched, the charger might ‘forget’ it has permission to draw power. Open your charger’s app and check for a ‘Device Offline’ status. This is often the reason your smart charger app keeps losing connection, and it usually requires a quick re-pairing with your router. Before you get too deep into the settings, see if there is a pending firmware update. You can often how to update your charger software without calling a technician directly through the interface, which frequently includes patches for ‘handshake’ bugs with specific car models.
Clear Physical Debris from the Connection
I once had a neighbor who was convinced his Level 2 station was a total lemon. He was about to shell out for a replacement until I took a look. I grabbed a flashlight and peered into the charging handle. A tiny, desiccated spider had crawled into the pilot pin hole and died there, perfectly blocking the low-voltage signal the car needs to see before it accepts power. I used a bit of compressed air, and the ‘Communication Error’ vanished instantly. This is why you must how to clean the pins on your charging handle safely at least once a season. Even a film of road salt or oxidation can increase resistance enough to kill the pilot signal. 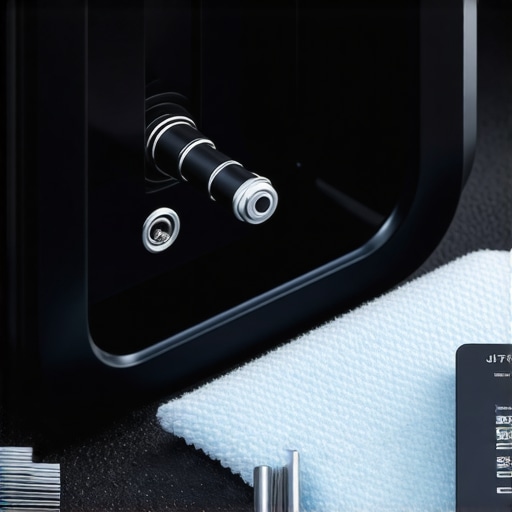
Verify Your Panel is Handling the Stress
Sometimes the error is a symptom of a larger electrical struggle. If your car begins to charge and then cuts out with a communication fault after five minutes, your system might be shedding the load. When the voltage drops too low because the rest of the house is drawing high current, the charger’s logic board may interpret this as a faulty connection. Understanding how to load balance your home electrical system without a full panel swap is critical here. If you find that your charger only fails when the dryer or HVAC is running, you are likely dealing with a capacity issue rather than a broken cable.
Why Your Electrician Might Be Overselling You a Panel Upgrade
The most common advice you’ll hear in the EV community is that if you have an older home, you’re basically forced into a $3,000 service upgrade. I used to believe this myself until I started digging into the math of home power consumption. The truth is, many homeowners are being talked into panel upgrades for EV chargers that they don’t actually need. The National Electrical Code (NEC) doesn’t just look at your main breaker number; it looks at the calculated load. According to a study by the Pecan Street Research Institute, even homes with significant electrical demands rarely peak anywhere near their service capacity for more than a few minutes a day. Instead of a full swap, I often suggest looking into how to use a 100-amp panel for EV charging without a costly upgrade by utilizing smart load-shedding devices. Have you ever been told your panel was ‘full’ only to find a different solution? Let me know in the comments.
Can a 100-Amp Service Support My High-Mileage Commute?
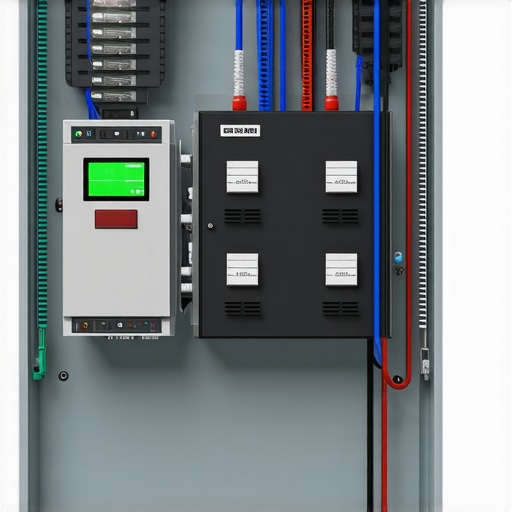
This is where the nuance lies. If you’re driving 100 miles a day, you need a Level 2 charger that can sustain 40 to 48 amps. This is considered a ‘continuous load’ by code, meaning it pulls that power for three hours or more. The mistake I see advanced DIYers make is failing to account for the heat buildup this causes. This is exactly why you should learn how to verify code compliance for your EV charger installation before you ever flip the breaker. If your wiring isn’t sized perfectly, you’ll experience a voltage drop. This drop doesn’t just slow down your charging; it corrupts the data signal, leading back to those dreaded communication errors. It’s often the common wire sizing error that causes voltage drops during charging that mimics a hardware failure when it’s actually just poor physics at work.
The ‘Safe Enough’ Trap That Ruins Chargers
I’ve walked into garages where people have ‘successfully’ installed their own chargers, only to find the wire insulation melting at the terminals. This is the biggest ‘oops’ factor in the industry: the assumption that if it charges once, it’s safe forever. High-voltage connections expand and contract as they heat up. If you haven’t followed code compliance essentials for EV charger installations in 2025, specifically regarding torque settings and lug types, your connection will eventually loosen. This creates a high-resistance path that is a leading cause of the most common DIY mistakes in home charger installations. I always tell my readers: don’t just aim for ‘on,’ aim for ‘inspected.’ Ensuring you understand ensuring code compliance when installing EV chargers is the only way to guarantee that your communication pins stay clean and your data stays clear for years to come.
Stop Guessing and Start Testing Your Hardware
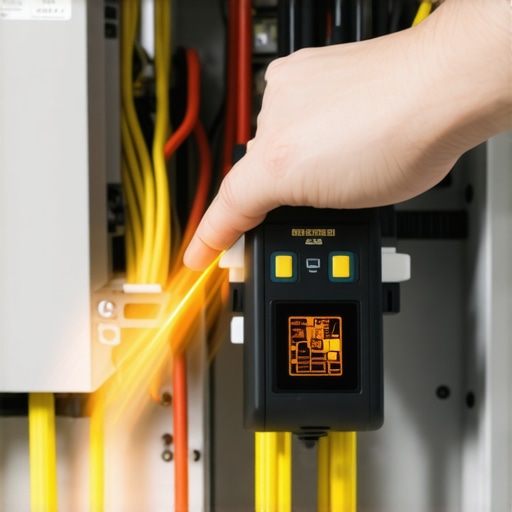
Once you’ve cleared the immediate communication hurdles, the real work begins: ensuring you don’t end up back in that dark garage six months from now. I’ve found that the difference between a charger that lasts fifteen years and one that dies in three is often found in the toolbox. I never go into a panel without my FLIR thermal camera. It might sound like overkill for a homeowner, but being able to see a hot lug before it smells like ozone is a game changer. I use it to check the terminal blocks on the charger itself and the breaker inside the house. If you see a glowing orange spot while the car is drawing full power, you’re looking at a loose connection that will eventually corrupt your data handshake or, worse, start a fire. This is why I always emphasize how to spot a dangerous heat build-up in your ev charging cable early. A simple visual inspection isn’t enough when you’re pushing 48 amps for eight hours straight.
How do I keep my home charging station running like new?
Maintenance for an EVSE (Electric Vehicle Supply Equipment) is mostly about cleanliness and torque. Every six months, I make it a point to power down the system and check the tightness of the lugs. High-voltage connections can loosen over time due to thermal expansion and contraction—a phenomenon often cited in the NFPA 70: National Electrical Code as a primary cause of electrical failure in high-load circuits. I also keep a can of high-quality electronic contact cleaner and a lint-free cloth nearby. Wiping down the J1772 or NACS pins ensures that the low-voltage pilot signal stays crisp. If you’re noticing that your car takes a few tries to start the ‘handshake,’ don’t wait for a total failure. You should be upgrading your panel for better ev charging performance by ensuring all connections are torqued to the manufacturer’s exact inch-pound specifications. It sounds tedious, but it’s the only way to stay ahead of the ‘Communication Error’ ghost.
The Garage of 2026 is More Than a Charging Port
Looking ahead, the ‘standard’ home setup is going to look very different. We are moving away from simple ‘dumb’ chargers and toward fully integrated home energy ecosystems. I predict that within the next two years, bidirectional charging (V2H) will become the industry standard, turning your car into a backup battery for your entire house. This shift means your communication protocols will become even more complex. We are already seeing why apartment complexes are choosing managed charging over individual meters to handle these massive data and power loads. If you’re building out a system now, you need to think about scalability. Don’t just install for the car you have today; install for the energy management system you’ll have tomorrow. This involves panel upgrade strategies to meet ev charging code requirements in 2025 that include space for smart shunts and energy monitors. My best advice? Grab a torque screwdriver and verify the tightness of your charger’s internal terminal block today. It’s a ten-minute task that could save you a three-thousand-dollar repair bill next year.
Why I Stopped Fearing the Communication Red Light
After years of tinkering, I have realized that the dreaded communication error is almost never a death sentence for your hardware. It is usually just a cry for attention. My biggest lightbulb moment came when I stopped treating the charger like a toaster and started treating it like a computer network. Most of the troubleshooting ev charger connectivity problems I face now are solved by simply slowing down and letting the digital handshake reset properly. I have learned that if the pins aren’t pristine, the data won’t flow, no matter how much you spent on the unit. Another hard lesson? Never trust a connection that looks tight; always verify it with a torque tool. Thermal expansion is a silent killer of reliability.
The Toolkit That Lives in My Trunk
If you want to move beyond guessing and start fixing, you need more than just a standard screwdriver set. I personally trust and carry a digital torque screwdriver because every manufacturer has a specific inch-pound requirement that prevents arcing. I also highly recommend the NFPA 70: National Electrical Code handbook. It is the bible for ensuring code compliance when installing ev chargers and helps you avoid costly mistakes. For those deeper dives, a thermal imaging camera is my go-to for finding loose neutrals or hot breakers before they fail. Finally, a can of high-quality electronic contact cleaner has saved me more times than I can count when dealing with salty or dusty charging ports.
The Future of Your Home Energy
We are standing on the edge of a revolution where your garage is no longer just a place to park; it is a power plant. As we move toward bidirectional charging and deeper integration, knowing how to manage your own how to verify code compliance for your ev charger installation will be a superpower. Whether you are looking into the truth about using solar panels to power a level 2 home station or just trying to get through the night without a red light, remember that you have the tools to handle this. You do not always need a full panel upgrades for ev chargers to have a world-class setup. Stay curious, keep your connections tight, and don’t let a little bit of troubleshooting stand between you and a full battery. Have you ever found a weird, non-electrical fix for your car, like my spider story? Let me know below.